How to Create a Room With a Magnetic Personality
http://decor-ideas.org 05/29/2015 03:14 Decor Ideas
Painting a room is easily the No. 1 way to transform a space, and adding magnetic primer elevates the game. Widely available wherever interior paint is sold, magnetic primer is created by adding iron dust particles to the paint.

For this reason, it is extremely important to have the primer shaken professionally at the store immediately prior to use, and then continue to mix it well throughout the process. If you own a stirring attachment for an electric drill, now’s the time to use it! If not, shake, shake, shake it yourself every 30 minutes or so. If the primer is not mixed properly, the iron particles will sink to the bottom of the can and some painted areas may be more magnetized than others. Bummer.

In fact, when it comes to magnetic paint, experts and consumer reviewers agree that it’s important to understand what kind of results you can expect. Although the wall will have magnetic properties, the pull will never be as strong as a full sheet of magnetized steel — which is a good thing if you happen to be walking past with an armload of bangle bracelets, an oversize belt buckle or a small dog with a collar chain, but I digress.
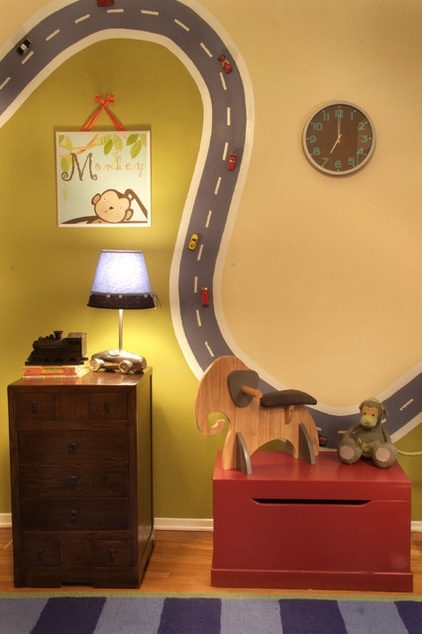
Strong magnets (such as neodymium magnets or rare earth magnets) will work best at holding photos and papers on a magnetized wall. Keep in mind, however, that these types of magnets are usually small and can pose hazards for young children, such as choking or intestinal complications caused by swallowing several magnets.
(The mini cars shown here have been custom crafted with magnets attached on the bottoms.)
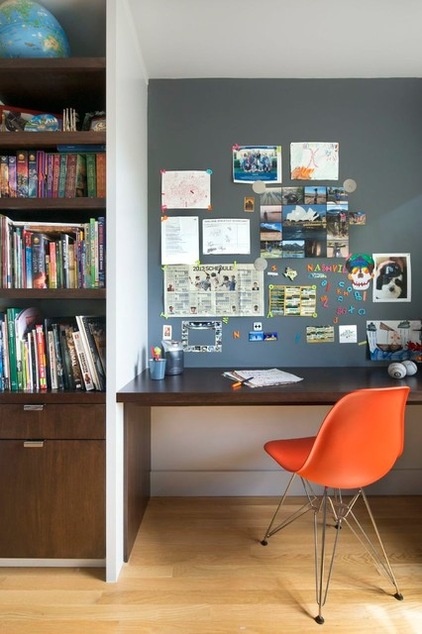
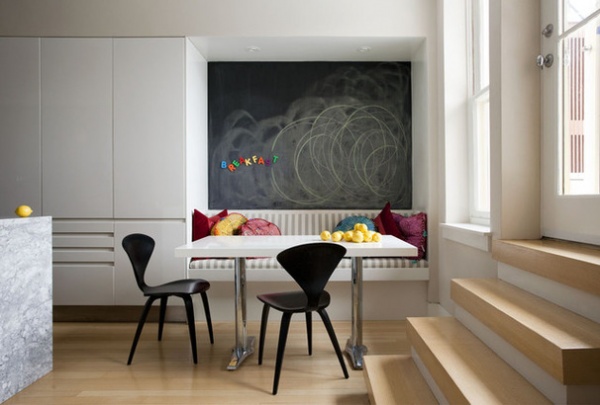
Regular magnets will stick to the wall but may not have the strength to hold paper. The good news: Magnetized alphabet letters should stick just fine!
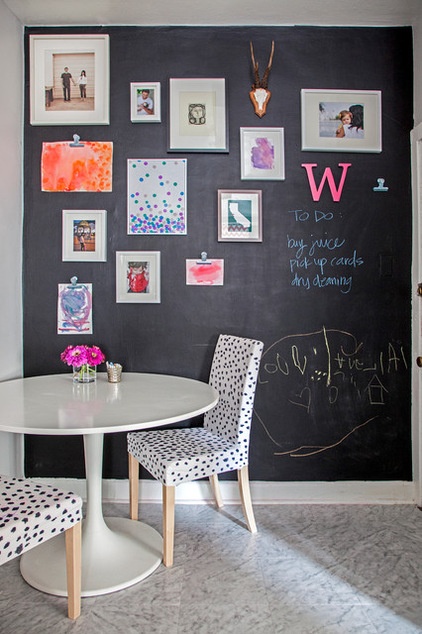
You’ll have the best results on smooth, flat walls and surfaces with a magnetic primer.
Due to the added iron content, working with the novelty primer is not the same as working with regular paint. Users warn that the oil-based product splatters more easily and can be difficult to remove from skin and other surfaces. For this reason, wearing gloves and prepping the area with masking tape and drop cloths is essential. Due to the viscosity and stickiness of the primer, most people report disposing of used brushes, rollers and paint supplies upon finishing the project. Bottom line: Go with cheap materials you can afford to throw away.
Professional painters suggest applying as many as five to eight thin coats of magnetic primer — and ignoring the directions on the can advising one or two coats. The more, the merrier — and more magnetic. Allow 30 minutes of drying time between layers for best results.
Be warned, this is smelly stuff. Keep the area well ventilated, direct fans to blow fumes away from the project area, and when possible paint smaller projects outside. Users say the odor of the primer can last for a day or two, or several (possibly owing to individual sensitivity and ventilation), but it will go away.

Since each coat of paint layered on top of the inherently dark-colored primer reduces its magnetic effectiveness, experts recommend choosing a quality paint that will cover evenly with only one or two coats. Painting a light color over a darker one is always tricky, but if your heart is set on it, invest in the highest-quality paint you can find.
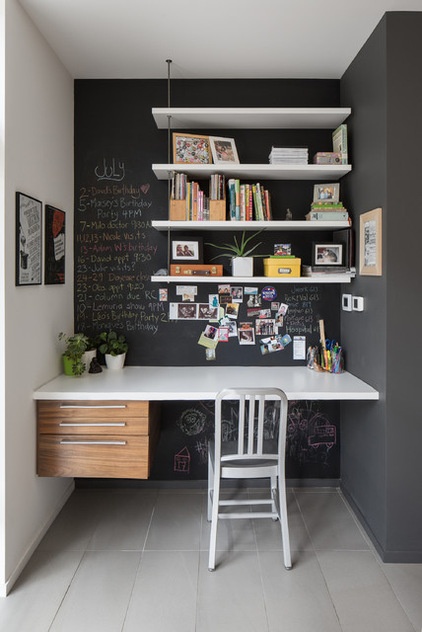
It’s easy to understand why layering chalkboard paint over magnetic primer is a winning combination.
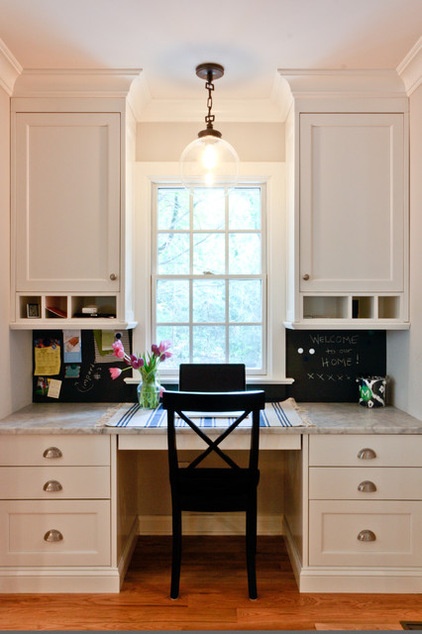
As with so many DIY adventures, the key to a successful magnetic paint job is in the preparation.
Take time to get all the supplies before you begin, prepare the space thoroughly and be honest about how much time you will need. Finally, be patient with yourself, turn on some great music and plan for takeout.
Have you worked with magnetic primer? Was the experience a triumph or a tragedy? Please share your project photos, your hard-earned wisdom and your story in the Comments.
More: How to Start a Decorating Project
Related Articles Recommended


