DIY Project: Prehistoric Planters That Bring Dinosaurs Back
http://decor-ideas.org 04/03/2015 07:23 Decor Ideas
I have always loved dinosaurs, and I’m a massive crafter. These prehistoric planters bring those two interests together. They look great inside or out, and they make fun presents. They are simple to make yourself with the right tools and a little patience. Here’s what you need and how to do it.
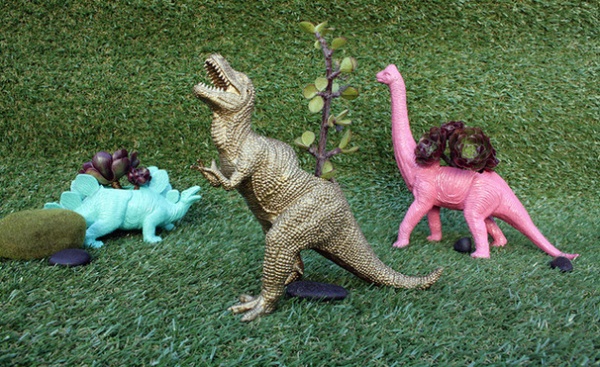
Depending on the plants you choose, your prehistoric planters can make a colorful indoor display on a kitchen windowsill, or a playful focal point outside in the garden or on your outdoor table.
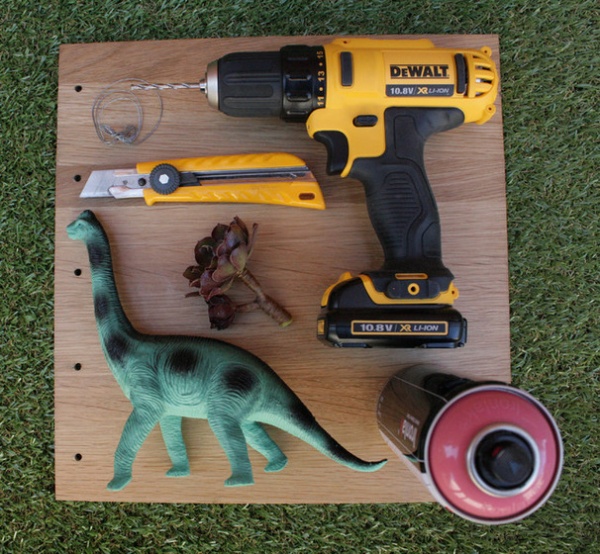
What you need:
Hollow plastic dinosaur (or any other hollow plastic animal)Drill Utility knifeSpray paint Wire or a drop clothSoil and plantPaper, ruler, marker (optional)
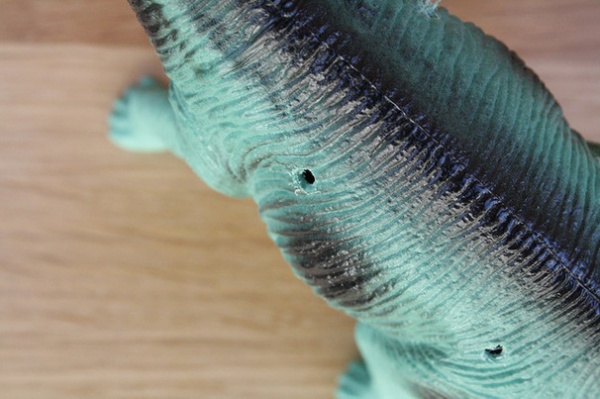
1. Choose the plant you will put in the dinosaur, then decide the size of the opening it will need. I always do this by eye, but if you’re not confident about getting the measurements right, sketch the area with a ruler and a marker. Then drill a hole into each corner of the area that will be the opening.
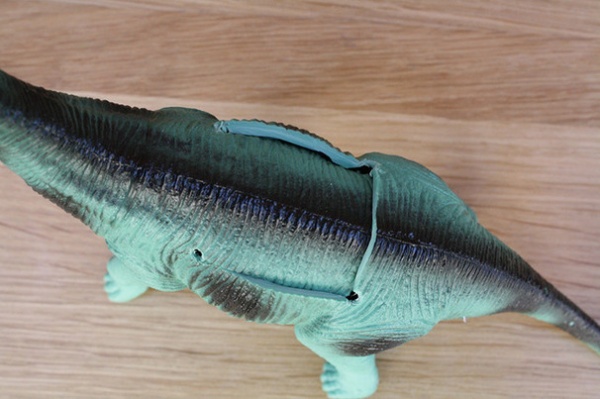
2. Using a utility knife, carefully cut between each of the holes to reveal the opening.
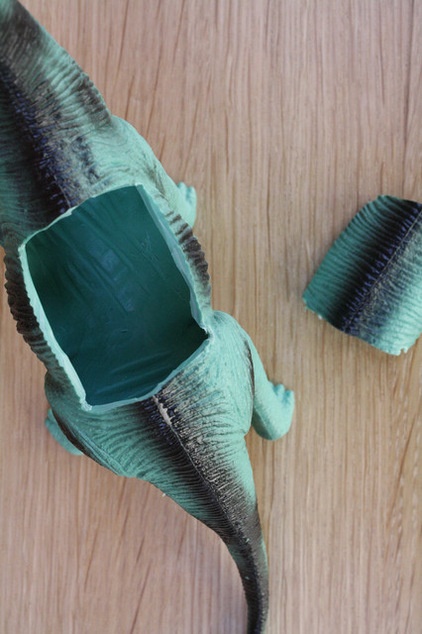
3. Use your knife to cut away excess plastic, leaving a nice, clean shape ready to paint.
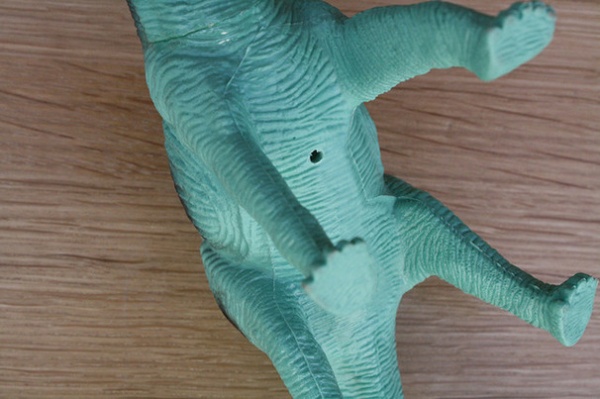
4. Check to see what your plant needs in terms of drainage and soil conditions. Then drill holes on the underside of the dinosaur to allow for the drainage.
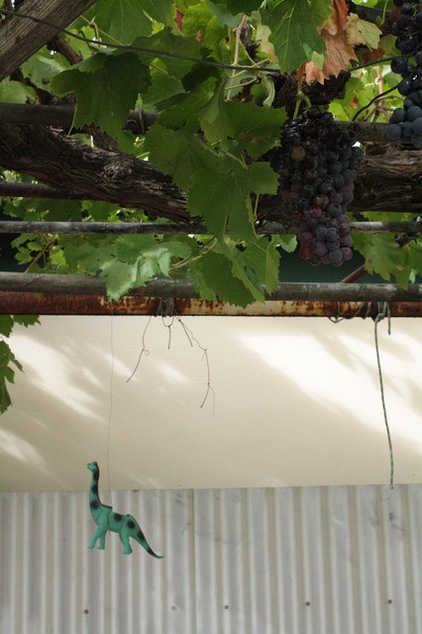
5. Once the top hole is cut and the drainage holes are drilled, find a space for spray painting your dinosaur. I have a place in my backyard where I can hang things in the open air, using wire, which makes for a really handy spray booth. You also can spray on the ground using a drop cloth to catch any overspray.
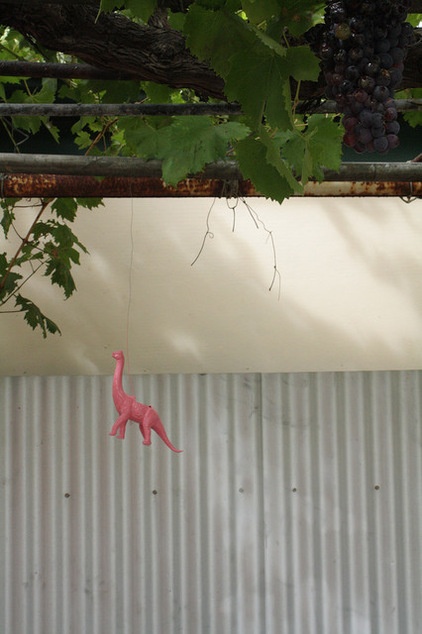
Spray 8 to 12 inches away from the dinosaur and use steady, even strokes to cover it. Take a steady approach to ensure you don’t leave paint dripping down the sides. As tempting as it might be to grab the dinosaur at this point, refrain from doing so and instead let it dry. Follow the directions on your spray can for drying times.
Lighter colors, such as yellow, sometimes need more than one coat. Allow the paint to dry completely before spraying additional coats.
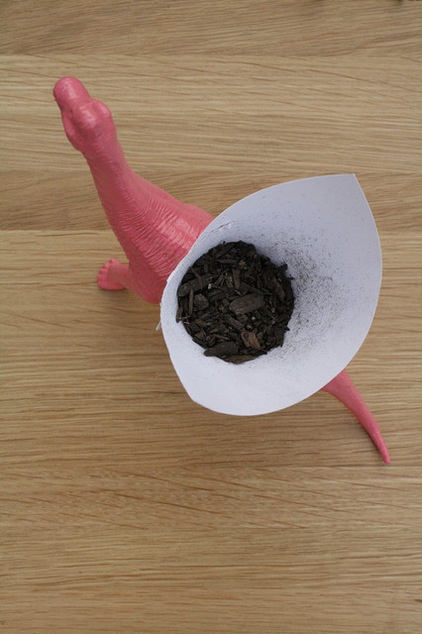
6. Once the paint has dried, it’s time to get potting. It can be awkward to get soil into a small opening. By using a piece of paper, you can create a funnel that gets the soil where you need it, without a mess.
Put in half of the soil before inserting your plant, so it has something to sit in.
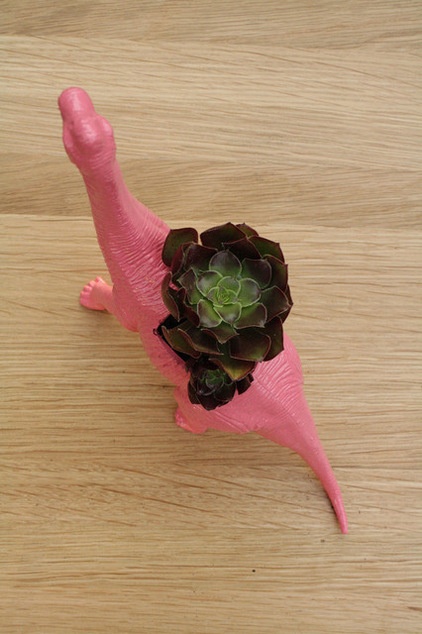
Make a space in the soil and place your plant in the middle. Fill the remainder of the pot until the plant has enough soil around it to hold it upright.
If your soil is dry, put some water in there to pack it down a little, and add extra soil where needed.
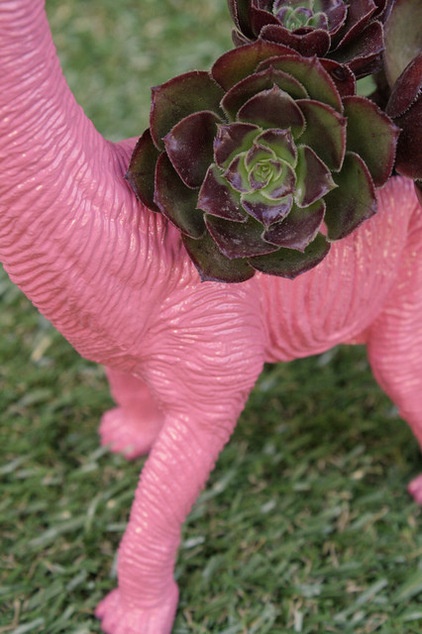
Play around with the colors of the pots and the plants you put in them. For this dinosaur I chose pink, which both complements and contrasts with the purple in the succulent, while the inner green really pops.
You can create interesting combinations to brighten up your home. I have found that succulents and cacti work best in the small planting space, but you could try growing small herbs or other plants that grab your fancy.
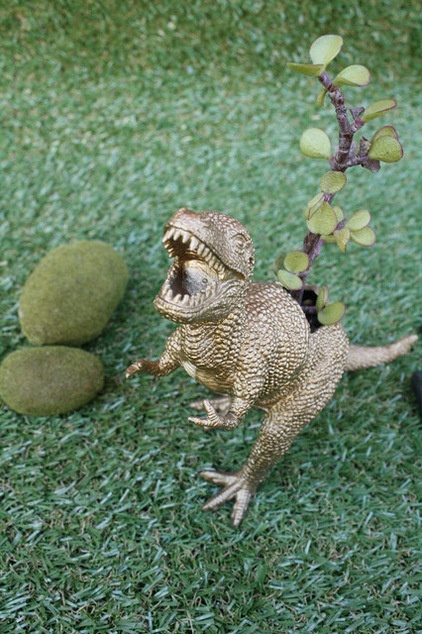
You don’t have to limit yourself to just dinosaurs. Hunt around and see what else you can find to create your own little planter zoo.
Tell us: Have you had a go at creating your own quirky planter? Show us in the Comments.
More DIY projects: Teacup Planter Pots | ‘Kokedama’ String Garden
Related Articles Recommended


