Handmade Valentines: Kid-Friendly DIY Corsages and Boutonnieres
http://decor-ideas.org 02/10/2015 22:13 Decor Ideas
Candy hearts and chocolates are great and Valentine’s Day cards are always welcome, but why not help the kids in your life take their valentines to the next level with a personalized, handmade corsage? Some flowers and leaves plus floral tape, ribbon and a pair of scissors are the only supplies you’ll need. Follow along as Sammy Go of Bud Botanical shows us how to make boutonnieres and corsages.
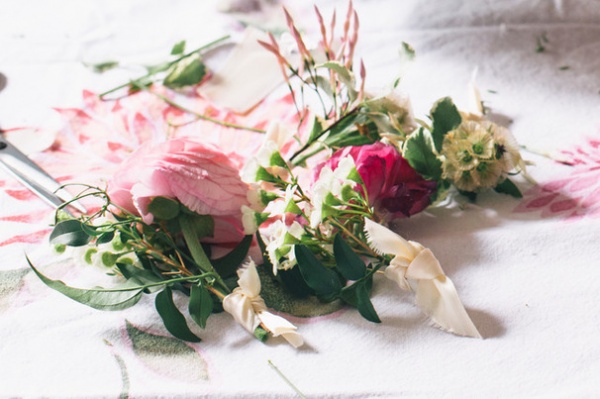
It doesn’t take long to turn a few flowers and leaves into a finished corsage. Mix and match your plants so each corsage has its own look.
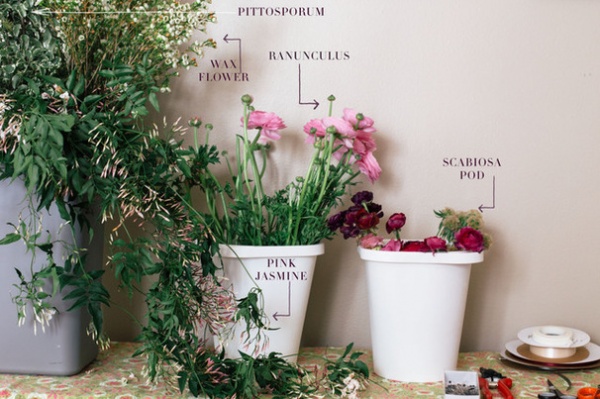
Plant materials:
• Ranunculus, spray roses or any bold, bright flowers
• Light, airy flowers such as jasmine or wax flower for contrast
• Leaves and stems from a pittosporum or another sturdy plant
Tools:
• Ribbon
• Floral tape
• Scissors
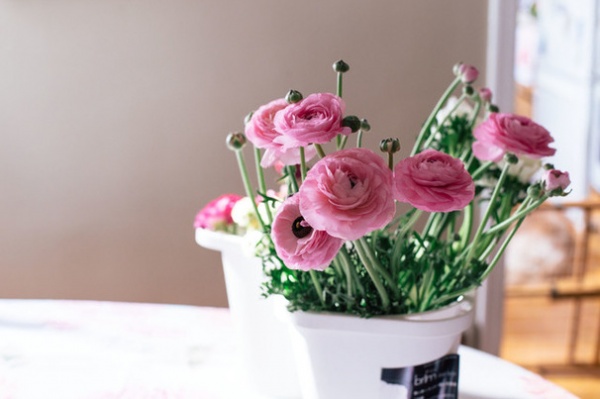
1. Select a single centerpiece ranunculus or similar flower.
2. Trim the stem to about 4 to 5 inches long. If young children are helping with the cutting, keep an eye on them or help them with this step.
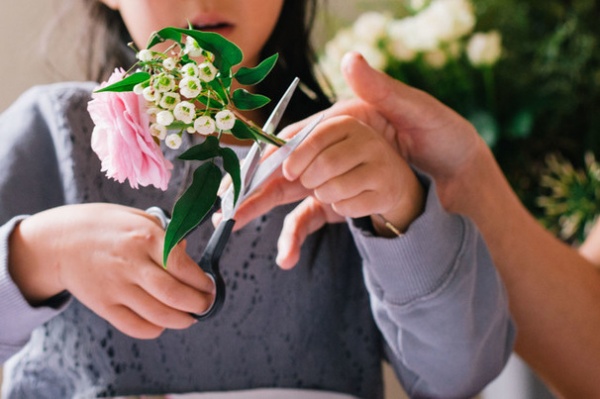
3. Choose a contrasting airy flower and a leaf or two.
4. Hold them against the centerpiece flower and adjust their placement until you have the look you want. Trim the stems so they’re the same length as the main flower.
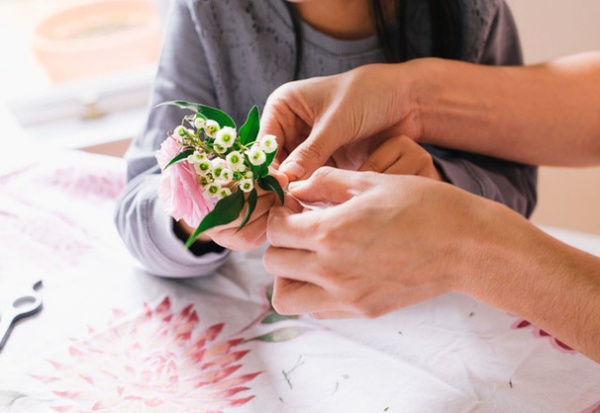
5. Hold all the stems together and wrap floral tape around them so it covers the stems from the bottom to about three-quarters of the way up. To ensure the tape will hold, repeat the wrapping a few times.
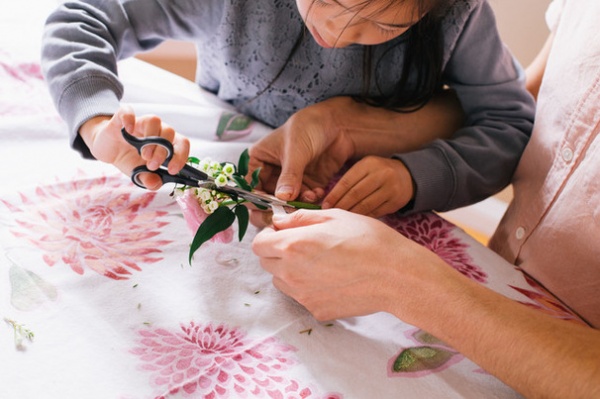
6. Trim the tape.

7. Cut a piece of ribbon long enough to cover the floral tape. Wrap it to cover the tape and tie a knot to hold it in place. Tuck in the ends.
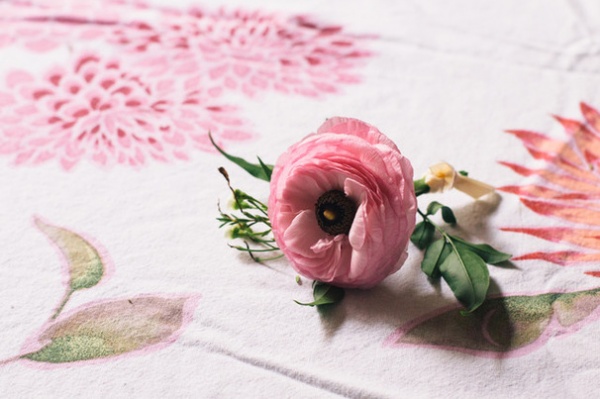
8. Once you’ve finished with the ribbon, the corsage is ready to be pinned in place. You can also tuck it into a jacket buttonhole as a boutonniere or pin it on the jacket.
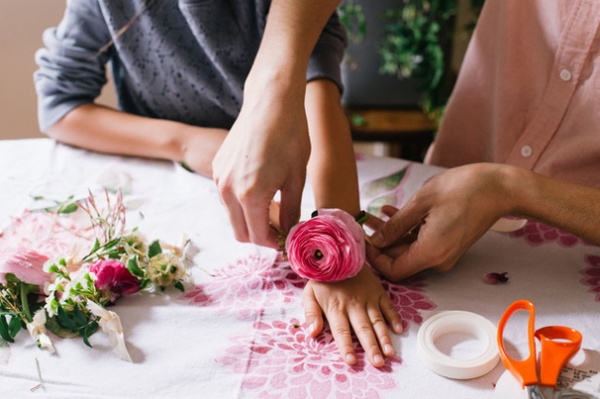
9. You can also turn these into wrist corsages. Wrap a piece of ribbon tightly around the stem, but don’t cut it yet. Instead, lay the corsage on top of the wrist and then wrap the remaining ribbon around the wrist, much like a bracelet.
Continue wrapping a few times and then top the wrap off with a bow. Trim any excess ribbon.
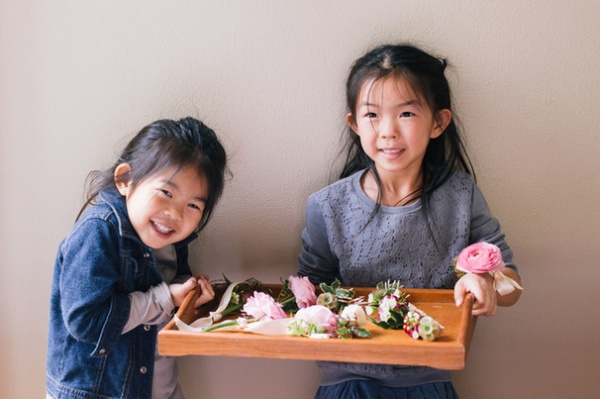
10. It’s time to let your little ones play Cupid and pass them out. Riley Jang, age 4 (left), and Dylan Jang, 6, are ready to share their handiwork.
More:
Handmade Home: The Paper Pompom
Tickle Your Valentine Table’s Fancy With Neon Pink
Send Your Sweetie Some Love — Houzz Style
Related Articles Recommended


