Before and After: Front Lawn to Prairie Garden
For years my wife and I talked about removing our front lawn and installing a garden. Of course we were hesitant for many reasons, from finances to how the neighbors would react. Finally we got up the gumption, and with a little support from friends and a fairly aggressive methodology, we developed the beginnings of a suburban game changer. Yes, I’m being optimistic; one of my neighbors mows three times a week, while most have underground sprinklers that go off every other day regardless of rainfall.
Lawns cover over 40 million acres in the U.S., which makes them the largest cultivated crop. They are resource and time intensive and almost a 100 percent dead zone for birds, butterflies, bees and many beneficial soil organisms. Every garden matters, especially if you can use a healthy number of plants native to your locale. Following is our lawn conversion project, along with some alternative methods you can use for your own.
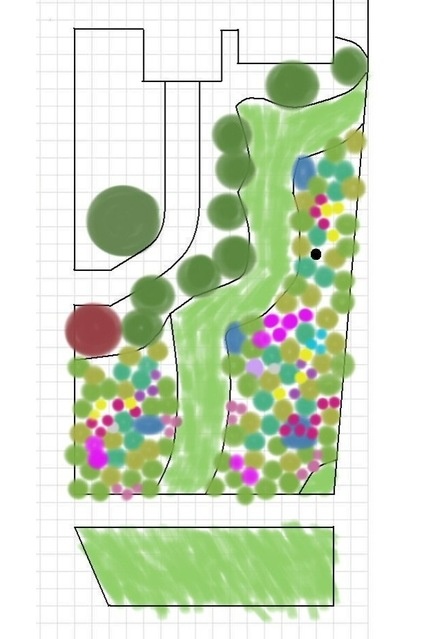
The Concept Design
Here’s the quick and simple plan I drew up for our front yard. The yard has a slight slope to it and faces north. It’s composed of around 150 native prairie plants, almost all drought tolerant. Probably around 60 percent of the plants are grasses, including sideoats grama (Bouteloua curtipendula), little bluestem (Schizachyrium scoparium) and prairie dropseed (Sporobolus heterolepis), which provide the bones and backdrop. Wildflowers include purple and pale purple coneflower (Echinacea purpurea and E. pallida), black-eyed Susan (Rudbeckia hirta), white and purple prairie clover (Dalea candida and D. purpurea), sky blue aster (Symphyotrichum oolentangiensis), smooth aster (Symphyotrichum laeve), aromatic aster (Symphyotrichum oblongifolium), pasque flower (Pulsatilla patens), rough and meadow blazingstar (Liatris aspera and Liatris ligulistylis) and round-headed bushclover (Lespedeza capitata).
Two key aspects of the design:
No plant should grow much taller than 3 feet. The hope here is that this will appeal to neighbors, keeping the garden from looking “messy” or overgrown.No plant taller than 2 feet is within 6 feet of the sidewalk. Again, the purpose here is to negate the idea of “weedy” by not overwhelming with taller plants near pedestrians. As we have a homeowner’s association (HOA) starting up, we tried to think hard about future landscape bureaucracy. If we’re lucky, the many butterflies and birds that visit this new landscape will be our best ambassadors. (The current bylaws say nothing about what you can or can’t plant, but you should check your own HOA.)
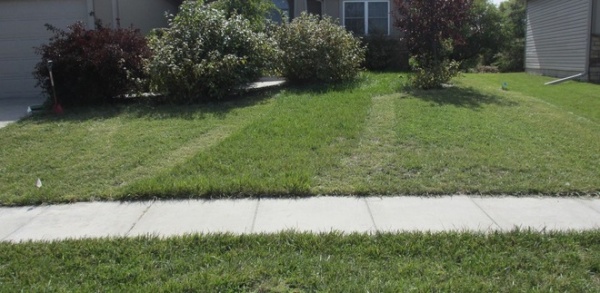
I prepped the front yard by measuring the beds and using a garden hose to lay out the curve of the grass pathway. I then scalped the areas of lawn we’d be removing. The grass path is 6 feet wide, a generous size that shows some design intent and links it to the parking strip between the street and the sidewalk. I think it’s important to show that the landscape has intention — keeping some lawn may help with that idea. I’ll tell you, though, it’s been a dream having to mow only that path.
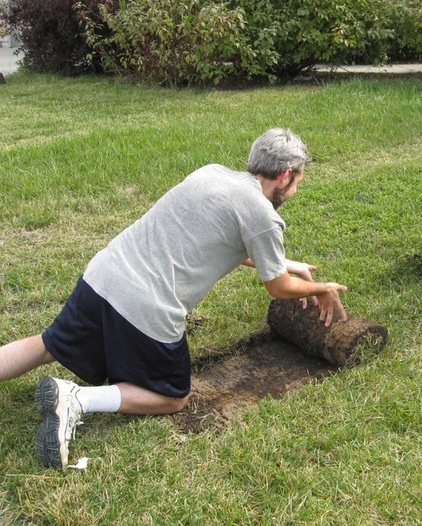
Removing the Lawn
Yes, that’s me in my gray hair and sweaty T-shirt — please try to refrain from making me your screen saver. I hired a friend to rent a sod cutter, and the lawn rolled up nicely. Now, there are other ways to remove the lawn, including laying sheet mulch with a layer of cardboard, compost and wood mulch. Sheet mulching might take a year to decompose, or some folks go ahead and plant directly through it; personally, I find planting in that way aggravating.
Why did we go with a sod cutter? Speed of installation. I wanted to get the garden in quickly before anyone complained (maybe I was paranoid), and unsightly sheet mulching would not have worked out front (nor would solarization with plastic). I could have gone with sheet mulching or solarization if this had been a backyard project, but rolling up the sod took 60 minutes and cost less than $200.
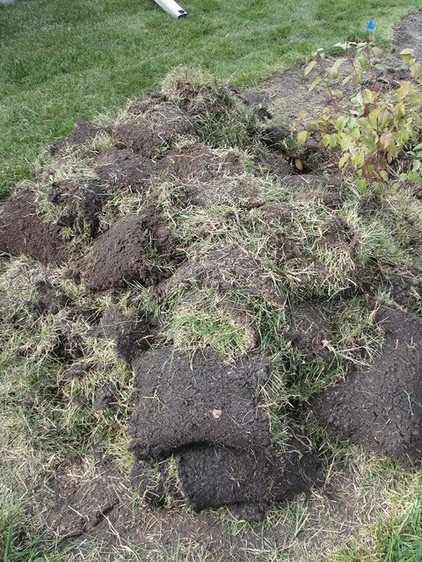
Ever wonder late at night what 600 square feet of sod looks like in a pile? After posting to Craigslist, I was thrilled that a woman stopped by twice to take most of it away (we filled up her trunk until nearly bursting). The rest is making mighty fine compost out back.
Prepping and Planting
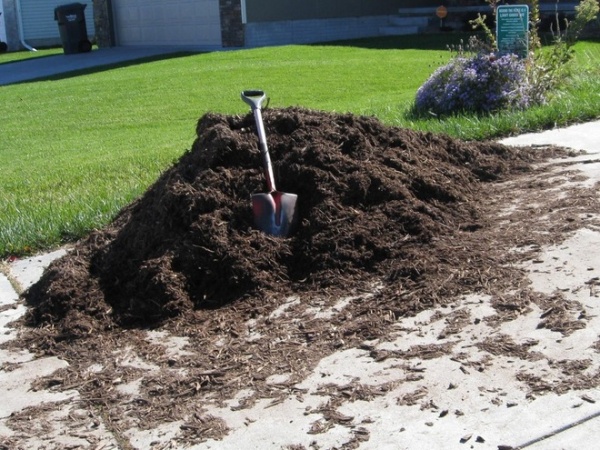
The soil in the front yard is hardpan clay — it was really nasty to dig and slowed down my work. I debated using any mulch at all, because the goal is to have the plants act as their own mulch once mature. But I needed to add organic matter without tilling (tilling destroys soil structure), find a way to impede newly exposed weed seeds and control moisture levels in the soil as the plants become established. Three cubic yards of wood mulch it was.
New Ways to Think About All That Mulch in the Garden
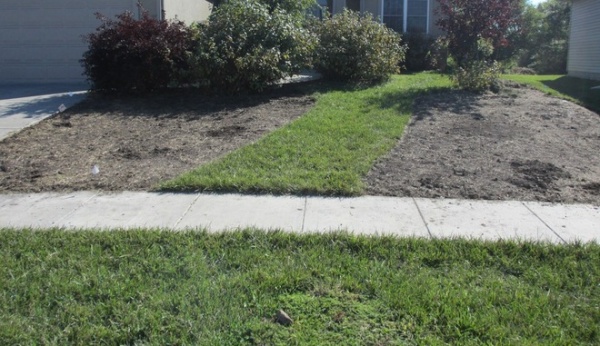
Achieving a clean slate fairly quickly helps my envisioning process. On paper I can imagine the garden clear enough, but it doesn’t really take form and evolve until everything is wiped clean.
Redtwig dogwood cultivars (Cornus sericea ‘Arctic Fire’) that were supposed to be 3 to 4 feet tall line the back sidewalk — they’ve gone 200 percent beyond that. I’ll maintain them at a lower height to provide better scale — low prairie perennials up front, midlayer of shrubs, then a weeping white birch around 12 feet tall closest to the house.
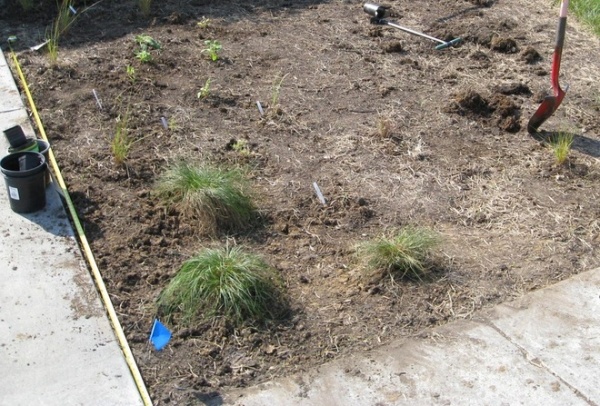
Plugs and 3-inch pots were the way to go to keep plant costs down. I had only a few plant divisions in the backyard, and I didn’t have seed for around half of the plants I chose. (Believe it or not, I have no bluestem or dropseed anywhere else.) Another planting option would be to collect or order seed the year before, then grow it yourself in pots or seed beds.
I pretty much followed my plan about two-thirds of the way through, then the landscape started speaking to me in a different way. So I moved plants and added some — the garden will look better for it. The evocation of place, not to mention other more practical factors, evolves by the minute when shovel meets soil.
The Current State
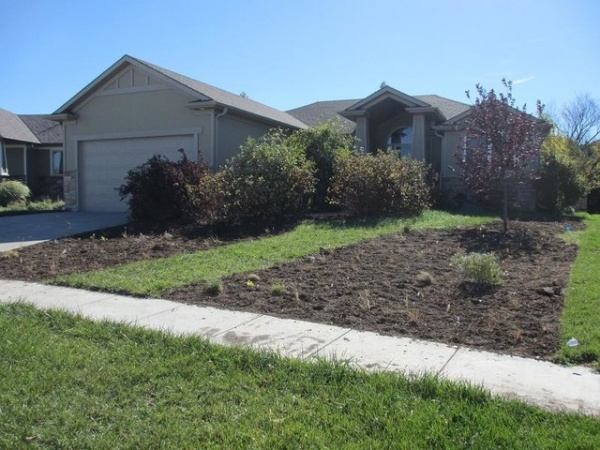
Here’s the finished project, which looks like a well-behaved mulch lava flow. The plants are placed in masses and drifts, staggered in formation to prevent the firing-squad look. If I had seeded the space, I’d have a “weedy” and “messy” meadow that would certainly draw the ire of neighbors. Instead, small plants will establish as quickly as larger ones and provide a more pleasing design. Give it just a year and it should be looking quite jazzy.
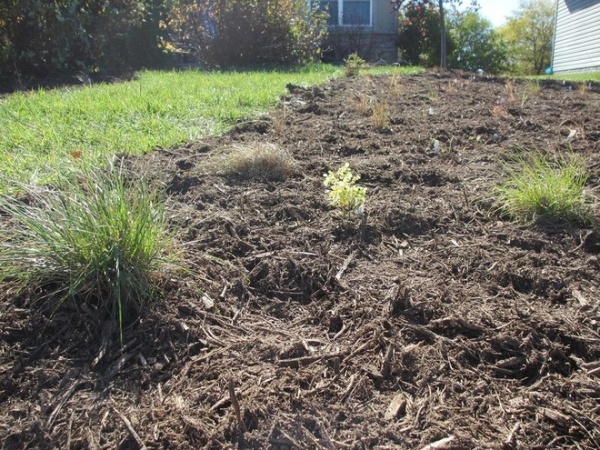
Sometimes you have to get down on hands and knees to make a new garden with juvenile plants look more interesting. The low autumn sunlight at dusk already shows off some of the fall colors of little bluestem, and here among prairie dropseed a lone lead plant (Amorpha canascens) shines in yellow foliage.
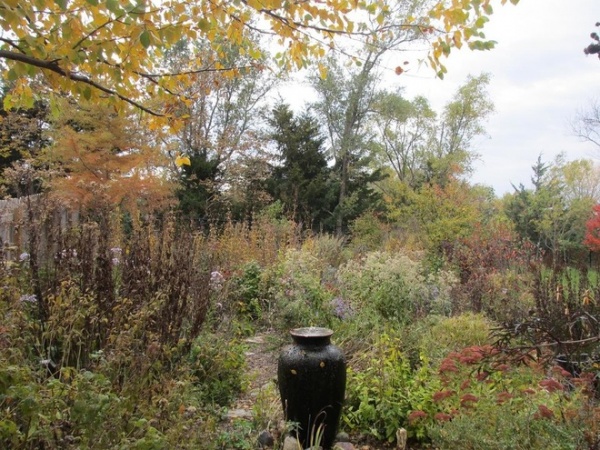
The front-yard garden will never look like the back, shown here about seven years after planting, but that’s OK — that’s the point. It’s nice to have diversity on just one suburban lot, and many of the same plants were used in both locations to create some continuity.
Tell us: Have you redesigned your front yard? How did it go? Are you making plans for your garden this year? And if you’re ever in the Lincoln, Nebraska, area, stop by and visit our garden.
More:
How to Replace Your Lawn With a Garden
See 6 Yards Transformed by Losing Their Lawns


