How to Make a Festive Paper-Cut Ornament
http://decor-ideas.org 12/20/2014 23:13 Decor Ideas
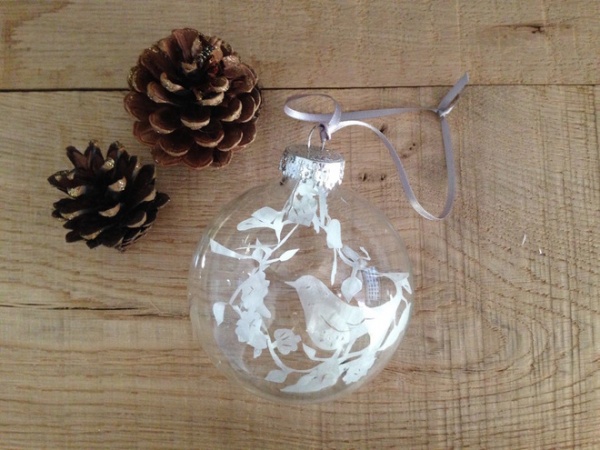
Create your own tree decoration this year with a design cut out of paper and tucked inside a clear glass ball. You could personalize it with a word, name or phrase, go simple or choose a more intricate design like the one below. This decoration is made with white paper, but it could equally be in another festive color, such as gold or berry red. Hang it on your own tree or give one as a gift for a loved one to treasure year after year.
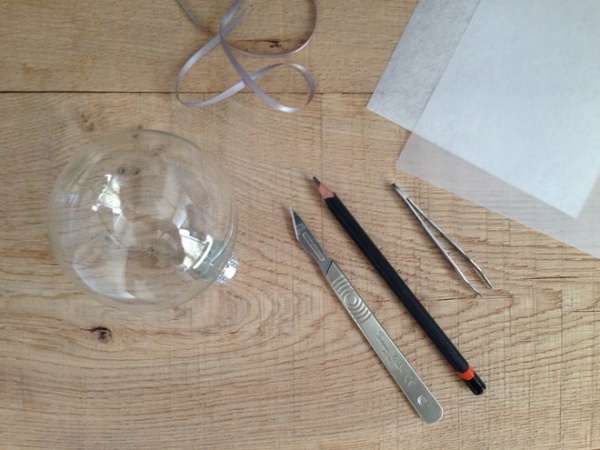
Materials and tools:
Clear glass ball ornament with removable topCutting matCraft knife (#10 blade recommended)Tracing paper Pencil Scissors Tape RibbonTweezers (optional)Knitting needle or skewer (optional)
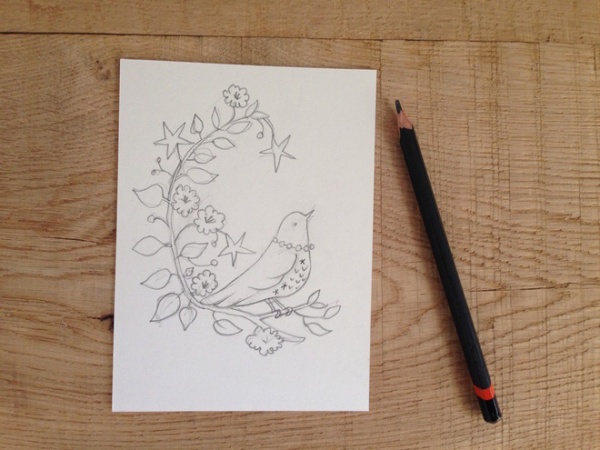
1. Sketch your design on some scrap paper.
Once your paper is inside the ball, it will be able to curve and twist, but don’t make the design much more than ½ inch longer than the diameter of your ball. You may want to practice with different designs and roughly cut them to see how they will look once inside the ball.
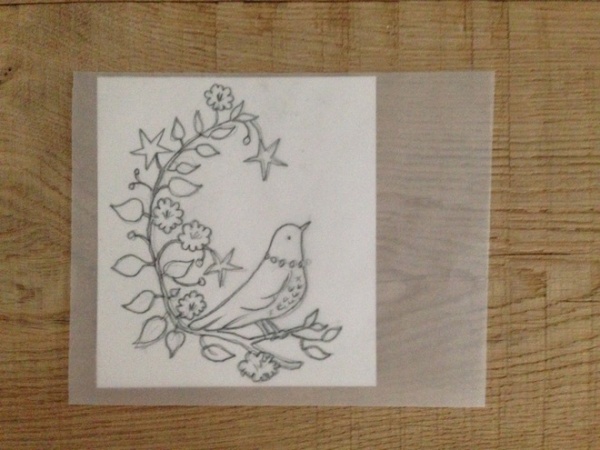
2. Once you have created the design, copy it onto tracing paper.
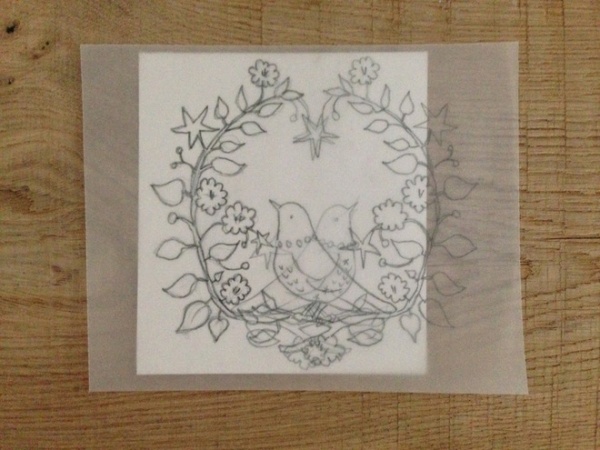
At this stage you can be creative with your design, for example making a symmetrical pattern by simply retracing elements of your drawing. The tracing paper is also important for cutting out any numbers or letters, which will need to be cut in reverse later (the clean flip side will read the right way).
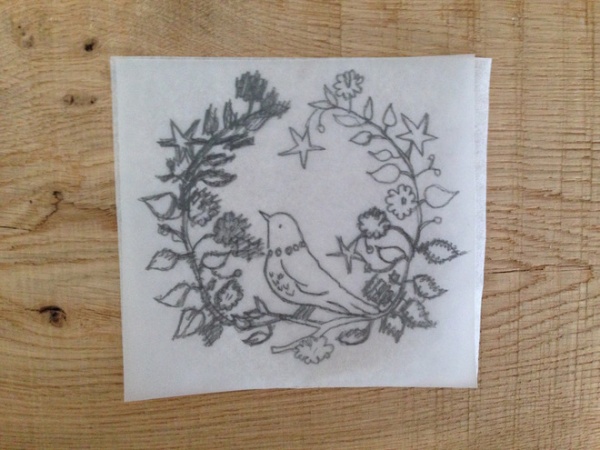
3. Draw over the final design on one side of the tracing paper. Turn it over and tack it down onto the clean paper with tape. (Watercolor paper works well, as it’s strong yet easy to cut and will remain stiff once inside your ornament.) Retrace over the pencil lines to transfer the design onto your paper.
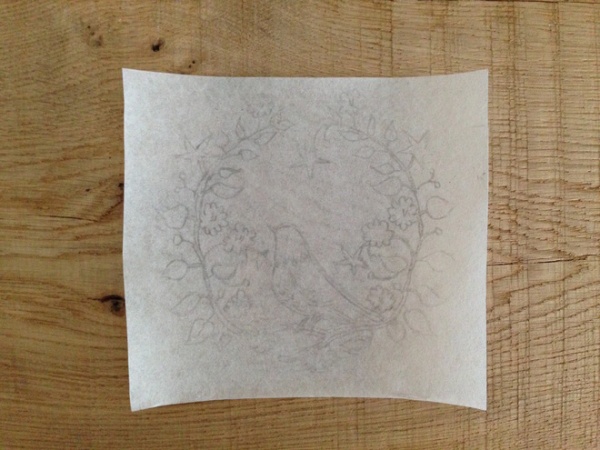
4. Remove the tracing paper to reveal your design, ready to be cut. The design will be in reverse. This will mean any numbers or writing in your design will be the right way on the clean side of the paper.
With paper cutting on such a small scale, it’s hard to avoid showing some pencil lines on the underside of the design. Try to keep the transfer pencil line faint — clear enough to guide you but not so heavy as to spoil the final design. (For a bigger-scale project, you can simply cut through the tracing paper and the paper at the same time, avoiding transferring any lines onto the paper at all.)
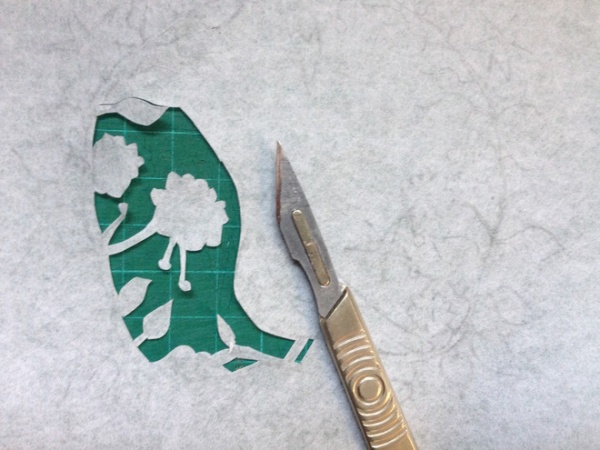
5. With a new blade in your craft knife, begin to cut away the unwanted paper in between your lines to reveal your design. To cut very curved lines and text, it can be easier to hold the knife in place and move the paper, rather than make the blade travel along the line. Allow a little extra paper at the top of your design to attach to the neck of the ball.
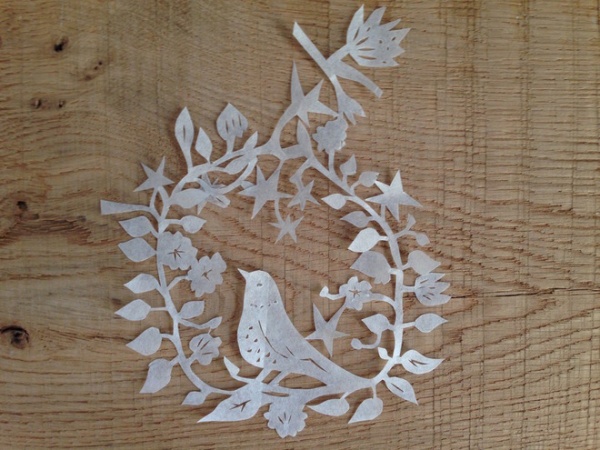
6. You may want to alter the design as you cut, simplifying details or adding things in as you see fit.
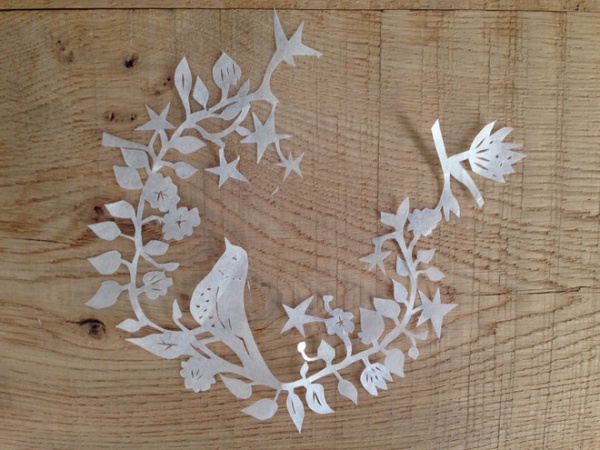
Be prepared to alter your design once it’s cut, too. Although it may be pretty at this stage, too much detail can be confusing and hard to see once it’s inside the ball.
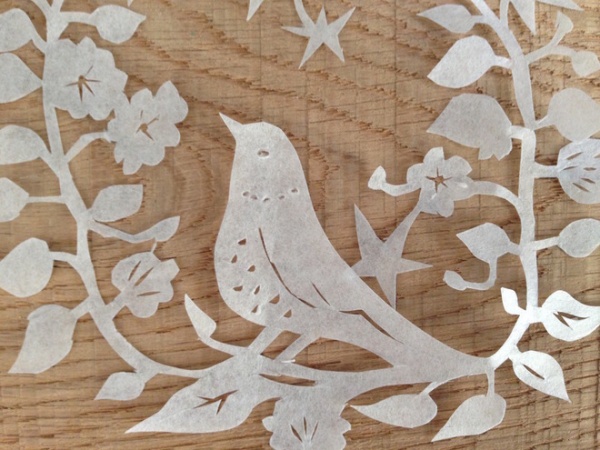
7. Small details can make your design really special. Use a needle to make small holes, like this pearl necklace around the bird’s neck. The feather details were made with the very tip of the blade held vertically as I cut.
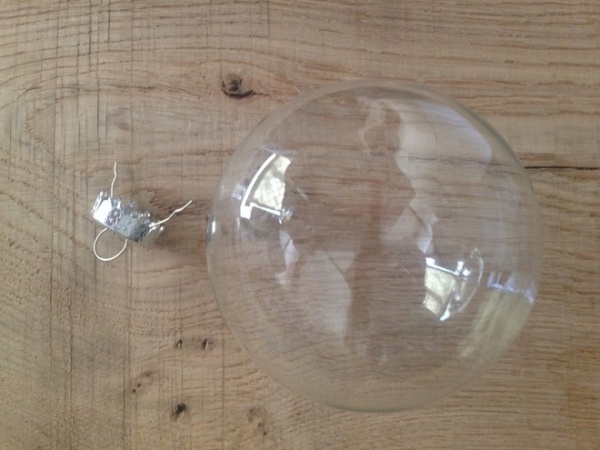
8. Take the top off the ornament.
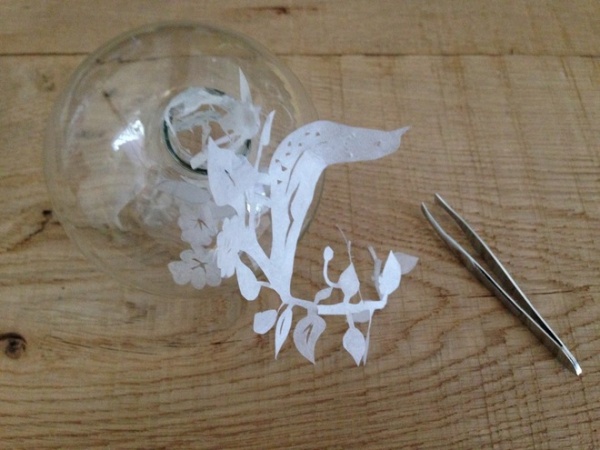
9. Place your design carefully inside the bauble. This will be a little fiddly, so feed it in bit by bit. I used a pair of tweezers to help ease it in, followed by a knitting needle to help work it into position and stop it twisting and tangling inside the ball. Leave a short length of the paper outside of the ball’s top to secure it in place.
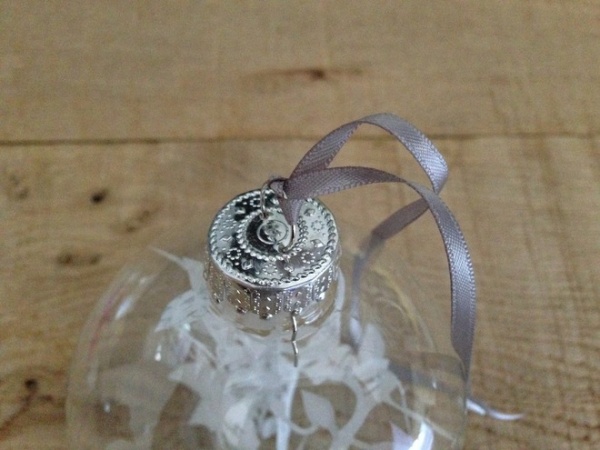
10. Once your paper is in position inside, tape the ends to the top of the opening to secure them in place. Replace the top and tie a ribbon through the loop for hanging.
Learn how to make your own wrapping paper
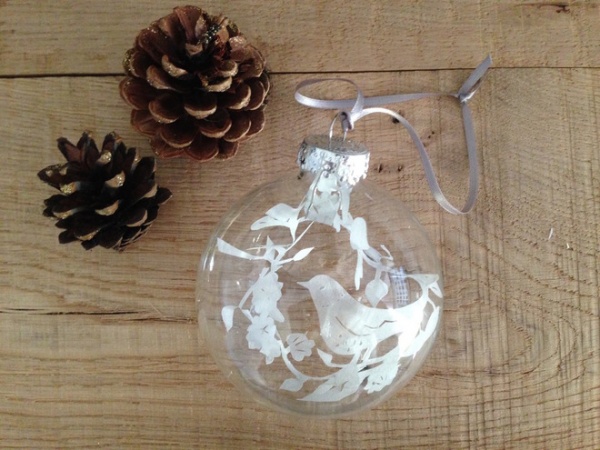
11. Hang your unique ornament on your tree or in a window as a beautiful decoration, or wrap it in pretty tissue paper and give it to a loved one as a special gift.
Tell us: Do you have any special ornaments? We’d love to know their history and see a photo in the Comments below.
More:
20 DIY Ornaments to Give or Keep
Collecting Christmas Ornaments That Speak to the Heart
Related Articles Recommended


