What to Know About Adding a Reclaimed-Wood Wall
http://decor-ideas.org 12/04/2014 20:13 Decor Ideas
Adding reclaimed wood to your interior is a quick way to introduce warmth and texture. Used in abundance, it has a rawness that can balance overly neutral or modern spaces and anchor sprawling floor plans. But while installing reclaimed-hardwood floors or countertops can get expensive with the amount of staining, sealing and labor needed, an accent wall of reclaimed wood can be a smaller investment that makes a big visual statement. Here’s what you need to know before getting started.
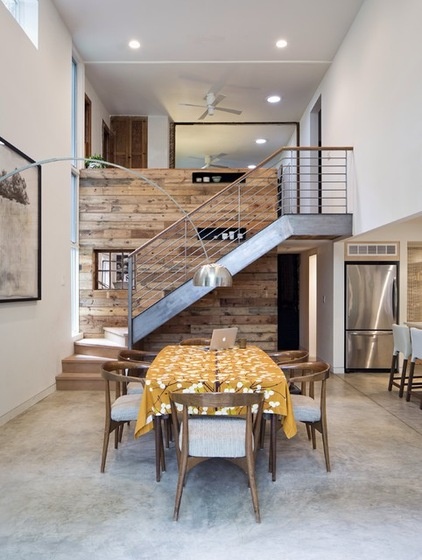
Project: Creating a feature wall using reclaimed wood.
Why: A wall paneled in reclaimed wood can add texture and warmth to a space. It also is a way to reuse or repurpose a material left over from a previous renovation or remodel.
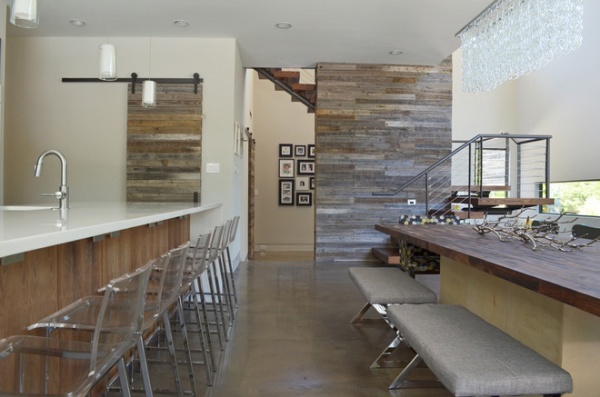
Things to consider: Since the wood itself can have a lot of character, Wakako Tokunaga of Wakako Tokunaga Architecture says it’s important to consider balance in the space. “I like to keep the articulation and details simple to emphasize the beauty of the material,” she says. In other words, wood accent walls work best when they are truly an accent, celebrating a special “moment” in the design, rather than overpowering a room. Here that special moment is a striking staircase.
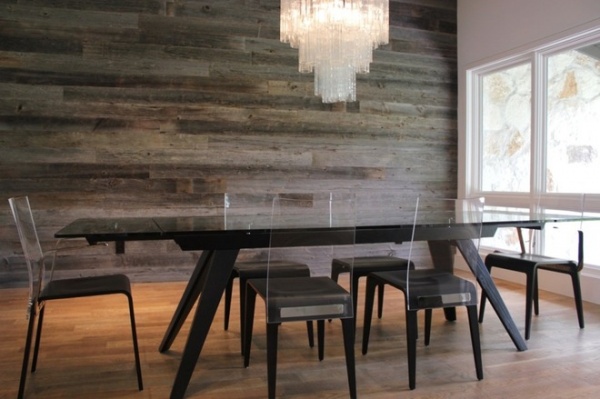
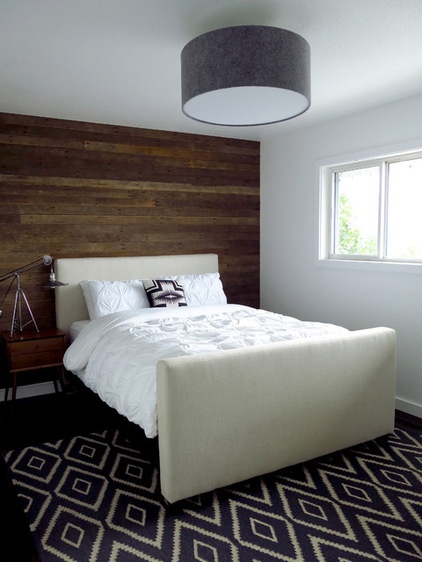
Other great spots for an accent wall of wood are in a bedroom to highlight a bed, in a bathroom behind a claw-foot tub or in any room to offset a piece of art or a light fixture.
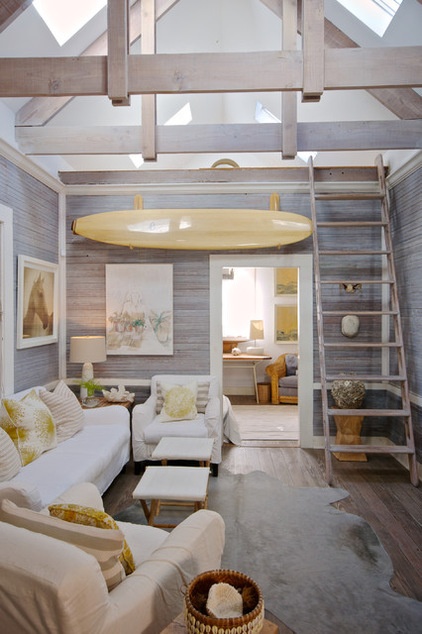
Achieving the right proportion of accent wall to other wall space is crucial. Here wood-paneled walls go beyond just an accent but work beautifully, thanks to a high ceiling and a neutral palette.
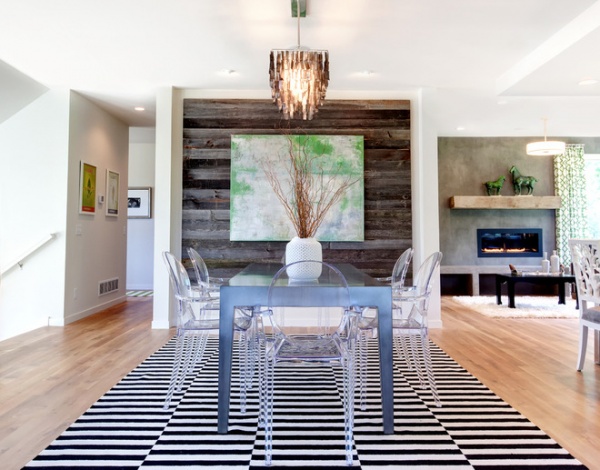
Color palette is a key consideration when deciding how to incorporate a reclaimed wood wall, according to Matt Schmidt of AMEK Custom Builders. Reclaimed wood’s finish can vary greatly, from smooth, weathered gray to rough hewn in a rainbow of paint colors. When in doubt, clean white walls work well with any color of wood.
For this wall Schmidt stripped down 8-inch Douglas fir siding to 4 inches, using a tongue and groove method so he could butt the pieces together flat instead of making them lapped. He then installed the pieces over ¾-inch batten strip so the whole thing sticks off the wall and creates another shadow line. He estimates a similar project would cost around $2,500. “But it could maybe be done for half if you simplified the install,” he says. “Just me being complicated I guess. I also looked at it like a piece of artwork to justify the cost.”
View other ways to use reclaimed wood
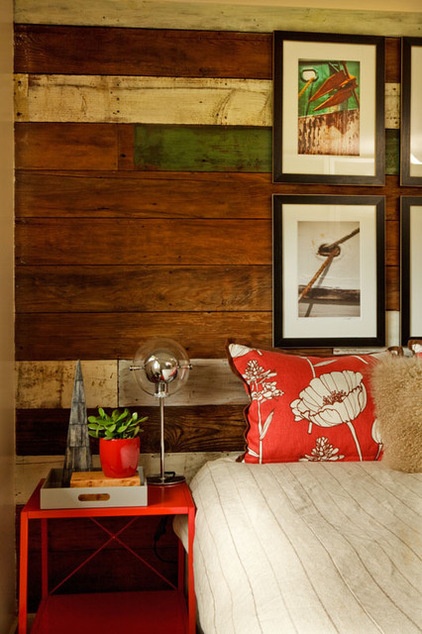
Choose the right reclaimed wood. Reclaimed wood can come from a variety of sources — shipping pallets, boats, barns, sheds, mills, commercial structures and even your home if you’re remodeling. It’s possible to score a pile of reclaimed wood for free if you know where to look and can do the legwork.
If you live in an area where barns and farmhouses dot the landscape (like the Northeast), consider asking around among local contractors or posting a want ad on Craigslist. An owner of a dilapidated old barn might be willing to part with some barn board, especially if you offer to haul it away yourself.
Local excavation companies can also be a good source, since they are often called in to demolish old buildings, and the less they have to excavate, the better. And though it can’t hurt to try an Internet search for reclaimed wood, you’ll want to look for results close to home, since shipping wood long distances can negate any benefits of reusing the material. Schmidt also says there can be wide variances in the quality and integrity of wood found online. It helps to be able to see it in person to get a feel for how it has weathered and aged — the characteristics that make it so distinctive.
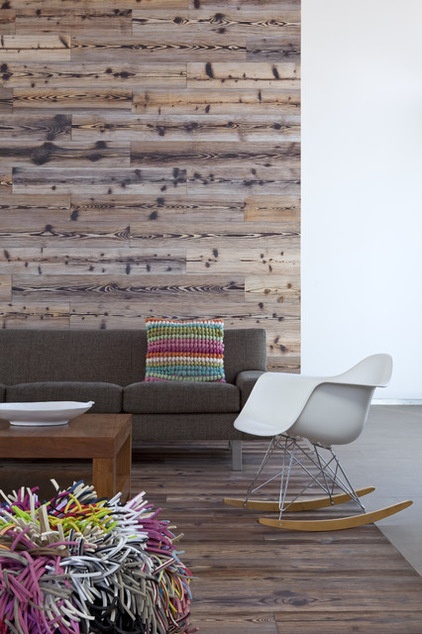
In any reclaimed-wood pile, there will be unusable scraps. The key is finding pieces in good condition that are not overly warped. (It’s also a good idea to look out for bug infestation, since that can turn into a homeowner nightmare, according to Schmidt.) Reclaimed wood that is brittle and nonuniform can require extra steps, such as carving tongue and groove parts and then milling the surface for a smooth finish. But don’t be afraid of wood with distinct age marks. These can present a visual history, says Schmidt, who recommends oak and Douglas fir because of their hardness and durability.
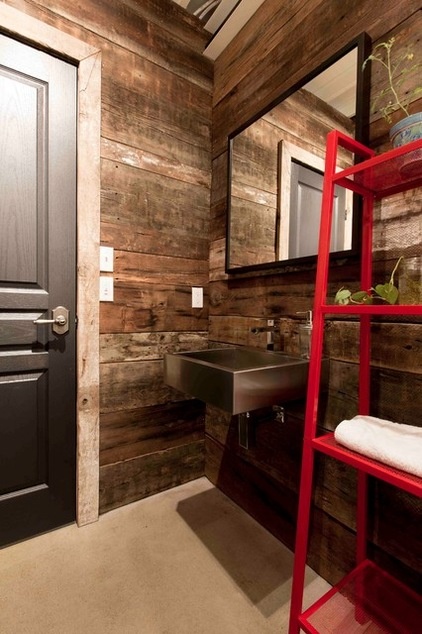
Watch out for splinters and nails. You’ll need to make sure the wood is properly sanded so splinters won’t be an issue. When using wood collected from a demolition, make sure to carefully remove any old nails. The pieces will need to be planed and cut to the desired shapes and sizes also. Unless you have the right tools and machines, this prep work should be done by a professional finish carpenter.
Claudie Durbeil, who designed and built the bathroom shown here, says the cost for reclaimed wood should run about $4 to $7 per square foot, depending on the quality. Typically, she says, if you buy the cheaper stuff, you’ll likely need to have more of it trimmed and planed to get rid of the bad parts, whereas the wood planks on the higher end of the spectrum have usually already been vetted for the best pieces.
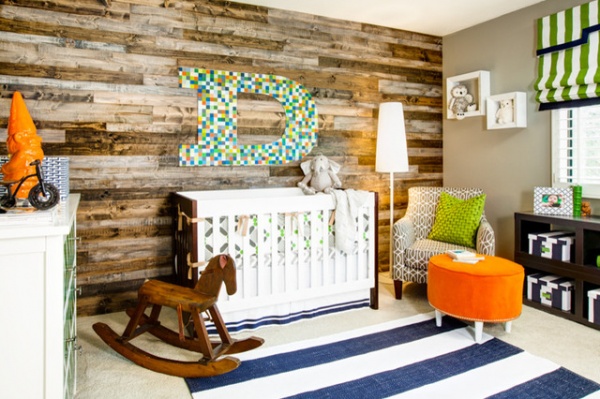
In areas where reclaimed wood may be hard to come by (the Southwest, for example, where barns aren’t a predominant architectural style), Joanna Gick of J & J Design Group recommends using new wood planks from the local hardware store and staining them to achieve a reclaimed look, which is what her team did in this nursery. This approach costs about $4 per square foot, according to Gick.
Who to hire: A savvy DIYer could tackle this project, assuming the person has the right tools and, most important, the right wood. But experts recommend hiring a professional carpenter, since working with and cutting old boards can be tricky, due to irregular shapes and sizes. A local reclaimed-wood specialist can be helpful and even save you time and money.
Tools you will need: If you decide to take on the project yourself, your list of supplies will vary depending on the condition of the wood. But you will probably need a nail gun, a chop saw and sandpaper on hand. You’ll also want to know the square footage of the wall you’re covering — this will help with budgeting as well.
See more Great Home Projects
Related Articles Recommended


