Create a Pretty Jewelry Stand From Vintage China
http://decor-ideas.org 12/02/2014 21:13 Decor Ideas
A few years ago, I inherited a collection of my grandmother’s china that I simply couldn’t part with. Every visit to her house had consisted of cups of tea, a slice of jam-oozing sponge cake with generous dollops of cream, remarks on the escalating price of eggs and gossip about the relatives. She was a lady of small means, but she was proud of her dishes. I loved the thought of her generous hands holding her favorite cup while she sipped Earl Grey.
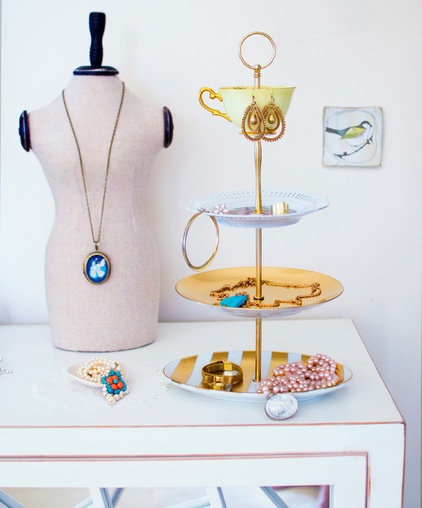
Recently I came up with a great way to keep her beloved china permanently on display. I turned it into a beautiful and practical tiered jewelry stand. Here’s a step-by-step guide so you can make one yourself.
Before You Start
The most difficult (and fun) part of creating your jewelry stand is deciding on what proportions, colors and eras will work harmoniously. Play around with your pieces until you’re happy with the look when they’re stacked.
Choose key features of each plate to accentuate with a certain paint that will bring the different plates together. For example, I chose to accentuate the gold on the cup handle and spray painted two of the plates and the hardware to match.
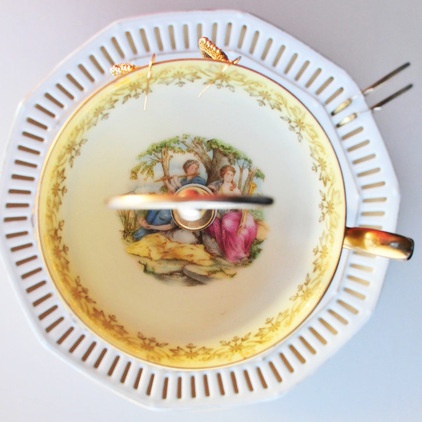
If you’re scouring thrift shops and flea markets for vintage dishware, look for features that will hold your jewelry in inventive ways. I found a plate in my collection with holes around the edges, perfect for holding and displaying earrings. A teacup at the top easily holds hook earrings around the rim.
Materials and tools:
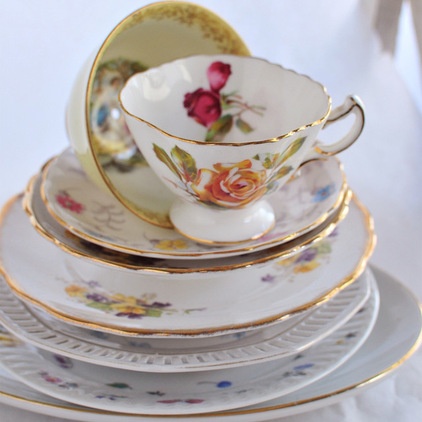
Assortment of plates, cups and saucers. Vintage china is usually thinner than modern china, making it easier to drill. You will need a little patience when drilling, as breakages can occur if you rush.
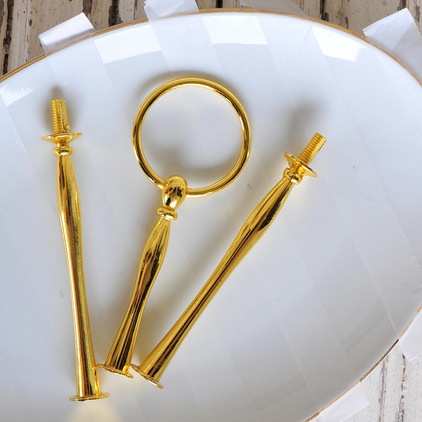
3-tiered cake stand hardware. (I bought two sets to make four tiers.) 6-millimeter tungsten-tipped diamond drill bitHand drillIf you’ll be painting the dishware and hardware, you’ll also need:
Rough sanding paperSpray base coatSpray paint in your preferred color for use on ceramics and hardwareTape for masking off areasRulerPencil
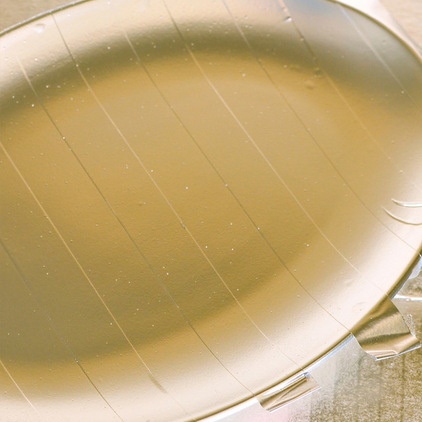
1. If you want to paint stripes on the plates, use a pencil and ruler to measure and mask the stripes. Gently sand the exposed surface, then apply a base coat. Allow it to dry and spray on a light coat of paint. Allow the paint to fully dry, then repeat.
Note: If you use spray paint, your dish will not be food safe.
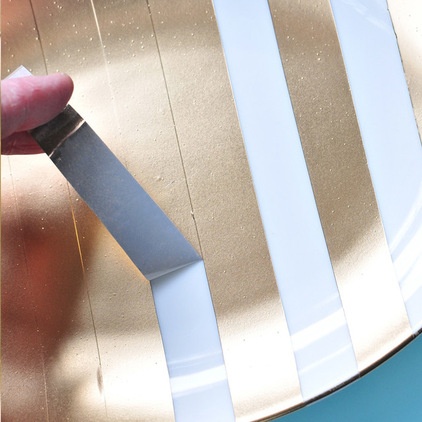
Carefully remove the tape.
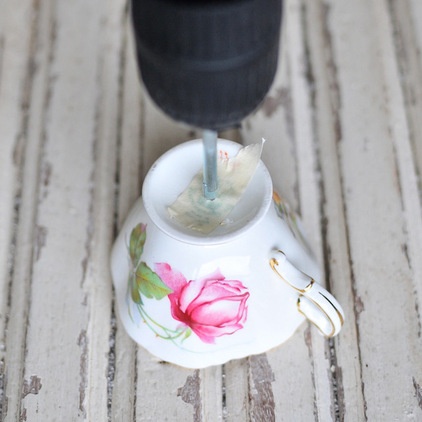
2. On the back of each dishware piece, apply a strip of masking tape. This will stop the drill bit from slipping. Mark the center of each piece with a pencil. Drill slowly until a small hole is established, and then continue until you’ve fully drilled through the base.

3. Once all the holes have been drilled, thread the hardware through the dishware to form your stand.
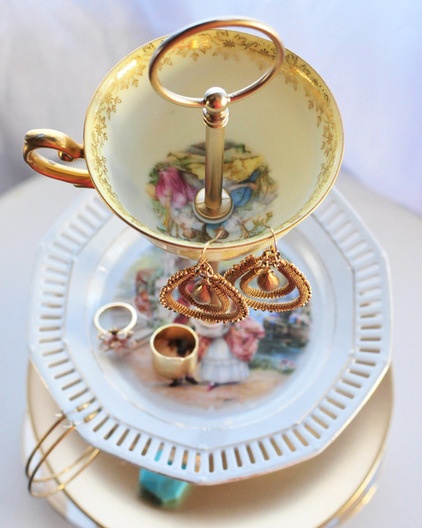
4. Fill your stand with jewelry. Use the teacup for studs and smaller items, and the plates for rings and chunky bracelets. Hang necklaces and dangly earrings from holes and the hardware.
Empty or fully stocked with jewelry, the stand will add a personal element to your jewelry storage (and in my case, it rekindles fond memories).
Tell us: How do you store your jewelery? Share your photos and ideas in the Comments section.
Browse more DIY projects
Related Articles Recommended


