Make Your Own Abstract Photo With Cocktail Umbrellas
http://decor-ideas.org 10/22/2014 09:13 Decor Ideas
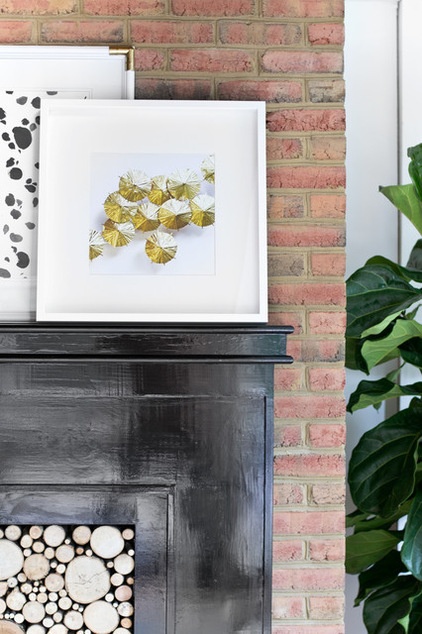
The other day while watching TV, I saw a stunning piece of abstract art used in an office. Looking closely, I saw that it was basically a bird’s-eye view of beach umbrellas. I instantly looked it up to purchase it but hit a dead end. So I did what any DIYer would do: figured out how to make a similar piece myself. Here’s what I did. How would you give it your own spin?
Materials and tools
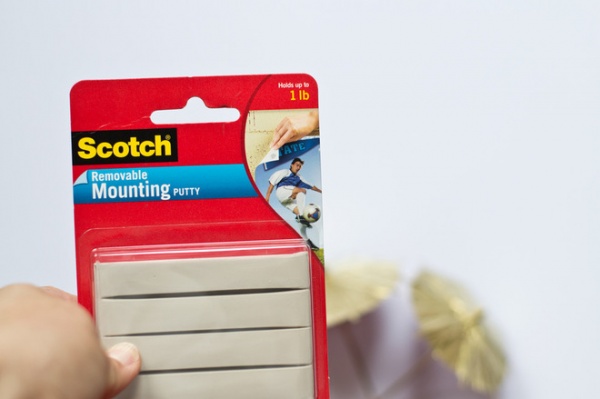
Umbrella picks (available at any party store) Primer and spray paint (color of your choice)Removable mounting putty Cardboard or Styrofoam Scissors Camera Printer (or you can use a local or online print shop)
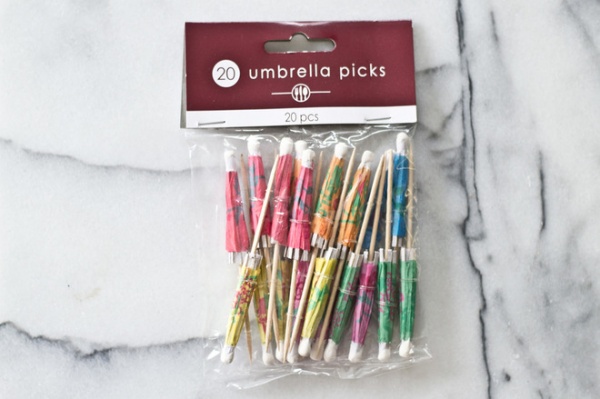
1. Unwrap the umbrella picks. I found these at a party store for 99 cents.
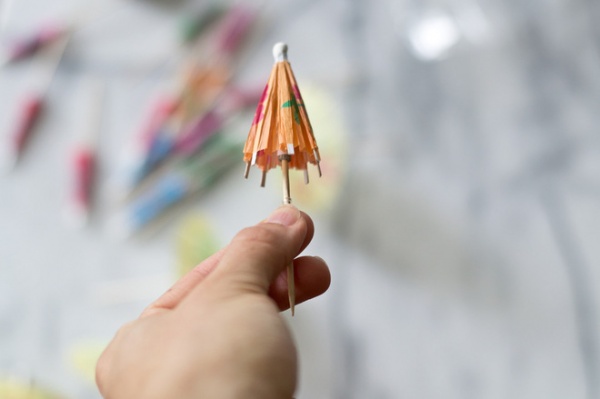
2. Carefully open each umbrella and slide the clear ring up the pick to lock it in place.
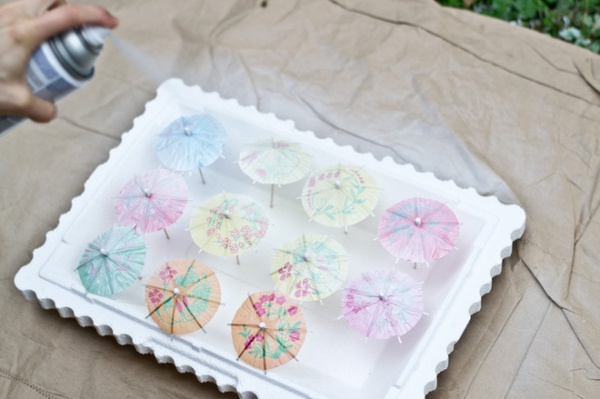
3. Stick the umbrellas in Styrofoam or cardboard and apply a few light coats of primer. Let the primer dry for about 10 to 15 minutes between coats; apply until the umbrellas are evenly covered.
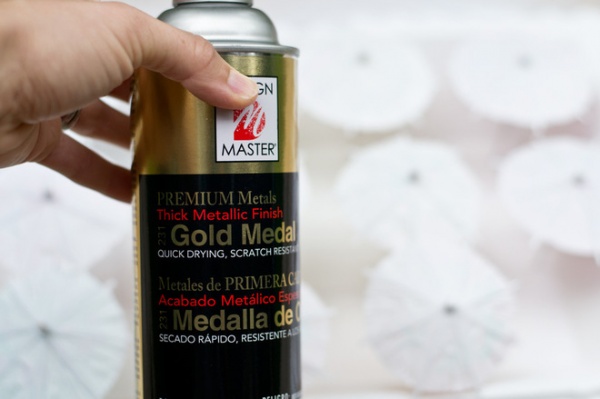
4. Once the primer has dried, apply a few light coats of spray paint. Let it dry about 10 to 15 minutes between coats.
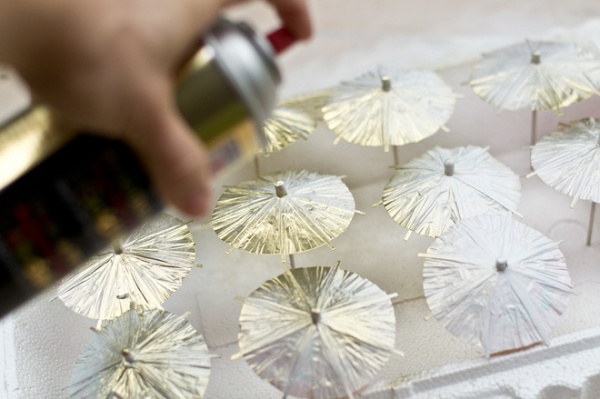
5. Apply until the umbrellas are evenly coated.
6. Once the paint has completely dried, prepare your photo work surface. Layer a piece of white paper underneath glass. I simply borrowed a piece of glass from a photo frame.
Unwrap the mounting putty.
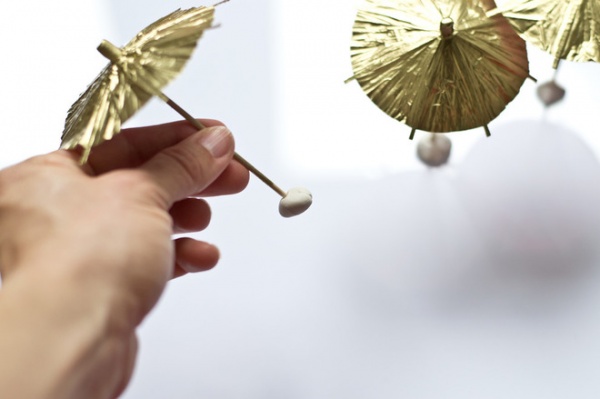
7. Apply a small ball of mounting putty on the tips of the picks and start arranging the umbrellas on the glass.
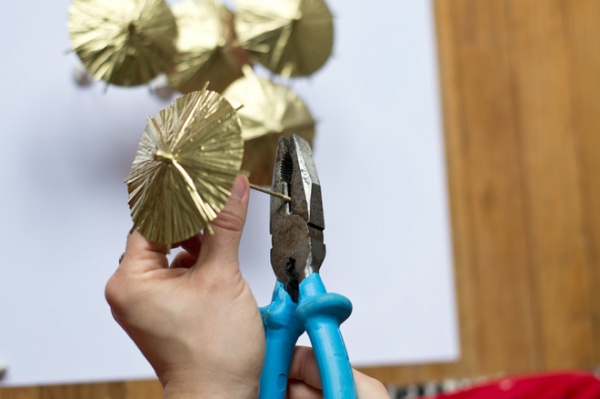
8. If you overlap the umbrellas, snip the tips of a few before you put on the putty to vary the heights, so they fit well underneath one another.
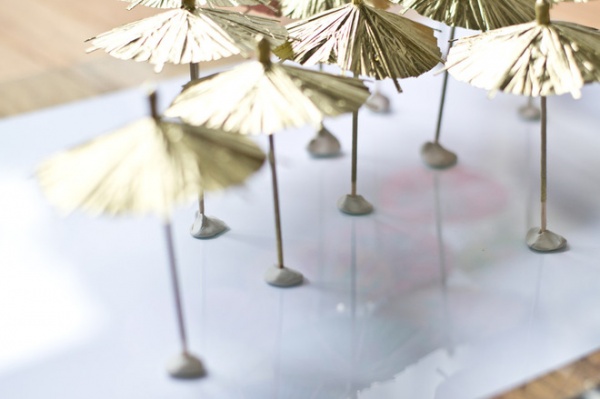
9. Once you’ve achieved your desired composition, get ready to photograph it.
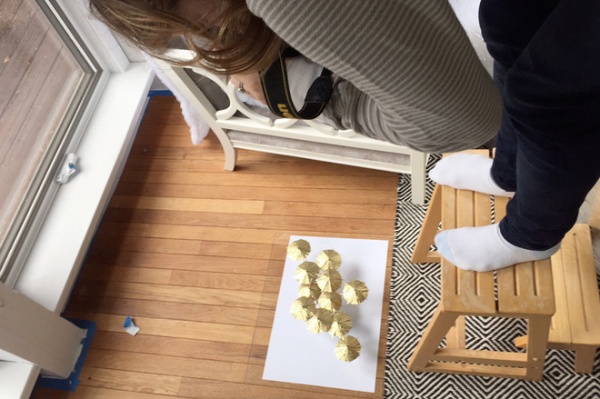
10. From directly above, take a few photos with your camera. Crop to the desired size and print or send to a printer.
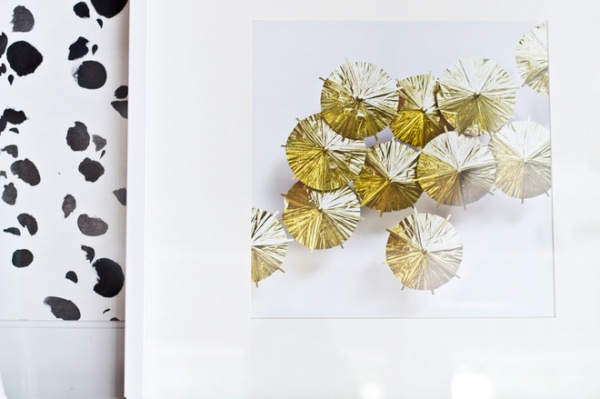
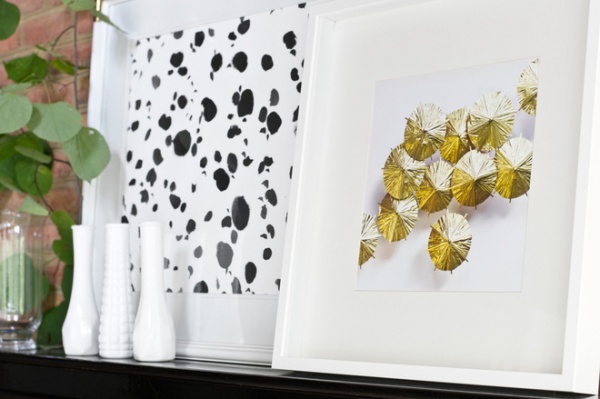
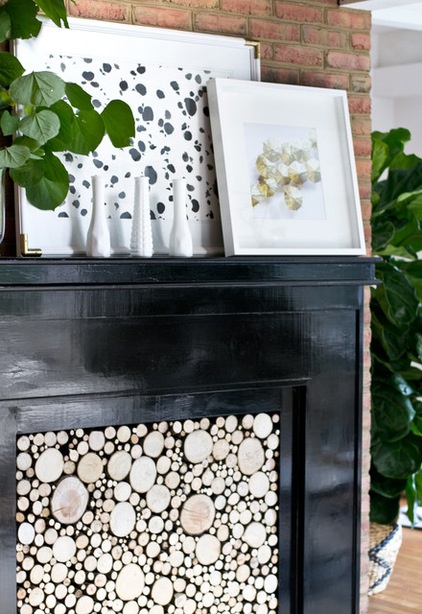
Frame your custom print and enjoy!
Looking for more DIY ideas? Find some here.
Related Articles Recommended
Related Images Recommend