Get Inspired by a DIY Mouse Pad
http://decor-ideas.org 09/18/2014 19:14 Decor Ideas
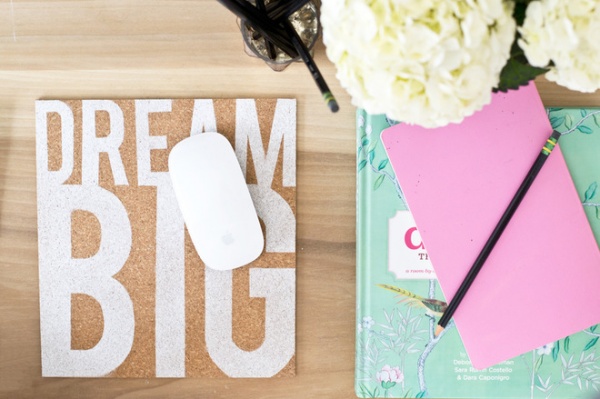
Making your own mouse pad is a quick way to get an office accessory that matches the rest of your room’s style — and personalizing your message and design is easier than you might think. In about an hour, with limited supplies, you can have your own inspirational mouse pad. Here’s how.
Materials and tools:
Cork (I used a placemat from Ikea)Text template, prepared in your program of choice and printed on 8½- by 11-inch paper Contact paper Scissors X-Acto knifeRulerCutting mat TapeSpray paint (in matte finish)

1. Prepare the text in your program of choice — Microsoft Word, Adobe Illustrator and TextEdit are good options. Print the text on 8½- by 11-inch paper.

2. Roughly cut out a piece of contact paper slightly larger than the 8½- by 11-inch paper. Then tape it to a cutting mat with the printed side facing down.

3. Tape the printed text on top of the contact paper.
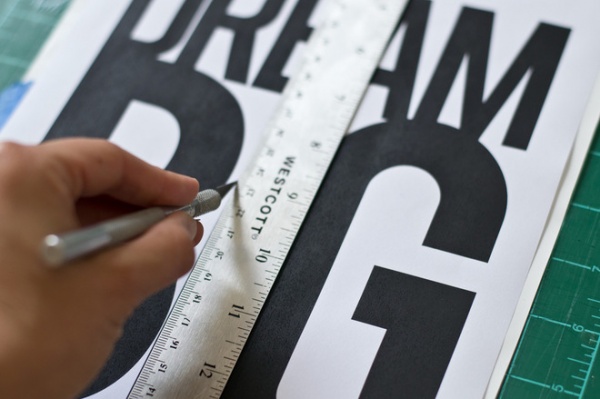
4. Once the contact paper and text are firmly taped, cut out the text using an X-Acto knife and a ruler.
Tip: Cut all of the vertical lines first, then cut the horizontal lines. Finish by carefully cutting the curved sections freehand. Making similar cuts in sequence will speed up the process.

5. Once all of the text is cut out, peel off the back of the contact paper and adhere the sticky side to a piece of cork. Leave about 1 inch on all sides. This will be cut off later.
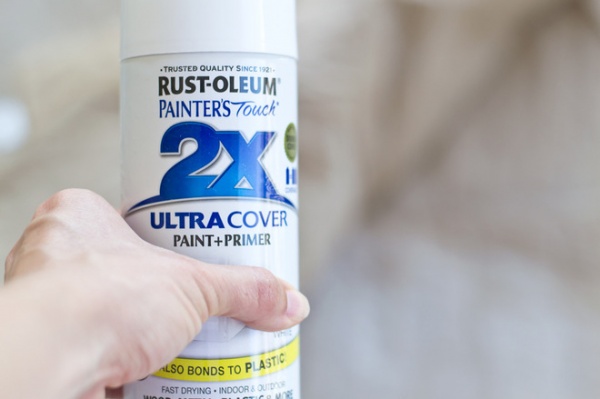
6. Confirm that the contact paper is firmly adhered. Give it a light coat of matte spray paint. Let that dry for about 15 minutes, then apply a second light coat of spray paint.
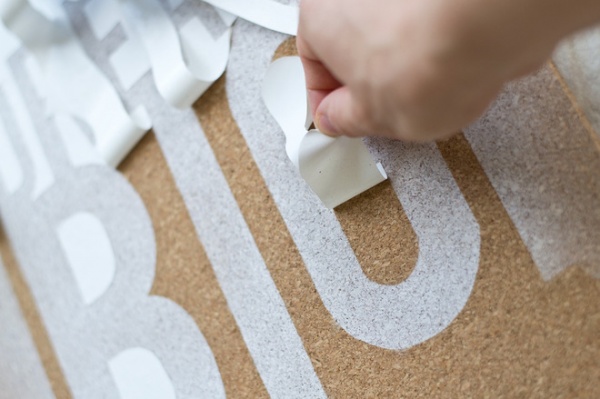
7. Peel off the contact paper.
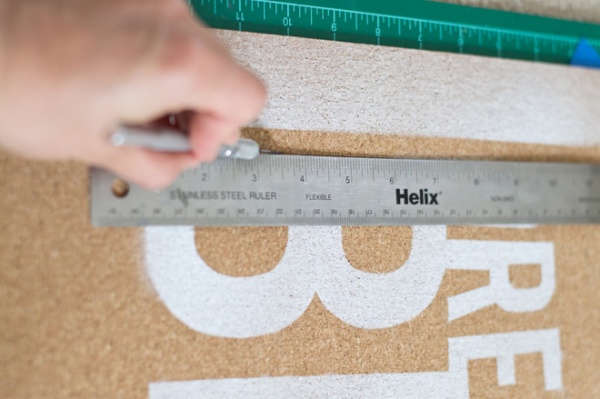
8. Once the spray paint has dried, use the ruler and X-Acto knife to trim the edges of the cork flush with the text.
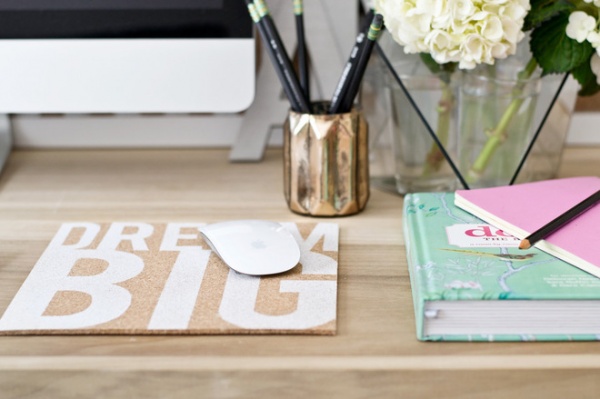
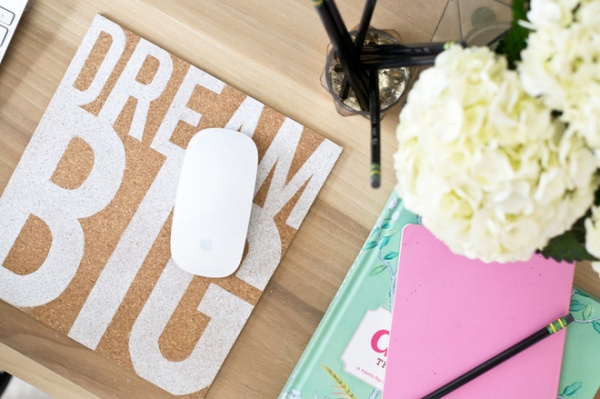
Let the paint cure for a few days, and your mouse pad will be ready to use!
I have an Apple Magic Mouse, and it works perfectly with the pattern and cork — no jumping around. I recommend using a finely ground cork so that there is less variation, to ensure that the mouse moves smoothly. Also, I prefer a thinner mouse pad, but if you want a thicker one, simply cut another piece of cork and glue the two pieces together with an adhesive, such as Aleene’s Fast Grab Tacky Glue.
See more DIY projects
Related Articles Recommended
Related Images Recommend