Trick Out Your Kitchen Backsplash for Storage and More
http://decor-ideas.org 08/19/2014 20:15 Decor Ideas
Besides having aesthetic value, backsplashes can also be a useful, easy-to-access storage area. Hanging frequently used items such as knives, utensils and cookware on wall space in front of you rather than hiding them behind cabinets saves time with food prep and also frees up precious counter space. Adding hanging bars, magnetic strips, shelving and even pot-filling faucets can help make the most of your kitchen backsplash. Here’s how.
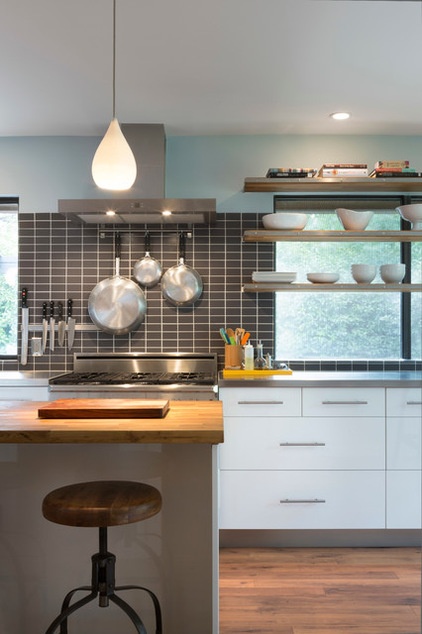
While kitchen countertop sizes vary considerably, the length in most kitchens totals about 10 feet. Meanwhile, the average backsplash height is 18 inches (many reach much higher).
That gives you a substantial 15-square-foot area to make more resourceful. If you could store your utensils and knives on your backsplash instead of inside your cabinets or on your countertop, think of the extra space you’ll gain. Plus, these culinary workhorses will be easier to find when they’re at arm’s reach in front of you.
DIY or hire a pro? If you are patient, are handy with a drill, have great attention to detail and have the right drill bit, you can likely do this work yourself. Otherwise consider hiring a handyperson or carpenter. If your pieces are to be anchored to a tile backsplash, a tile installer can often perform this work as well.
Cost: If you hire a carpenter or tile installer, plan to pay about $60 an hour for labor. Keep in mind that labor costs vary in different regions, but this is a good starting point for budgeting purposes. As site conditions and project scopes are diverse, it’s difficult to estimate the time required for the average job, but you should be able to get a cost estimate if you hire a professional. The benefits of this route are that the installer has likely performed this work before and can finish it more quickly and with fewer mistakes than some DIYers.
Find a pro
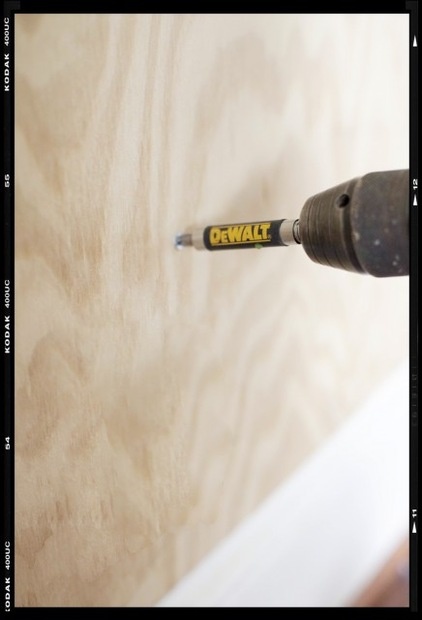
Materials: Accessories can be anchored to drywall, plaster, wood, sheet metal, stone and tile (ceramic, porcelain or glass) backsplashes. For starters you’ll need a level, masking tape, a marker, plastic anchors, protective eyewear and a variable-speed drill with the appropriate drill bit. Depending on the weight of your installation, you may need a stud finder to locate studs for anchoring support.
A regular drill bit is fine for drywall, but wood, metal and tile all require their own specialized bits. Drill bits with ground tungsten carbide or diamond tips are the best for tile. They are both designed to puncture the tile with a cone-shaped hole. Drill bits with carbide tips need to be used at low speeds. However, diamond tips need to be cooled by water or cutting oil (available at a plumber’s supply store) to prevent the tips from heating up and causing the tile to shatter. Drill bits with diamond tips are more expensive but last longer.
There are different approaches for drilling already installed tile. Here’s a common method:
1. Mark the spot you want to drill into with an “X” made of masking tape. Mark with a marker the exact spot where you want to drill. The tape will keep the drill bit from skating across the tile glaze.
2. Dip the drill bit in a small bowl of cutting oil (available at a plumber’s supply store) and wipe the excess off with a rag.
3. Place the bit perpendicular to the drilling location. Drill very slowly to start, about two revolutions per second, and increase speed slightly. Drilling too fast will overheat the surface and cause the tile to crack.
4. Stopping every 15 to 30 seconds to cool the drill bit in the cutting oil, keep drilling until the tile is punctured by applying medium pressure.
5. Insert a plastic plug and anchoring hardware per the manufacturer’s directions.
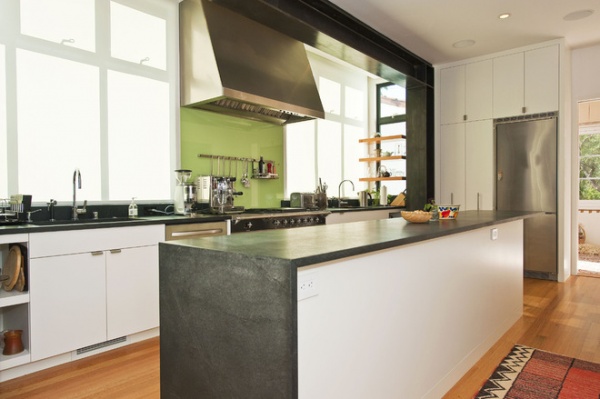
Glass backsplash considerations: The vast majority of glass sheet backsplashes are tempered prior to installation. Tempered glass is used for safety reasons; it breaks into tiny pieces versus large, dangerous shards. Unfortunately, tempered glass cannot be drilled. You’ll know your glass is tempered if you see the manufacturer’s mark in the corner indicating so. If this is the look you want, tricking out your backsplash is best left for a new glass backsplash project, when you can have the holes drilled into the glass before the glass is tempered. In this situation you’ll need to decide the exact size and locations of the holes for your backsplash accessories in advance.
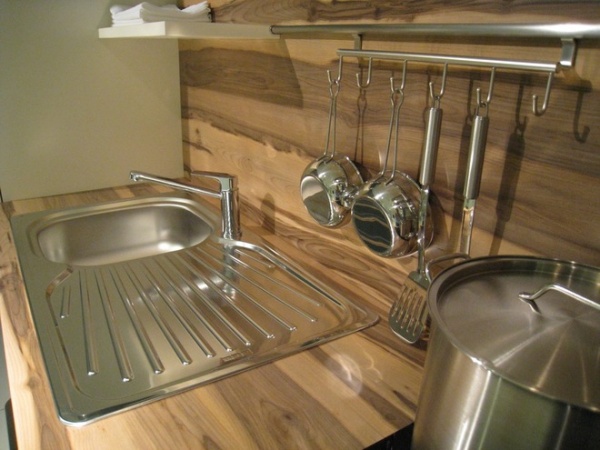
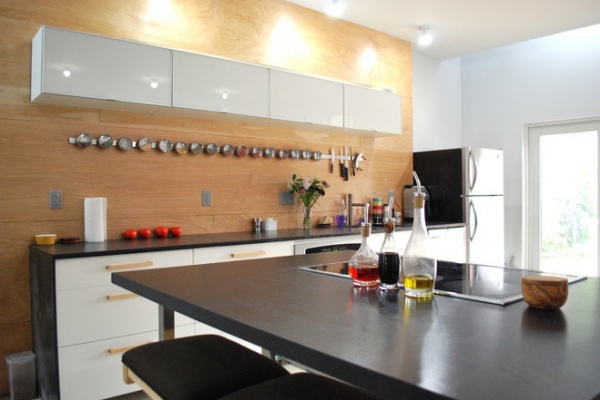
Linero BacksplashLinear hanging systems: Horizontal hanging bars and magnets follow the form of your countertop and maximize hanging space. If you have cabinets above your backsplash, you’ll likely anchor a hanging accessory a few inches below the bottom of the cabinet so whatever you’re hanging is within the confines of the backsplash. Just make sure you keep any electrical outlets located on the backsplash clear and easily accessible. Also, before hanging knives on a magnetic holder, take into consideration young children or people with special needs in your home who may have challenges with grasping. Knives and spices are frequently hung from magnetic strips, such as in Ikea’s Grundtal series, as seen in the second image.
The Linero backsplash series from Clever Storage by Kesseböhmer offers an extensive line of nifty German-made accessories. The bar is screwed to the wall surface, and the accessories are hung from hooks integrated into the bar. In the kitchen here, the bar terminates at the sides of adjacent floating shelves and was finished off with a clean end cap. Eric Schimelpfenig of Clever Storage by Kesseböhmer says the hook accessory runs between $40 and $60. Most accessories, such as shelving and paper towel holders, average between $75 and $90, and the hanging knife block is about $150.
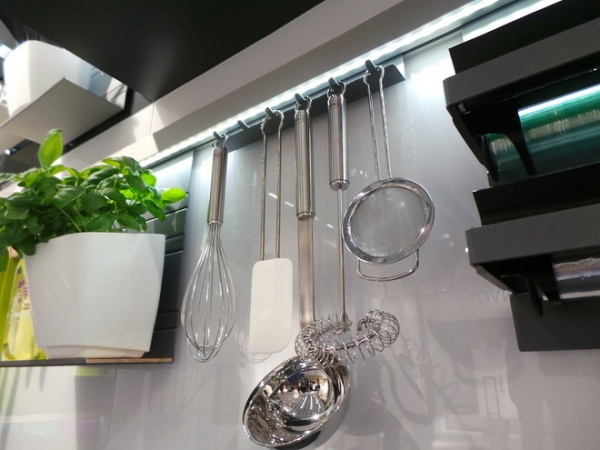
Linero MosaiQIf drilling into your tile isn’t appealing or if you have a sheet glass backsplash that you can’t drill into, don’t despair. The new Linero MosaiQ line (seen here) can either be screwed or glued to the wall. While you won’t create holes in your backsplash material by taking the glue route, the bond is exceedingly strong, so don’t plan to move it. The extruded aluminum rail has slits that accommodate aluminum hanging shelves. The shelves are either small and have hooks, as shown here, or they’re larger L-shaped shelves that hold more substantial accessories. You can also integrate LED lighting into the rail.
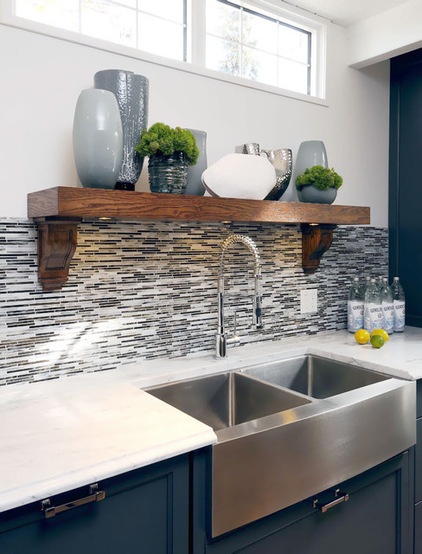
Shelving: Shelving is probably the easiest and most common backsplash storage accessory. However, because most shelves have items resting on top of the surface rather than hanging downward, they’re typically installed on backsplash walls that don’t have upper cabinets. Substantial shelving like this would need to be anchored to wall studs or have appropriate blocking behind the wall surface to accommodate its alignment with the sink area.
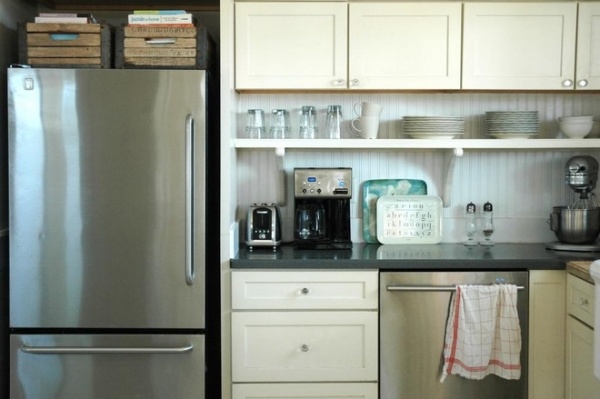
While backsplash accessories tend to be sleek and contemporary, this shelving design fits a more traditional kitchen. Resting against a wood beadboard backsplash, shelving supports like this need to be secured to wall studs.
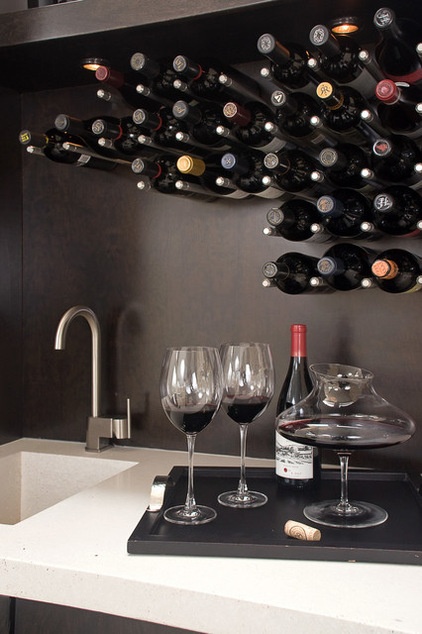
Wine rack: Notion had wine-holder posts specially fabricated for this project. Designer Natalia Dragunova says a 1½-inch-thick backer panel created by a cabinetmaker was installed between the counter and the floating shelves above. The backer panel was anchored to the wall, securely screwed into the studs, and the screws were hidden behind the shelves and between the bottles. Pegs were then hammered into 1½-inch-deep holes predrilled on the backer panel. Adhesive on each peg coupled with holes of a slightly smaller diameter drilled in the panel ensured a tight fit for each peg. The final result is unique and fun.
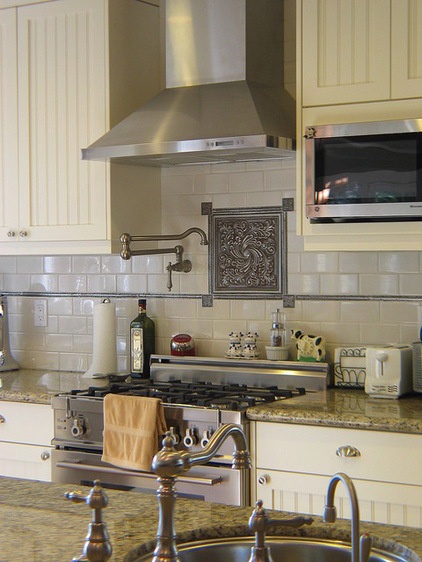
Pot-filling faucet: Not a storage item but rather a time- and back-saving accessory, pot-filler faucets are popular on backsplashes above stovetops because they eliminate multiple trips back and forth to the sink. Installation requires a plumber to install the lines and then a new backsplash (or you can modify an existing backsplash if you have enough leftover tile). To protect the wall from moisture, you need to have a hard-surface backsplash, such as tile or stone. On top of labor and materials for the plumber, the fixture itself can run between $275 and $1,350.
James Madson of Madson Design says a standard 4-inch wall thickness is all that’s required for this type of faucet installation. However, if you want to make the faucet an instant water dispenser, a power point would be required as well as dedicated space below the countertop for the tank. As there is no standard height for pot-faucet installation, Madson advises to install the faucet at least a couple of inches higher than the highest kitchen pot. He adds, “Generally speaking, faucets at cooktops add some cost to your kitchen, but where lifting heavy pots full of water from the sink to the cooktop may be a bother or concern, or if the cuisine one prepares frequently requires the filling of large pots, this feature may be a great convenience and good investment.”
More: How to Add a Kitchen Backsplash
Related Articles Recommended


