How to Fix Bare and Yellow Lawn Spots
When it comes to status symbols, one feature in many neighborhoods still can outweigh the size of the home or the type of car driven, and that’s the green. And by “green,” I mean the lawn.
To many people a healthy lawn shows you’re invested in making your neighborhood a beautiful, more desirable place to live. (Except, of course, in areas afflicted by drought, in which case you’d do best to avoid needless watering and embrace the beauty of brown.)
There are a variety of factors that can negatively affect the health of your lawn, whether it’s weeds, grubs or dogs who insist on tarnishing your turf with dead, yellow patches. The thing is, everyone who chooses a lawn has to deal with these issues at one time or another. But if you reseed regularly, your lawn can be the envy of the other lawn lovers in the neighborhood.

Reseeding is a good project for you if: You’re in an area without water worries, and you’re dealing with scattered thinning and bare spots in your lawn. (Where water is a concern, or if you are interested in doing less lawn maintenance, you may rather opt to trade your turfgrass for an unthirsty alternative.)
If your lawn is made up of more weeds than grass, its health is too poor to be remedied with a simple spot treatment. In this instance, you’ll need to start from scratch and conduct a soil analysis. A soil analysis kit is cheap (usually less than $20) and simply involves collecting soil from several places around your lawn, mixing it all together and sending it to a lab for analysis. The results will give you a clear picture of why your lawn isn’t cooperating and how you should proceed.
When to do it: The exact timing depends on your region, but it should be done after the hottest months of the year are past, and several weeks before the first frost.

Spot reseeding — or overseeding, as it’s sometimes called — is easy enough to take on yourself. If you’re already working with a lawn care company, however, it’s likely included in your contract. So check out your paperwork and speak up if your lawn is looking patchy.
Cost: Much of the equipment you’ll need is probably already in your garage, so your main expense will be the grass seed itself. A 50-pound bag can range from as low as $50 to as much as $300 for an ultrapremium blend.
Typical project length: You’ll likely finish the raking and seeding in one day or less, although you’ll need to continue watering until the seedlings mature. It should take two to three weeks for them to germinate.

Grass selection: The type of seed you should choose depends on your climate and how much sun and shade your lawn receives. The pros at your local garden center should be able to help you select the right variety for your lawn.
If you want to be sure of a match, dig up a 3-inch square of your lawn and bring it in to be identified. While you’re at it, ask which fertilizer works best with the seed you’re choosing.
Materials and equipment:
Grass seedA heavy-duty rake with wire or steel teeth, or a bow rakeLawn fertilizerClear polyethylene plastic sheeting or strawNote: Make sure you’re using straw, not hay. The difference is that hay has seeds. If you lay hay on your lawn, you’ll end up with an alfalfa field.

First steps: Remove and dethatch the weedy and dead patches. It’s easy: Simply use your rake to dig them up, root network (thatch) and all. Don’t use a shovel, as that won’t aerate the soil and will leave holes in your lawn.
A word about weed killer: Some people prefer to get rid of weeds by spraying them with weed killer. Ask at your hardware or garden store before doing this, as some pesticides can linger in the soil and kill your seedlings. Some may also prove harmful to the environment and water supply.
Once all the dead material and thatch have been removed, rake the soil a bit more to aerate it. If the soil has become heavily compacted and hardened, make sure you’re turning it over at a depth of about 6 inches. Break up any clumps to make sure the soil is loose and aerated enough for your seedlings to grow.
Next apply your fertilizer according to the package instructions. Then scatter seeds by hand, keeping in mind that more is not necessarily better; about six seeds per square inch will do.

When the seeds have been sown, mist the area lightly with water (you don’t want to soak it so much that the seeds drown or float away) before covering the area with clear plastic sheeting or straw. Sheeting should be secured at the corners with rocks, dirt or stakes.
If you use straw, apply a light layer so that light can penetrate, even though the straw is keeping the ground moist. Repeat this process until every dead patch has been reseeded.
Maintenance: Remove plastic sheeting as soon as the seedlings sprout; otherwise it will quickly cook and kill them. Straw can remain until you mow, at which point it will get chopped up by the mower and virtually disappear.
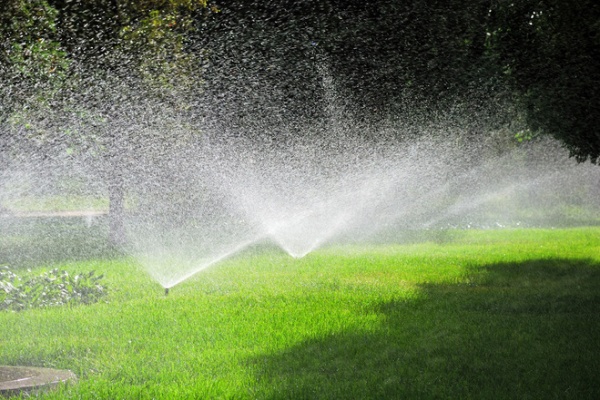
Your reseeded areas will need to be misted lightly two or three times daily until the seedlings reach 1 inch high. At that point you can reduce watering to once a day until your grass is 3 inches high and has been mown a few times.
More: The Case for Losing the Traditional Lawn


