A First-Time Buyer’s Guide to Home Maintenance
http://decor-ideas.org 07/08/2014 21:13 Decor Ideas
When you buy your first house, you have a lot going on with moving in, perhaps buying some furniture, hosting your first party at the house and getting used to those mortgage payments. With all that excitement, it’s easy to overlook routine home maintenance, especially when you’ve never had to tackle these tasks before.
To keep things from getting overwhelming, we’ve created this home maintenance guide for first-time owners. And don’t worry — most of these tasks take just a few minutes or a quick call to a trusted pro. Take a deep breath and dive into the 11 home maintenance to-dos you’ll need to handle in the first year of buying a home.
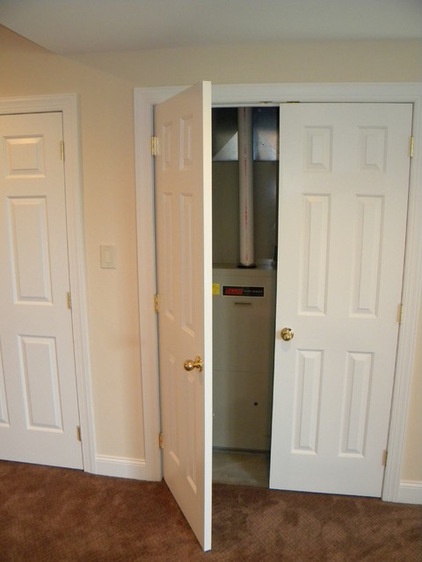
Check Your Furnace and HVAC Filters
Why: Who knows what dust and grime the previous owners or construction crews have left behind? Clogged filters make heating and cooling systems run less efficiently, which wastes energy and costs you money. They can also trap harmful pollutants and allergens that you don’t want lurking around your home.
How: Checking furnace and HVAC filters is easy. Just turn off your system, pull out your filters and inspect them for dirt and grime. If they’re dark and dirty-looking, get suitable replacements—your local hardware store likely has them. Just remove the old filter (with the system turned off, of course), slide the new one in and turn everything back on.
When: Right after you move in and every year at the same time afterward.
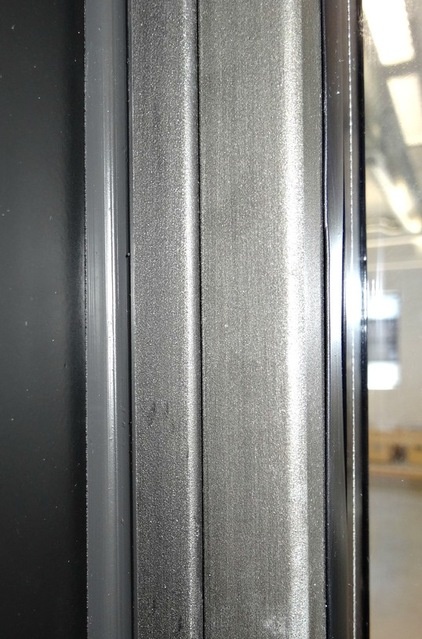
Recaulk Your Windows
Why: Justin Grebasch of G and S Installation USA points out that 80 percent of winter heat loss occurs due to cracks in a home. Sealing the spaces around windows with caulk goes a long way toward solving this problem.
How: Caulking processes and products will vary depending on the type of windows and siding you have. Start by asking a salesperson what kind of caulk you need for your particular finishes, then pare things down from there.
If you choose the right caulk the first time, you won’t have to recaulk the following season. Specifically, look at the joint movement capability listed on the product to ensure a lasting seal without cracking or peeling. “In my opinion quality caulk will have a movement capability between 25 and 50 percent,” Grebasch says. “At G and S Installation USA, we always use Dow Corning 795 due to its 50 percent movement capability, extensive range of adhesion applications and 20-year weather-seal warranty.”
When applying the caulk, make sure all surfaces are clean and dry, and pay attention to the temperature specifications in the product information. Since temperatures change most in the morning, it’s smart to start your project after they have leveled out.
When: As needed. Inspect the caulking around your windows at the end of every summer so you can touch up any damaged caulking while the weather is still dry.
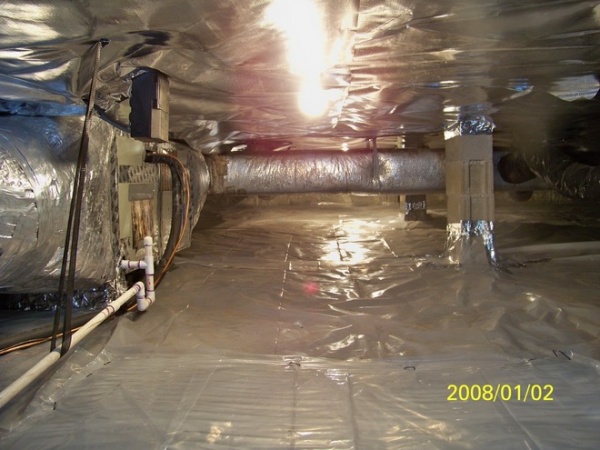
Check Your Crawl Space for Water
Why: To avoid mold and water damage to the bones of your house.
How: It’s as simple as grabbing a flashlight, crawling in there and taking a close, careful look. Pay attention to corners, edges and changes in color, and use your fingers to test for dampness if you aren’t sure. If you find any water, call a home inspector immediately to figure out where it’s coming from.
When: Every fall before it rains. The key is to fix existing water damage before any more water gets in.

Check Wood Decks for Moisture
Why: Wood decks — including redwood and pressure-treated woods — need to be sealed and stained to prevent water damage and rot.
How: A quick splash test will tell you if the last seal is still working. If you fill a glass of water and spill it on your deck, you should see tiny beads of moisture form on the surface — a sign that the sealant is still repelling the water. If that doesn’t happen, then it’s time to reseal your deck.
Learn how to refinish your wood deck
When: You should do a splash test at the beginning of every summer and expect to reseal your deck every two or three years.

Check and Touch Up Exterior Paint
Why: Besides contributing to curb appeal, paint and stain serve as important protectants, preventing your gutters from rusting and wood siding from rotting.
How: Walk around your home — and get up on a ladder if needed — and look for chipping, peeling, blistering or cracking on every part, including the trim.
Touching things up could just mean sanding, scraping, patching, priming and repainting small areas. But if you see widespread areas of damage, it might be wise to repaint the whole thing.
Learn more about repainting your house
When: Every summer.

Service and Clean the Furnace
Why: When your furnace isn’t running properly, it will suck energy and can even emit harmful carbon monoxide.
How: Call a pro. If you don’t have one you trust, call the manufacturer or installer and ask for a recommendation. Just be sure to use a licensed heating, ventilation and air conditioning specialist.
When: Having your furnace inspected every fall will prolong the life of your appliance.
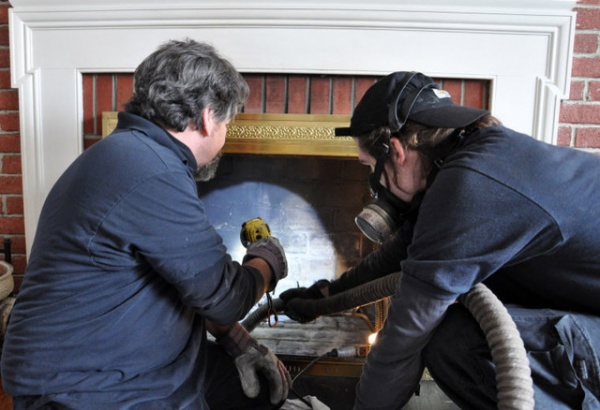
Have Wood-Burning Fireplaces and Chimneys Inspected and Cleaned
Why: Creosote, a flammable byproduct of wood burning, can build up in fireplaces and chimneys. This creates a fire hazard and elevates the risk of carbon monoxide poisoning.
How: This is not a DIY project. Call a trained chimney sweep. They’ll use specialized equipment — and even get up on your roof, à la Mary Poppins — to ensure another season of safe wood burning. You can find a chimney sweep through the Chimney Safety Institute of America or the National Chimney Sweep Guild.
When: Every fall before fire-burning season.

Check the Bathtub Caulk and Toilet Seal
Why: Intact caulk and seals prevent water from leeching into the rest of your bathroom, causing mold and other damage.
How: Inspect the caulk that seals the tub to the floor, as well as the caulk around the edge of the tub, and the points where tub facets come out of the wall or tub surround. If the caulk is cracked or peeling, replace it with polyurethane bathroom caulk.
When checking your toilet seal, look for condensation or discoloration of the flooring around the seam where the toilet meets the floor. If you see either, call a plumber to help determine the source of the leak.
When: Annually. Set up a recurring calendar reminder on your phone, computer or tablet to make sure you don’t forget.
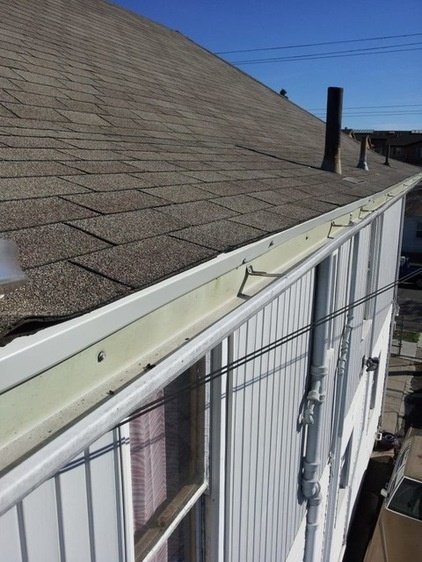
Clean Your Gutters and Roof Valleys
Why: Mucked-up gutters and roof valleys can caused water to back up and potentially enter your home via the foundation, roof or crawl space … or even freeze inside your gutters and wreck them altogether.
How: Grab a sturdy ladder and take a peek. Use gloved hands or even a trowel to remove debris from gutters before flushing them with a garden hose to make sure there aren’t any hidden clogs.
Remove debris on the roof by hand and check out the flashing while you’re up there to make sure it’s free of rust and holes.
When: Every fall or even twice annually if you live in a wooded area.

Seal Cracks in Asphalt Paving
Why: Patching cracks will extend the life of your driveway by preventing water from seeping underneath, creating potholes.
How: Grab a patching gun and some asphalt patching caulk, and let ’er rip! Then use a putty knife to smooth the top.
When: Check your driveway for cracks every summer and plan to completely reseal it every five years (another simple process involving a bucket of sealant and a big ol’ brush).

Give Your Garbage Disposal Some TLC
Why: Waste particles collecting on your blades and inside the drain can get stinky or even clog your disposal.
How: Pour a cup of vinegar into an ice cube tray and freeze it, then throw all the vinegar cubes into the disposal and turn it on. The cubes scrub the blades and drain, while the vinegar dissolves the scum.
When: Two or three times a year.
More: 7 Things to Do Before You Move Into a New House
Related Articles Recommended


