Make Your Own Tranquil Garden Fountain
http://decor-ideas.org 06/18/2014 19:17 Decor Ideas
Versailles. The White House. The Taj Mahal. Each has an outdoor space with one thing in common: a water feature.
The sound of running water instantly brings a sense of relaxation to any setting. And while most of us don’t have palatial spaces (or unlimited budgets) to work with, you can achieve the same effect with a simple DIY project.

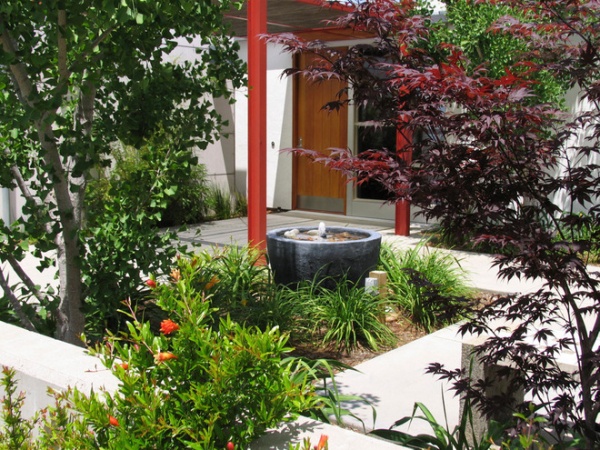
A DIY water feature brings a spa-like tranquility to an outdoor space.
It’s a good project for you if: You’re inspired by a specific vessel or simply want a unique water feature.
Cost range: The equipment that makes the fountain work is very inexpensive — you can find fountain kits starting at less than $30 at hardware and garden stores. But the cost of the actual project will vary according to the container you choose.
Typical project length: One day.
Best time to start: Unless you live in a temperate climate, it’s best to begin after the last freeze.
Tip: If temperatures in your area regularly dip below freezing, empty your fountain and bring the working components indoors over winter to avoid damage.
Materials and equipment:
Fountain kitVesselRubber stoppers (one for each hole in the bottom of your vessel)Silicone adhesive sealant
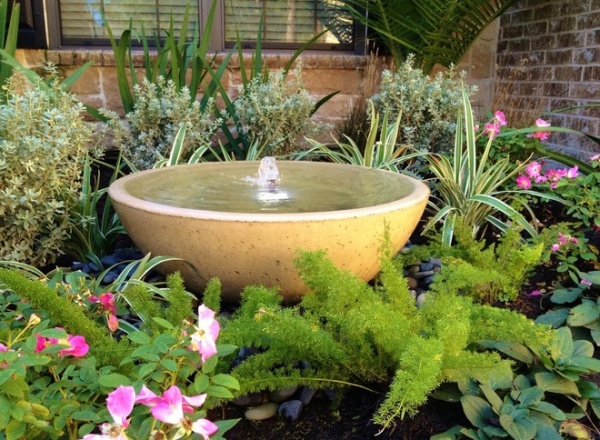
Not just any pot will do, as some are too porous. Elizabeth McDavid-Llaguno of Designs by Elizabeth recommends cast-concrete pottery — like the kind she used in this project — for its durability and range of finishes and patinas.
Don’t rule out repurposing an antique that’s gathering dust in the garage. “To use antique pottery, you must first make sure that the item is high fired,” says McDavid-Llaguno. “High-fired pottery is kiln fired [at] over 2,100 degrees Fahrenheit.”
It’s best to use glazed pottery, because it is less porous and better at withstanding the water and pressure. “Chinese and Vietnamese pottery with a rustic glaze is always a great way to evoke the look of timeworn pottery,” McDavid-Llaguno notes.
Instructions:
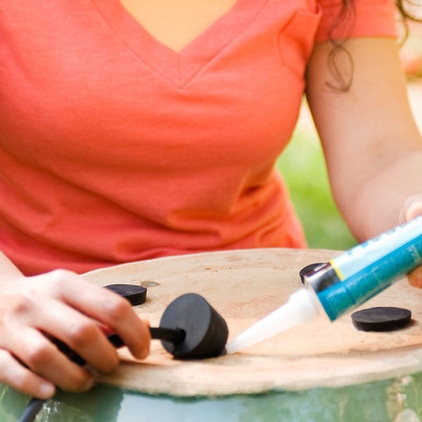
1. Plug any drainage holes. Buy one rubber stopper for every hole in the bottom of your vessel and make sure they all fit snugly. Turn the pot upside down and apply sealer around the outside of the plugs before inserting them. Once they’re in, leave about ¼ inch extending from each hole, and apply more sealant around the exposed areas of the plugs.
Repeat until all the holes except one are plugged and sealed.
2. Measure your power cord. Turn the pot right side up and thread the fountain cord through the remaining hole in the vessel. Using a pencil, mark the amount of slack needed between the fountain and the exit hole, then turn the pot upside down again, leaving the plug and cord exposed.
3. Insert the power cord. Using a drill with a ⅜-inch bit, drill a hole lengthwise through the remaining stopper. Using a utility knife, cut a slit up one side of the stopper, then wedge the cord into the center hole until the pencil mark you made is even with the bottom of the plug.
Apply sealant into the slit and around the side of the plug, then place it in the hole. Apply more sealant around the exposed edges of the plug and the cord opening.
Wait 24 hours before turning the pot upright again.
This photo and next courtesy of Lowe’s
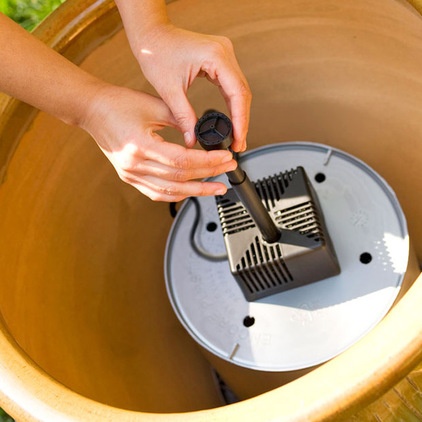
4. Put it together. Assemble the fountain components according to the manufacturer’s instructions. Then fill the vessel with water up to about an inch below the rim, plug the fountain in and enjoy!
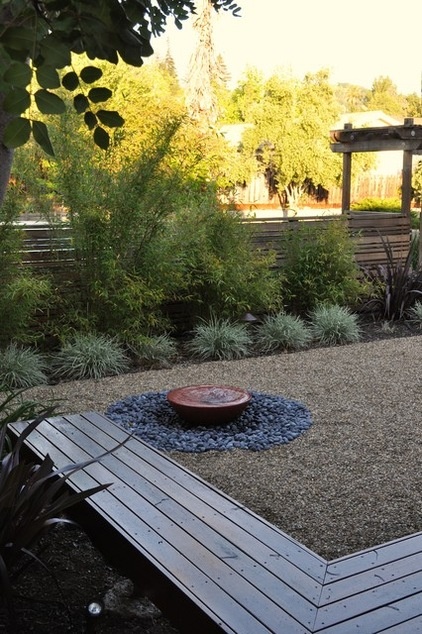
Project considerations. Proper placement and drainage are key. Make sure your fountain is placed far enough from any plants that they aren’t continually splashed, as this can cause overwatering and mold growth.
Similarly, you’ll need to catch any splashing around the perimeter of the vessel. If you’re placing it in a planted bed, set it in a buried basin so water can’t seep toward the surrounding plantings.
Regardless of whether the vessel is set directly on grade or within a basin, it’s a good idea to place stones or gravel around its perimeter to aid with drainage.
You’ll also need to think ahead about how you’d like to deal with the power cord. If you’re placing the pot in stones or gravel, create a space between the rocks so the pot isn’t sitting directly on the cord, then cover it with the rest of your rocks or gravel.
If the pot will sit on a solid surface, consider a vessel with feet or add a stand so the cord doesn’t get squashed.

Maintenance. To keep your fountain free of mosquito larvae and algae, and to protect its pump, you’ll need to run it at least eight hours a day and treat it weekly with an algaecide and a clarifier, and monthly with a scale and stain remover.
Even more important, you’ll need to winterize your fountain. McDavid-Llaguno says not winterizing is the No. 1 reason pumps break or fail.
“I cannot tell you how many people sent or posted pictures of their beautiful cascading frozen fountain — especially this year in the South,” she says. “Fountains need to be drained before a freeze, just as you would your irrigation sprinklers. The water gets into the pores of the concrete, clay or ceramic and expands upon freezing. This cracks the pottery or fountains, as well as burns the pump houses.”
Fortunately, there’s an easy solution: Just turn off the fountain and drain it.
More: 10 Fun Features to Bring Your Landscape to Life
Related Articles Recommended


