How to Make a Top-Down, Bottom-Up Window Shade
http://decor-ideas.org 06/15/2014 00:14 Decor Ideas
Since I deal with privacy issues in my high-density neighborhood, I always coveted the costly window treatments that open from the top portion of the window as well as the bottom portion. So I decided to make one for myself. I was pleasantly surprised by the results — and the less-than-$30 cost. Here’s how you can create your own window panel.
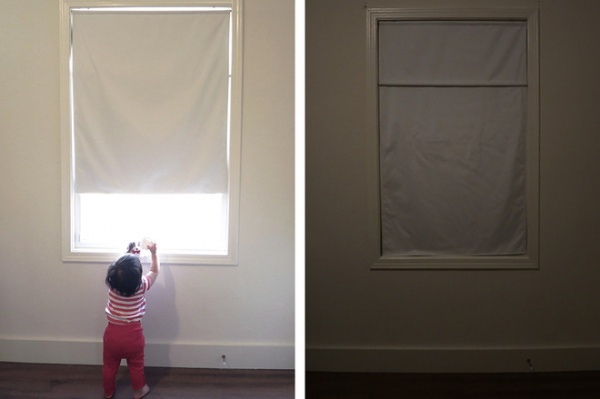
My no-frills window panel is constructed with one piece of light-blocking fabric and provides three different coverage options: open at the bottom, open at the top and fully closed. Two magnetic dowels, one at the top and another about 13 inches down, are the secret to the panel’s flexibility.
The pictures show a minimalist panel constructed from one piece of light-blocking fabric.
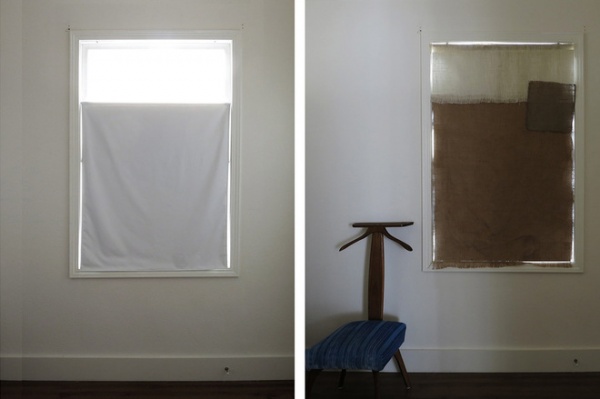
You can leave your panel blank or add some character. I created a decorative patchwork for mine with leftover burlap scraps just for fun.
Materials:
Two ½-inch-diameter dowels at least as long as the inside width of your windows. These will serve as rods. Eight ½-inch-diameter and ⅛-inch-thick countersunk rare-earth magnets. (I got mine from Amazon.)Four #4 screws, ½ inch long minimumLight-blocking fabric slightly larger than the inside dimensions of your window. The width should be the inside width of your window frame plus about 2 inches for a hem on each side. The length should be the inside height of your window frame plus about 5¼ inches for two pockets and a hem. (See the diagram below.)Tools:
Handsaw (for cutting dowels to size)Sewing machineElectric drill (for drilling pilot holes)ScrewdriverAll told I spent less than $30 for the light-blocking fabric ($15), magnets ($10 for a pack of 10) and dowels ($4 for two).
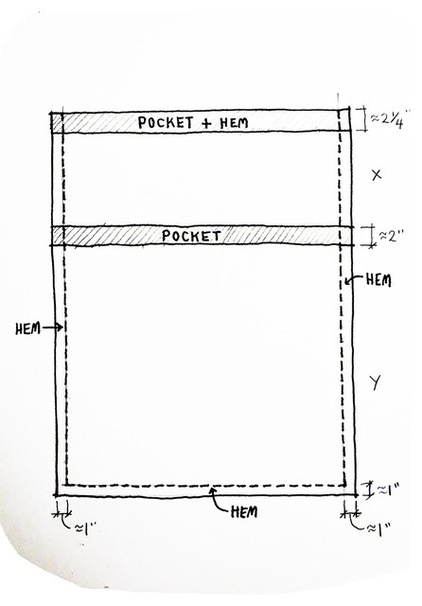
Instructions
1. Measure the inside dimensions of your window frame.
2. Hem the sides of the fabric and then create the two rod pockets. For the top rod pocket, fold ¼ inch of fabric over and press to flatten. Fold again 2 inches, press flat, pin it down and sew it close to the edge. Leave the sides open to allow the rod to slip into the pocket. (See the photo below.)
Create a pocket in the middle of the panel: Fold over 2 inches of fabric and sew across the opening, creating a flap across the back of the panel. Leave the sides open for the rod.
I put this middle flap about 13 inches from the top of my window panel, but where you put yours will depend on the window height and how much of your panel you want to leave open on the top.
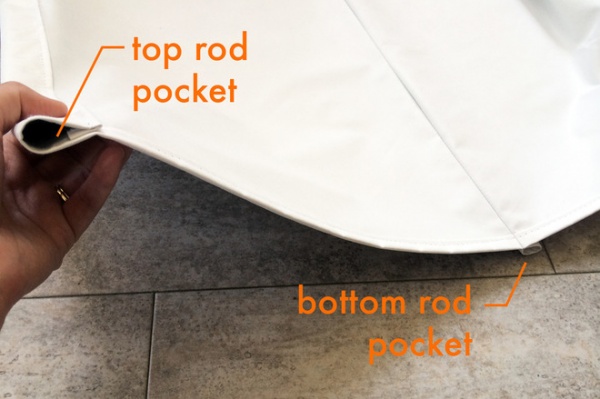
Here’s my completed panel, showing both the pocket for the top rod and the pocket 13 inches down for the lower rod.
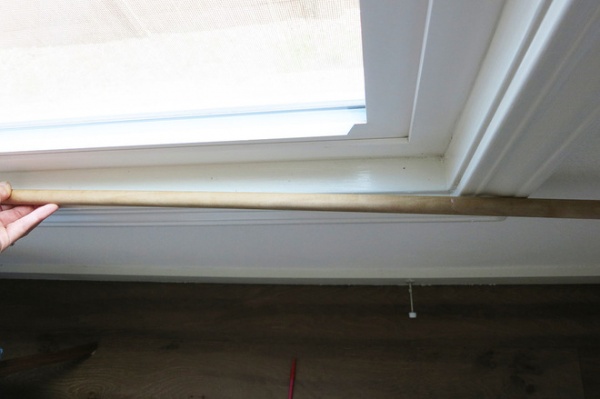
3. Use a handsaw to cut the dowels about ⅝ inch shorter than the inside of your window frame. Sand the edges if needed.
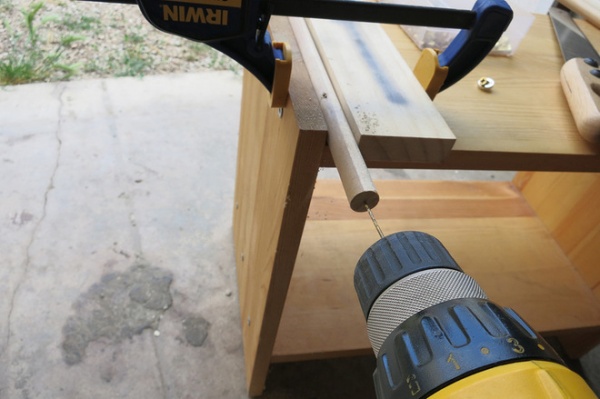
4. Drill a pilot hole in the center of each dowel end. I recommend a 1/16-inch bit for the #4 screw.
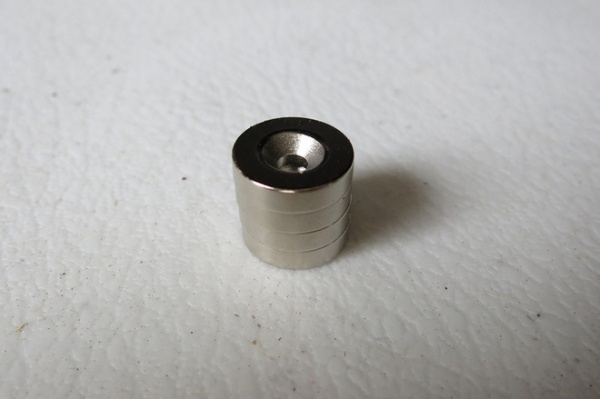
Rare-earth countersunk magnets are easy to find online. They have a center hole, so you can insert screws to attach them to your window frame.
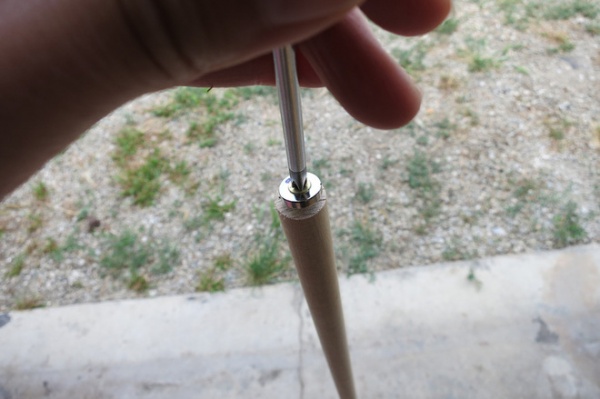
5. Using a hand screwdriver, screw the magnets into each dowel end.
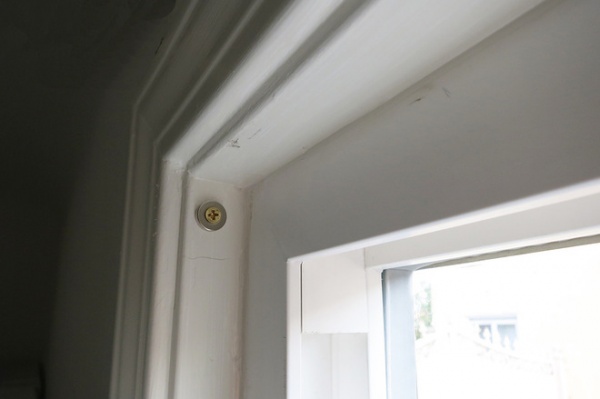
6. Drill pilot holes for your top rod after marking the location on the inside of your window frame.
7. Note each magnet’s polarity. Choose a magnet that attracts the dowel-end magnet and screw it into the inside of the window frame.
Repeat these two steps for the second rod. In my case the second set of magnets was 13 inches below the first.
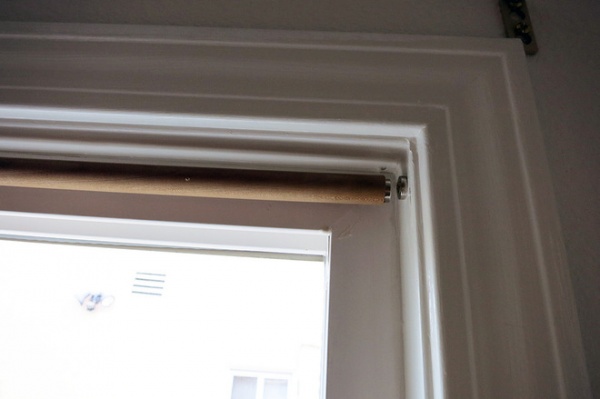
8. The magnetic dowel should stay firmly in place once snapped in.
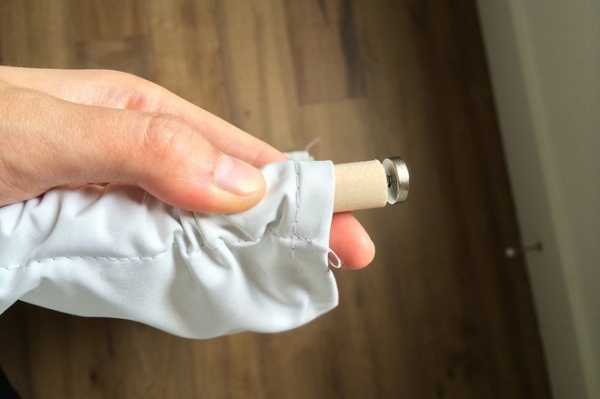
9. You can adjust the width of your magnetic dowel by loosening or tightening the screw.
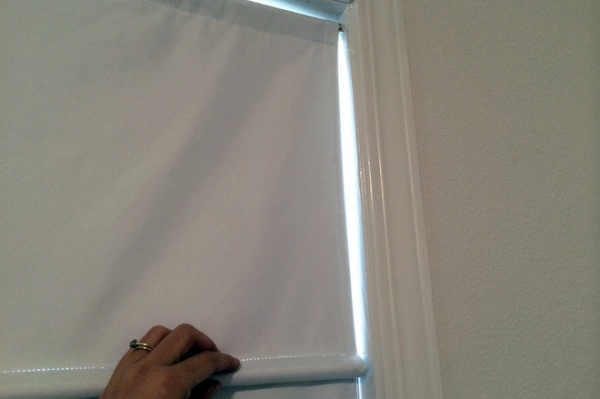
10. Verify that the panel hangs properly, then hem the bottom of the panel.
To open just the top portion, detach the top rod and fold the fabric down on the window side. The top rod will hang while the second rod holds the panel in place, creating an opening that maintains privacy but brings in light from above.
To open up just the bottom portion of your window, detach the top rod, fold it down on the window side and move the second rod to the top magnet position.
More: 7 Window Treatments That Can Lower Your Energy Bills
Related Articles Recommended


