See Why This Architect's Office Has a Built-In Safety Net
http://decor-ideas.org 06/01/2014 21:05 Decor Ideas
Every day Kevin Browne wakes up, gets ready and travels to work. His commute takes him on a scenic 10-second walk through the door to his backyard, where he then readies himself for the day ahead. Since relocating his one-man office to a studio he designed in his backyard, the only traffic tangle Browne encounters these days is on the way up to the safety-net loft he built above his desk.
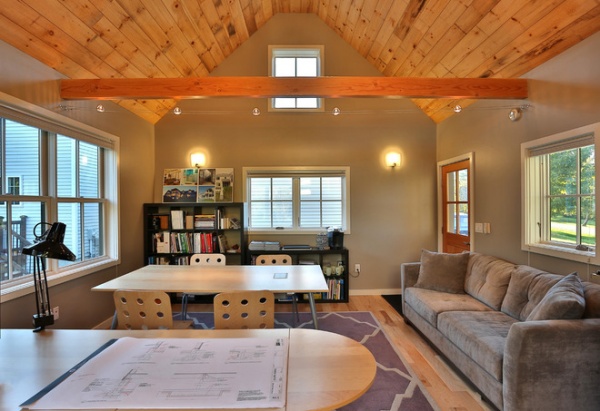
A dilapidated garden shed in Browne’s yard instigated the move home. At the time Browne was working in a rented space in nearby Yarmouth, 25 minutes away from his home in Falmouth, Maine. Though the shed’s construction didn’t hold up, the idea did.
Browne envisioned a studio that felt very New England, but he wanted to explore contemporary materials and building techniques. He didn’t want a 19th-century replica.
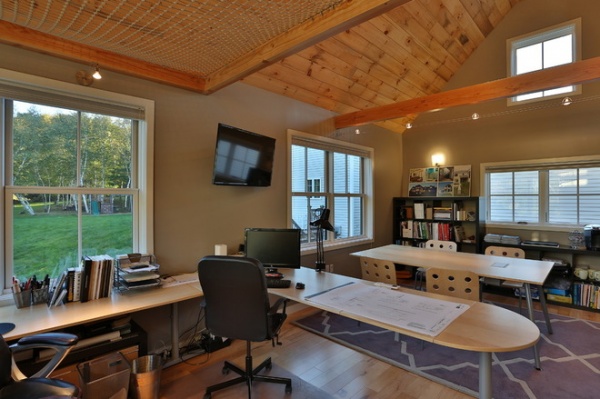
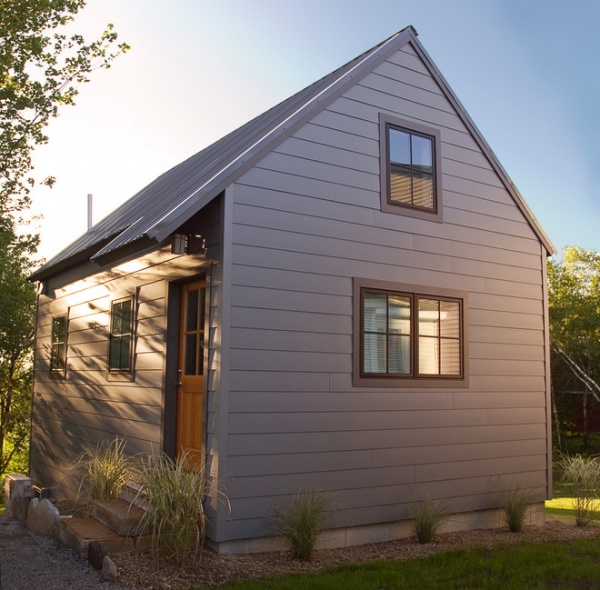
The 16-foot by 24-foot studio has a simple open gable plan. Rough-cut pine shiplap, milled just down the road, warms the cathedral ceiling. Douglas fir beams (4-by-8s) break down the vaulted ceiling’s expanse. The flooring is engineered hickory. Browne sourced as many of his materials from Maine as possible.
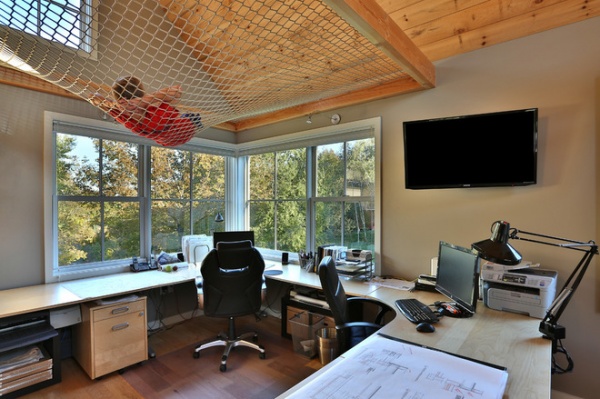
The garden shed had a loft space, which Browne wanted to include in the design — until a friend sent over a photo of a lofted net. Browne took one look and thought, “This is going to be cheaper” — not to mention more fun. Natural light also wouldn’t be affected, since the netting wouldn’t obstruct any of the office’s windows.
Using 4-by-8 Douglas fir beams to frame the 8- by 11-foot space, Browne secured a construction safety net using I-hooks and an aircraft cable. Browne says the net has stretched out a little, but he finds it even more loungeworthy now. If Browne is working late, his two kids may walk over from the house to hang out in the loft while Dad works on the computer below. (One of Browne’s sons is shown enjoying the net here.) Right now they use a stepladder to reach the net, but a more permanent ladder is on the boards.
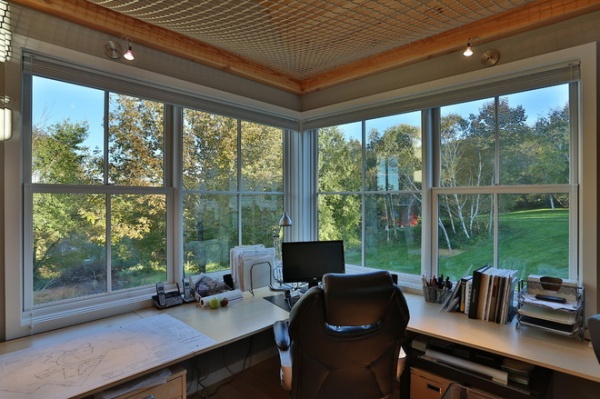
Low-emissivity windows face east, welcoming bright morning light into the workspace. Browne’s property abuts a horse pasture, and the view from his corner desk overlooks open land. “It’s great in the winter, and you can see the whole yard,” Browne says. Further in the distance he can see a beaver pond.
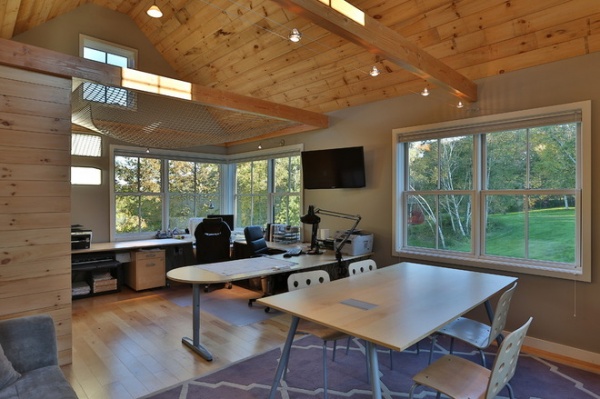
When the office occasionally doubles as a guesthouse, the sofa folds out and the conference table can be moved aside.
Browne built a small bathroom with a shower in the studio’s corner. Its pine walls make the bathroom feel more like an element within the space, rather than an additional room.
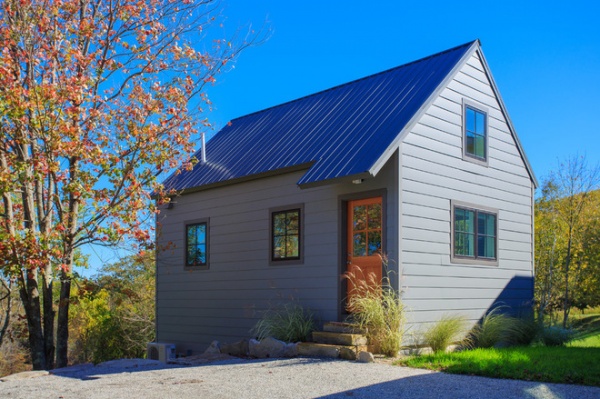
Distinct regional architecture may be New England’s heritage, but so is extreme weather. Much of the studio’s design lies where you can’t see it: within the walls and in its heating and cooling. Browne built the studio using the new Zip sheathing system, with a built-in energy-efficient barrier, to minimize air leakage and maintain a tighter building envelope. He used a flash and bat insulation method.
He also performed a blower door test. After sealing the house, a high-powered fan pulls all the air out of the house, lowering the air pressure inside. Energy auditors can then see where the air in higher pressure zones outside then flows through cracks and holes in the house to reach the lower pressure zone, making it easier to seal these leaks and maintain a tighter house. It’s a couple of hundred dollars to get that test, he says, but it can yield high energy savings.
The studio’s exterior is covered in Certainteed WeatherBoards. Browne chose a custom paint for the siding to match the metal roof.
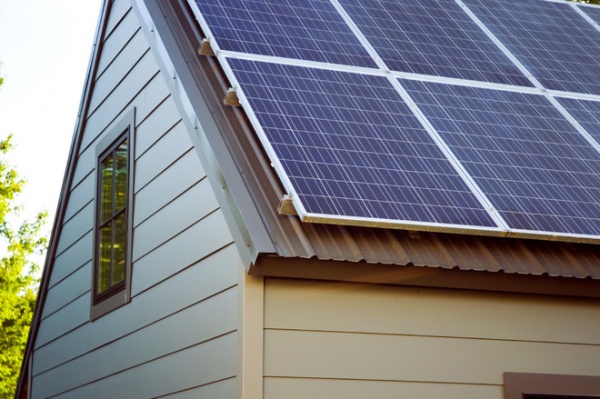
Solar panels cover the roof’s south side. They handle the studio’s heating and cooling needs; any leftover energy can be used for the main house.
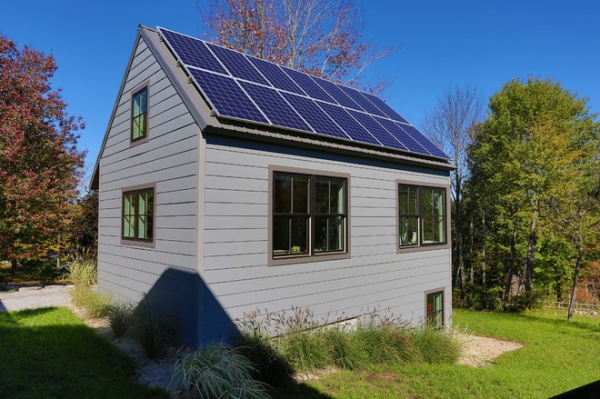
A daylighted garage near the office stores bikes and Browne’s tractor.
More than just showcasing Browne’s aesthetic to prospective clients, the details of his studio reveal his approach to design. It’s a balance of being energy efficient and cost efficient, he says. Think about the big picture, he advises: “There comes a point where you’re putting more into it than you’re getting out of it.”
Details that may seem small, like adding extra caulking to seal air leaks or using blown-in cellulose for enhanced insulation, don’t cost a lot of money and make a big difference. And overall, “being in a space similar to the spaces you’re designing feels good,” he says.
More: How to set up a home design studio
Related Articles Recommended


