Make a Custom Nautical Mirror for Less Than $30
http://decor-ideas.org 05/18/2014 01:25 Decor Ideas
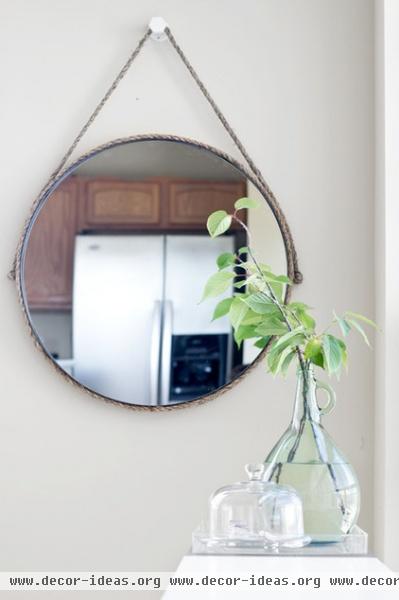
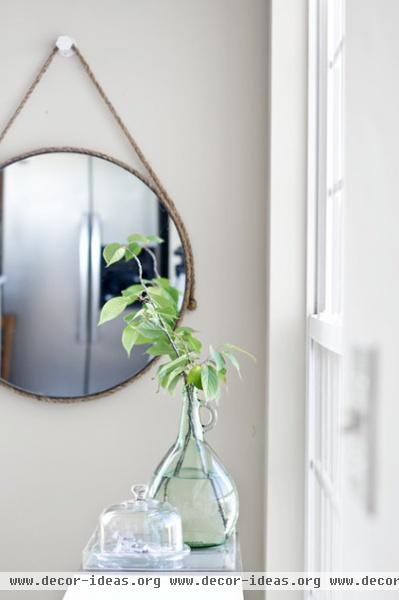
I love the simplicity of captain’s mirrors, with their extra-special hanging detail. And, surprise, making your own is easier than you might think. For a few hours of your time and less than $30, you can make your own captain’s mirror. Here’s how.
Materials and tools:
One 2-foot by 4-foot piece of plywood Two pieces, 1¼ inch by 36 inches each, Simpson Strong-Tie (found in Home Depot’s lumber section)22¾-inch round mirror (I got mine cut at a local mirror shop for $12) Natural manila rope, ⅜ inch by 50 feet (purchased at Home Depot; you will use about half of the package) Heavy-duty all-purpose adhesive, such as Liquid Nails E6000 adhesive or hot glue for rope Paintable, quick-dry caulk Oil-rubbed-bronze spray paint⅝-inch screwsEye screws #10JigsawDrill
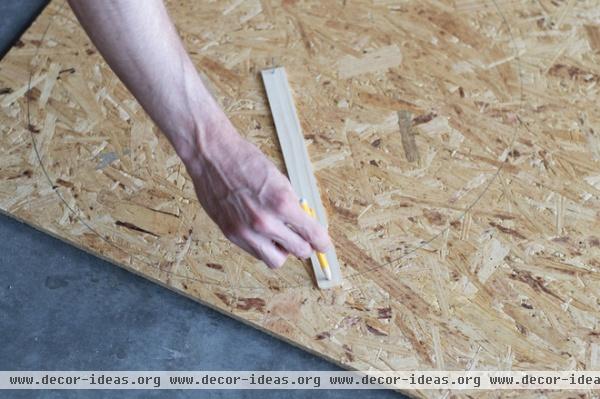
1. Trace your mirror on the plywood or draw a circle using a protractor.
Note: Calculating the radius and drawing a circle with a scrap piece of wood or string is a great substitute if you don’t have a protractor.

2. Cut the circle out with a jigsaw.
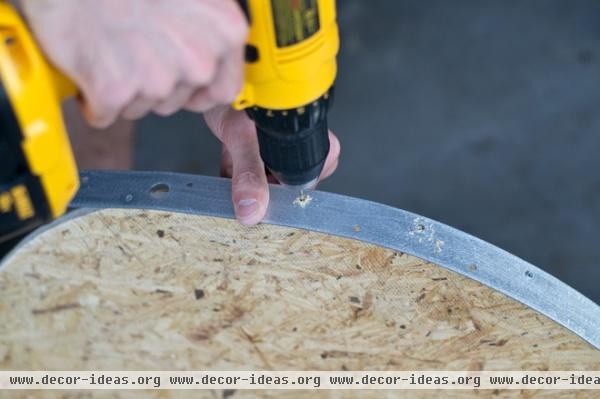
3. Secure the frame. Starting at the end of the Simpson Strong-Tie, center the hole on the edge of the plywood circle and predrill a hole into the wood. Secure the Simpson Strong-Tie with a screw and begin wrapping it around the circle. Working from the secured end, predrill the plywood and screw through each of the existing holes in the Simpson Strong-Tie. You’ll use 24 ⅝-inch screws total.
Note: Since I could only get the mirror cut in ¼-inch increments, the two 36-inch Simpson Strong-Ties were a little too long. We trimmed the excess with the jigsaw using a blade designed to cut metal. It could also be overlapped instead, if you prefer not to cut it.
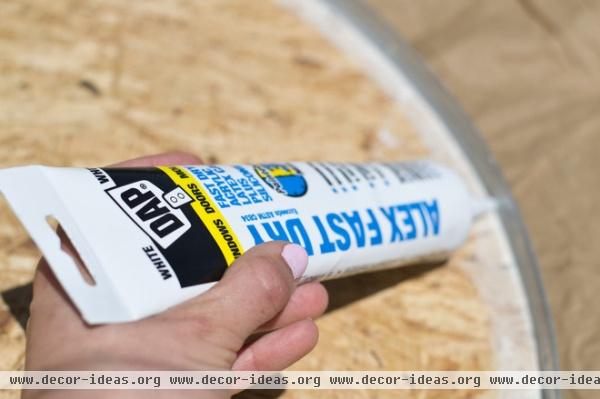
4. Caulk the inner edge of the frame to seal the crevice between the metal and wood.
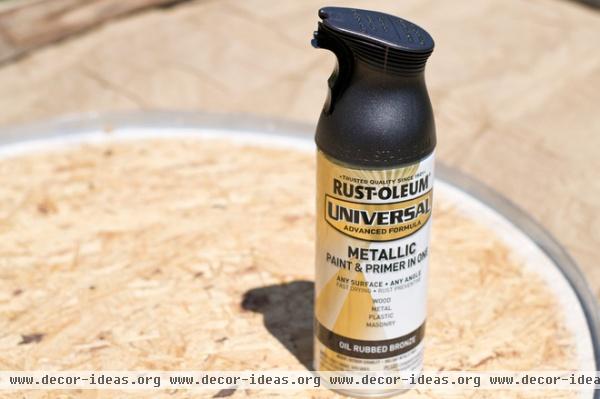
5. If desired, paint the metal frame and two eye screws with oil-rubbed-bronze spray paint. (The eye screws will be used later to secure the rope hanger.)
Tip: Screw the eye screws into a scrap piece of cardboard so that you can paint all sides at one time.
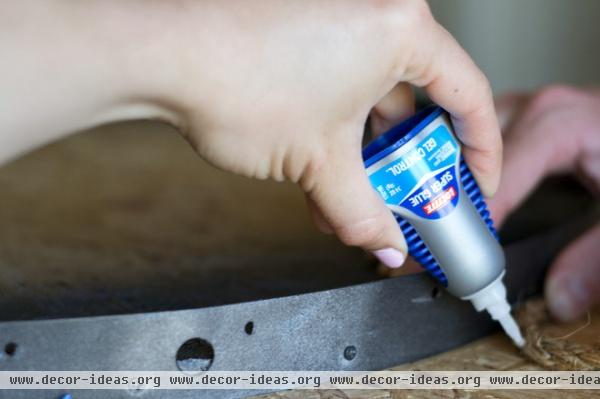
6. Use a thick adhesive to get into the crevices of the rope and start applying it to the frame.
Note: I used a gel superglue at first, but it required a lot of glue. I recommend a thicker adhesive, such as E6000 or hot glue.
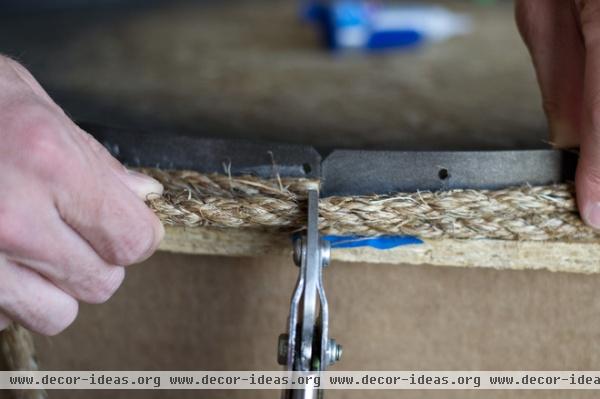
7. Once you make one loop around, clip the end and secure it with adhesive. Repeat so there are three rows of rope.
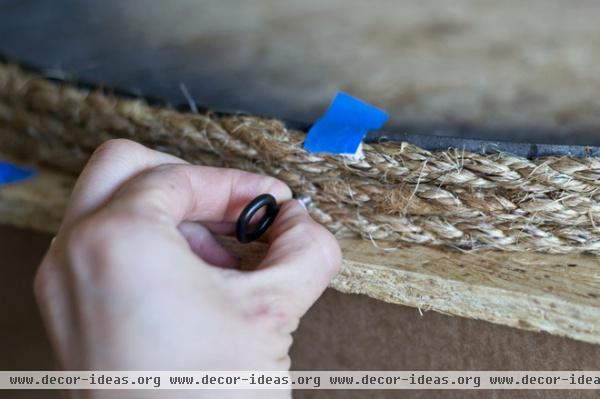
8. Measure the center of the frame (at the 3:00 and 9:00 positions) for the placement of the eye screws. Then predrill holes and insert the eye screws.
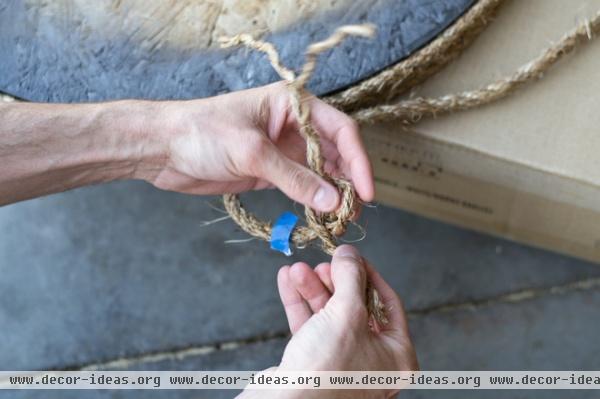
9. Start constructing the rope hanger. Tie a knot in the end of a new piece of rope. We followed this video.
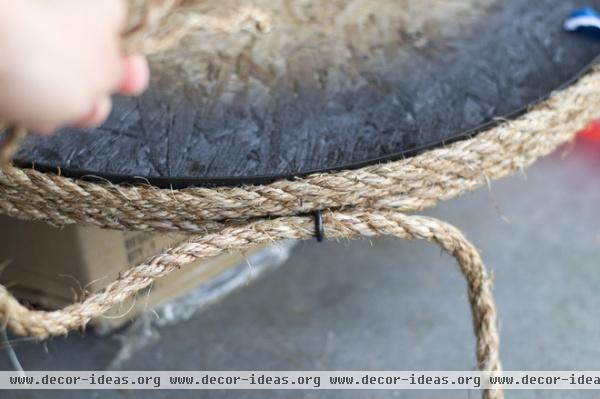
10. Pull the rope through the eye screw.
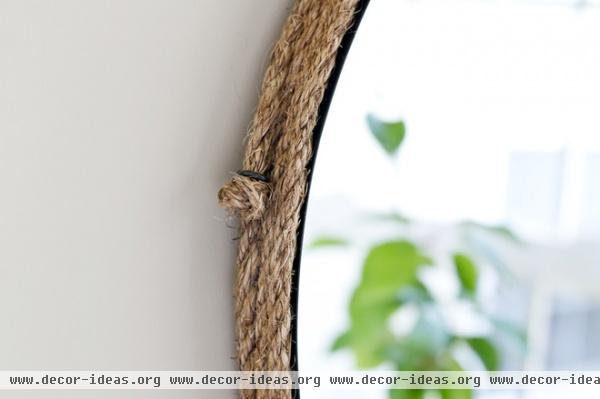
Make sure the rope knot catches on the bottom of the eye screw, as seen here. I used the Matthew Walker knot, which can by used as a stopper for rigging and sailing applications. Tying it with the ⅜-inch rope made it the perfect size — larger than the #10 eye screw — to securely support the weight of the mirror. Prior to hanging, confirm that it is secure by tugging firmly on the knot to ensure that it doesn’t slip through the eye screw.
Next determine the length of the rope hanger. The mirror will be suspended from a rope hanger on a knob or hook. To determine the height of the rope hanger, on a flat, horizontal surface, hold the rope as it would hang on the wall and measure the length of rope needed. From the top of the mirror to the knob, mine measures 10 inches.
Once you determine the length of rope for the hanger, cut the rope (leaving about 8 inches for the knot) and pull the rope through the other eye screw. Then tie another knot on the end and pull it so the knot catches on the bottom of the eye screw.
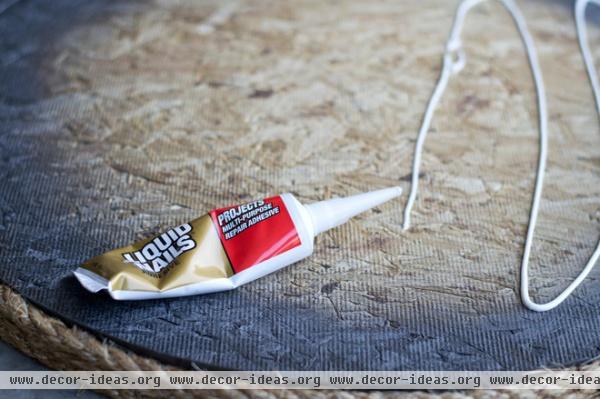
11. Attach the mirror to the plywood by applying an all-purpose adhesive formulated to bond mirror and wood on the front of the plywood.
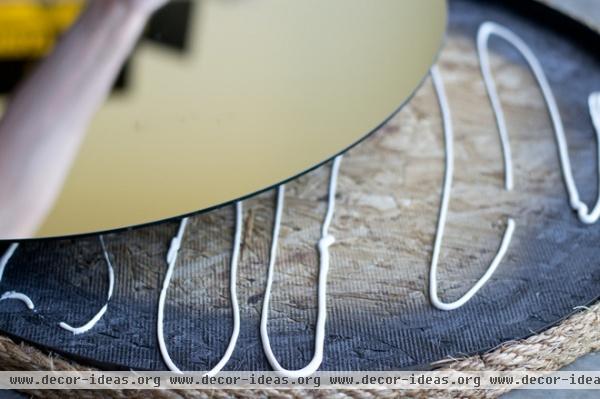
12. Place the mirror on the adhesive and weigh it down with a heavy object (place cardboard in between to protect the mirror). Follow the recommended drying time for the adhesive.
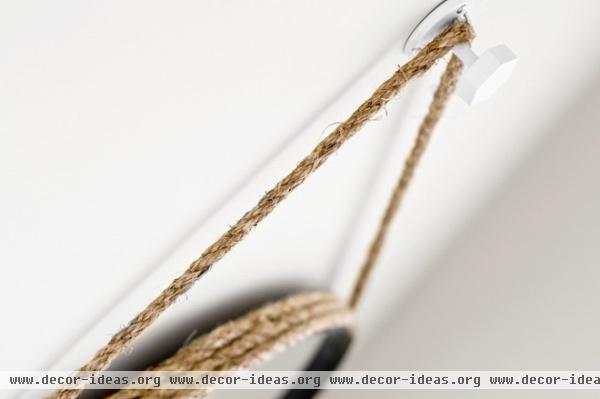
13. Install a hook or knob on the wall and hang your mirror. We used this knob with drywall anchors to accommodate the weight of the mirror.
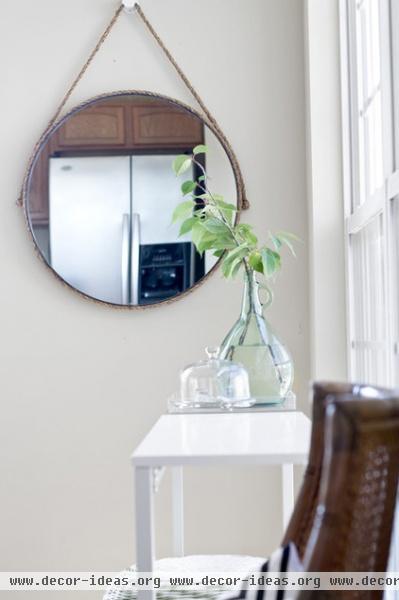
In just a few hours and for less than $30 I had a custom mirror!
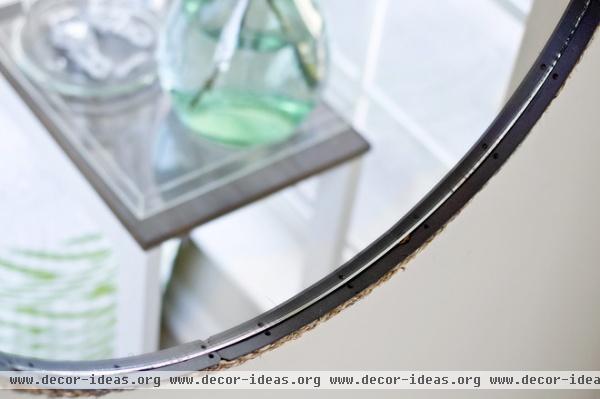
The holes in the industrial ties provide a little extra detail, giving the mirror a polished look.
See more DIY ideas
Related Articles Recommended


