Ditch the Ordinary Ditch: Create a Realistic Dry Creek Bed
http://decor-ideas.org 05/18/2014 01:23 Decor Ideas
There are untold numbers of drainage ditches among us that are having identity crises. They have been designed and built as dry creek beds, but they don’t quite measure up. True, they perform the duties of dry creek beds, carrying excess water away from structures to more appropriate areas. They do, however, lack that touch of artistic realism that would allow them to realize their full potential in terms of both function and form.
Perhaps you share your garden with one of these creek beds. Let’s look at ways to help it reach its potential as a focal point. You will both be happier in the end.
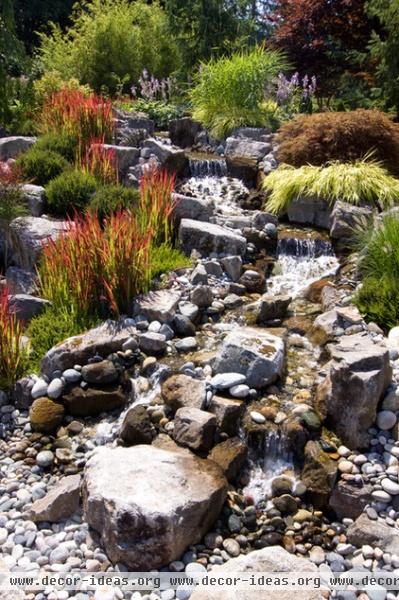
Become acquainted with how water moves. The first step in designing a functional and aesthetically pleasing dry creek bed is to study natural water features in addition to well-designed water gardens.
Perhaps you are fortunate enough to live near mountains or a river. Arrange a day trip, equipped with a camera, sketch pad and notebook. Take note of how water moves: how it takes the path of least resistance, how it pools and scurries around boulders, and how it pushes branches and small rocks, creating ever-changing formations as it rushes down.
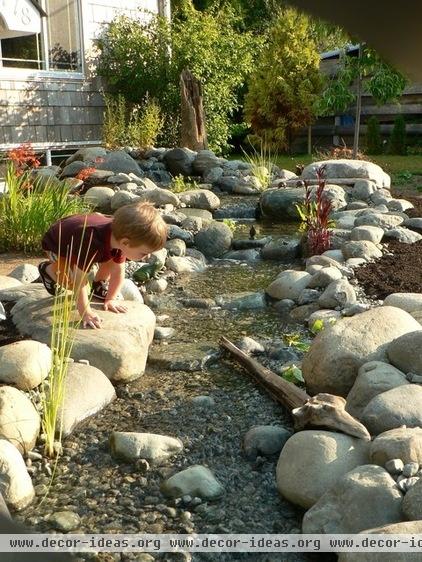
Notice the array of sizes and shapes of rocks found along a stream. Take note of which plants grow nearby: their size, shape, color and texture. Record how and at what angle water lodges driftwood along its course.
You are now armed with the information you need to begin your design. Let’s get started.
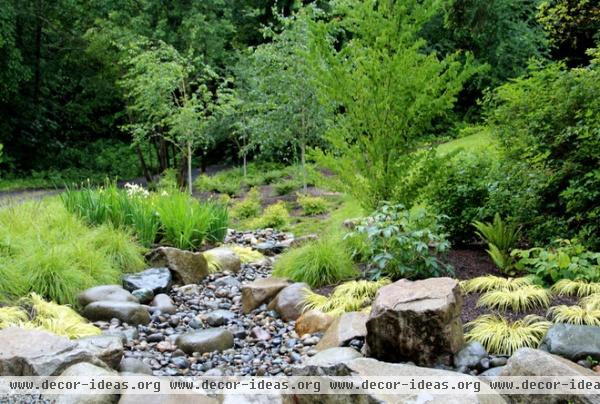
Formulate an authentic shape. Streams are seldom linear. They generally have a serpentine quality that has been carved and forged over millennia. The exact shape of your creek bed will be determined by the lay of the land. Perhaps you are routing your feature around existing trees, rocks or structures. This will only add realism and artistic interest to the final product.
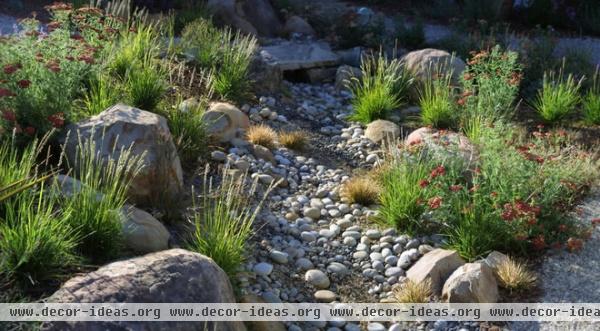
How big and how deep? Consider how much water you will need to move in the event of a deluge. Never underestimate how much water can run off from even a small roof. This information will help you determine the functional width and depth of your creek bed. A minimum of a 2-to-1 ratio is suggested.
Don’t forget to pitch your creek bed at an angle from top to bottom. If your garden is flat, you can dig deeper toward the end. If necessary, you can bury a catch basin and employ a sump pump to disperse water for irrigation or to an appropriate location.
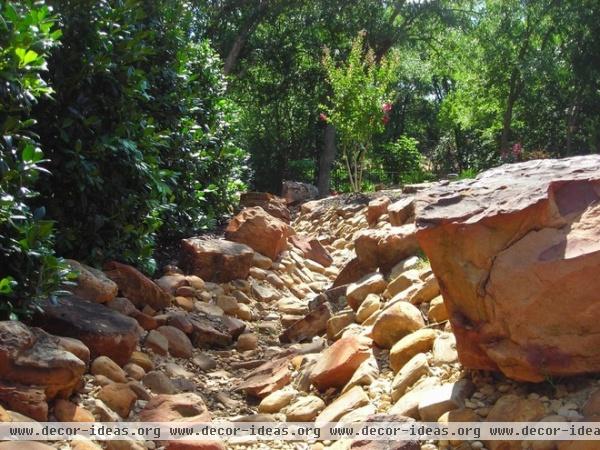
Choose your stone. It is always best to pick a type of stone that is indigenous to your locale. The stone shown here is appropriate for a project in the Southwest but would look out of place on the East Coast.
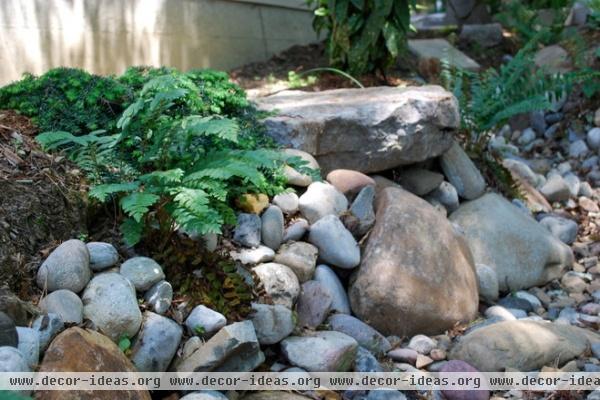
Use multiple sizes of stone. There is no uniformity of stone in natural streams. Your feature will have a natural look if you choose four or five types and sizes of stone in complementary colors. In this photo we see small, egg-size stones at the bottom of the bed, with three sizes of river rock progressing up the sides of the feature.
Never use pea gravel in a dry creek bed; it will easily wash away during a storm. I would recommend against using weed cloth to line your bed and would use a mallet to embed the smaller rocks into the soil.
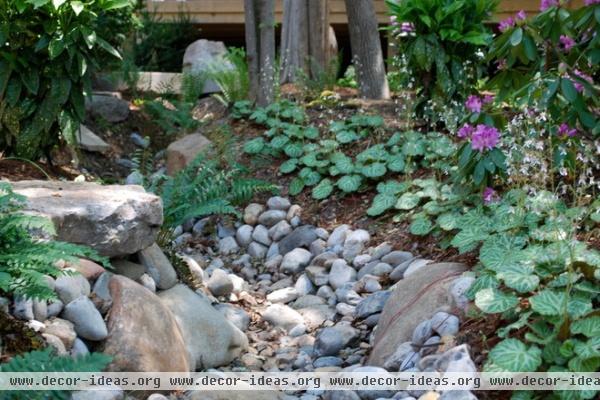
When placing your stone, be sure to run it up higher than the anticipated water level to prevent soil erosion. Ground covers, such as this strawberry begonia (Saxifraga stolonifera, zones 6 to 9), will grow down to soften the line where the soil and river rocks meet.
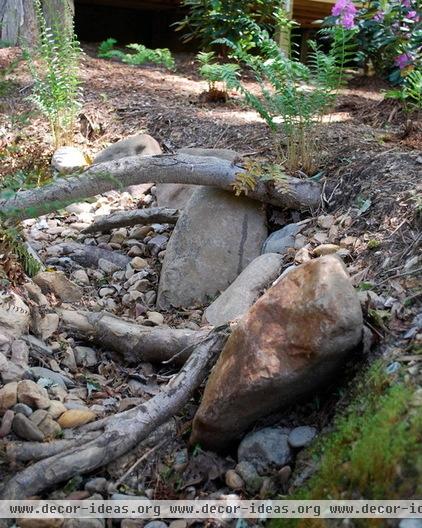
Employ tree roots for a natural look. If you are siting your creek bed in a wooded area, chances are that you will run into some tree roots during excavation. A percentage of structural roots can be left to provide a natural look as if water eroded the land around them over time.
Try to avoid disturbing the tree’s feeder roots, and be warned not to compromise the stability of the tree. Lodging a boulder on its end between some tree roots provides an authentic look.
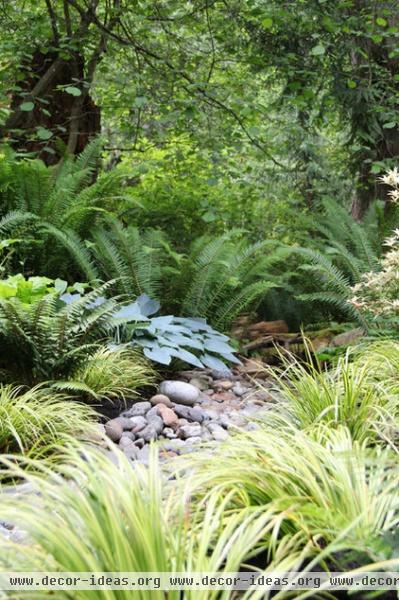
Plant the banks of your creek bed. If your feature lies in a wooded area, take a cue from nature and choose plants that will grow toward and lean over your creek bed. Ferns, rhododendron (Rhododendron spp and cvs, zones 5 to 8), sedges (Carex spp and cvs, zones 5 to 9), hostas (Hosta cvs, zones 3 to 8) and dwarf hemlocks (Tsuga canadensis, zones 4 to 8) are all suitable choices. If you live in an area prone to infestation by the woolly adelgid, you may want to forgo the hemlocks.
When arranging your plants, remember to repeat specific plants from bank to bank, staggering them so that they aren’t directly across from each other. This will establish a rhythm to carry the eye through the space and give a more natural, homogenous look.
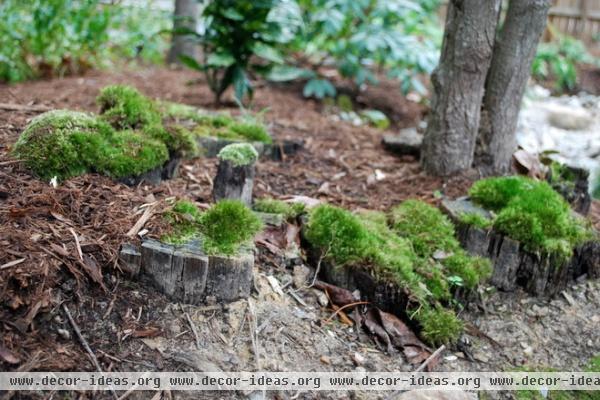
Moss is also a natural choice for planting along a creek bank. It may be purchased from online moss nurseries, such as Moss Acres, or moved from other areas on the property. It is best not to collect moss from the wild. Be sure to keep moss moist until it is well established.
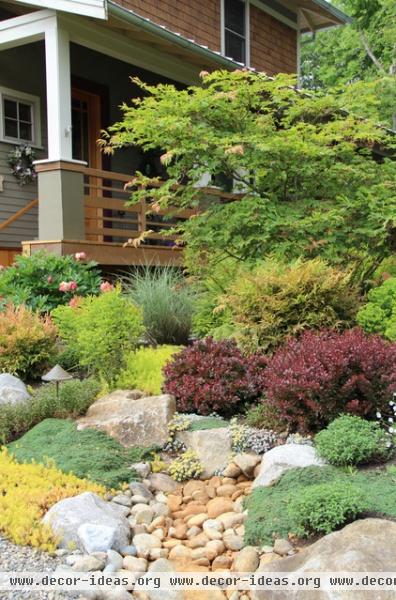
If your creek bed lies in a sunny area, consider ground covers such as sedum (Sedum spp and cvs, zones 3 to 9), creeping thyme (Thymus spp and cvs, zones 3 to 10), ornamental grasses such as switchgrass (Panicum spp and cvs, zones 4 to 9), or low mounding shrubs such as barberry (Berberis cvs, zones 4 to 9), abelia (Abelia cvs, zones 6 to 9) and spirea (Spiraea japonica cvs, zones 4 to 9). Be advised that barberry can be invasive in some areas.
Notice how the mounding shrubs in this photo mimic the shape of the boulders, creating structural interest.
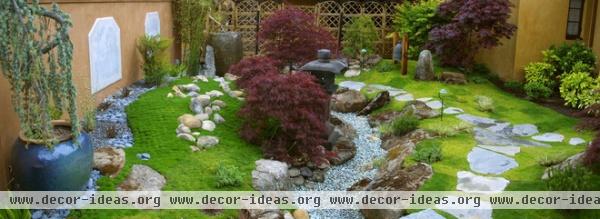
Add a specimen tree. Create one or more focal points along your creek bed by adding a rare or colorful tree. If you are working with a large area, a trio of similar but not identical trees staggered along the bed can make quite an impact.
Consider Japanese maples (Acer palmatum cvs, zones 5 to 8) or weeping and contorted trees to add that final layer of interest to your dry creek bed.
More: Protect a Precious Resource With a Rain Garden
Related Articles Recommended


