Salvage Style: A DIY Upholstery Project Makes a Grand Entrance
When it’s time to refresh any space in my home, I first take an inventory of furniture, materials and fabric that I have on hand. Even if you don’t have a stockpile of these things to work with, it’s still fairly easy to create stunning pieces from a few easily obtainable materials.
I’ve even walked around my house and decided to take apart unspectacular pieces to “harvest” valuable materials (or innards, as I call them). Once you realize how many different pieces of furniture you can create from things you already have, watch out — it can be habit forming.
One of my latest pieces is an upholstered bench I created for about $35 to jazz up my entryway. I made it completely from recycled materials (besides some of my tools and the spray adhesive). Here’s how you can make one too.
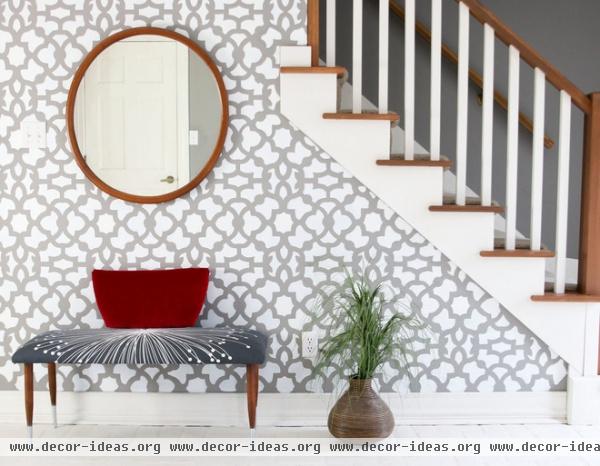
Made for about $35, the new upholstered bench and a rich red pillow brings my entryway to life.
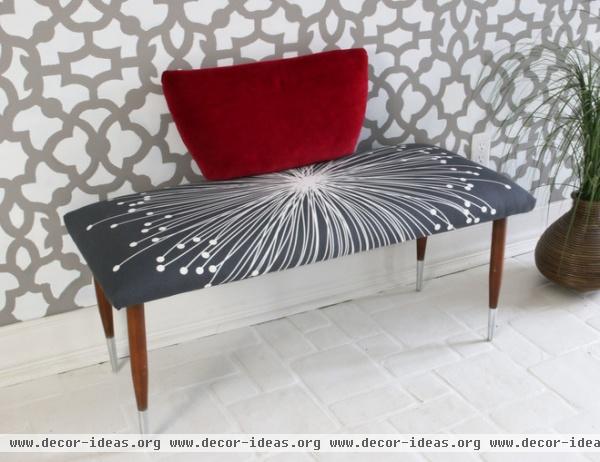
The neutral bench fabric neutral allows for flexibility with bright pillows or wall art.
Materials and tools:
Sturdy thrifted plywood tableEgg crate foam (I had some left over from a padded headboard I made a while back)Spray adhesive (I used Elmer’s, but you can use any adhesive that will hold foam together)Scrap pieces of Dacron batting (I used leftovers; a roll at a fabric store is about $13)A piece of fabric (mine was a miscut piece from a student in one of my classes)YardstickMeasuring tapeMarkerScissorsElectric stapler and staples (⅜-inch long with a ⅜-inch crown)Flat-head screwdriverSmall pliers (to remove staples)Hammer (to pound in staples)Scrap fabric or upholsterer’s cambric (dust cover)
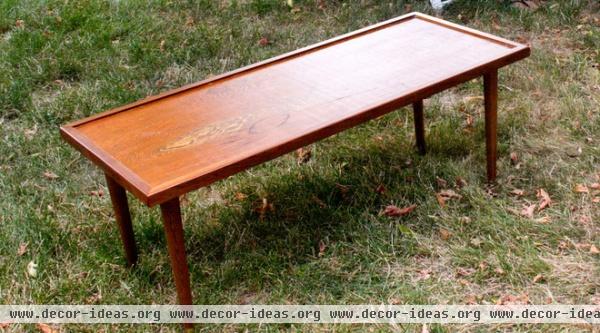
A plain thrift store table likes this will be your starting point. Low-slung coffee tables are great candidates. If the top is ruined, even better; then you won’t feel guilty about upholstering over it. Be sure it’s sturdy enough for someone to sit on it.
Tip: Find something with legs that are easily detachable.
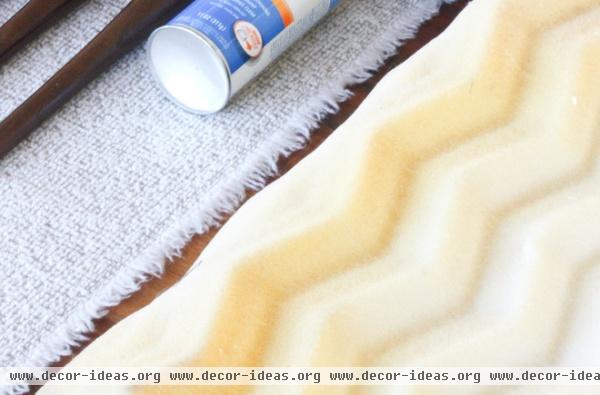
Using egg crate foam as the base padding will save you money.
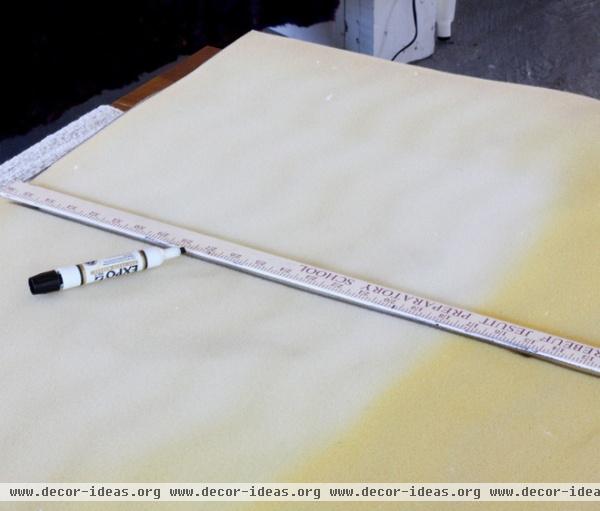
Measure your table’s width and length. Add 1 inch to all sides and cut a piece of egg crate foam in this extended size.
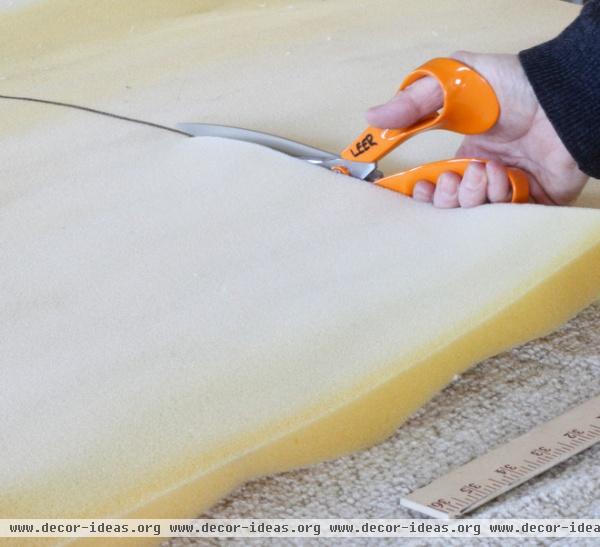
The egg crate foam is so easy to cut, you can use scissors.
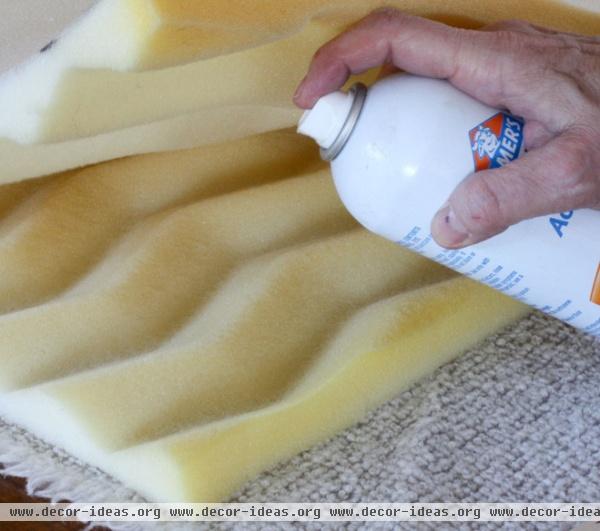
It’s a good idea to double up on the egg crate foam and interlock the textured surfaces to create one smooth piece. Use a spray adhesive to connect them.
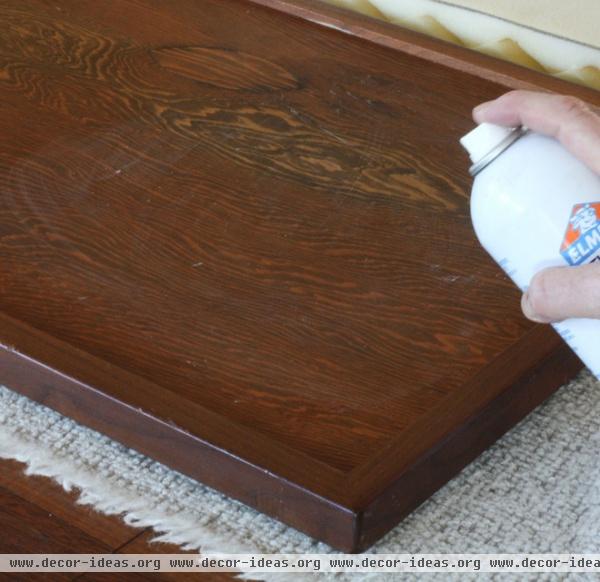
Remove the table legs and spray the table top with adhesive before centering and securing the foam piece.
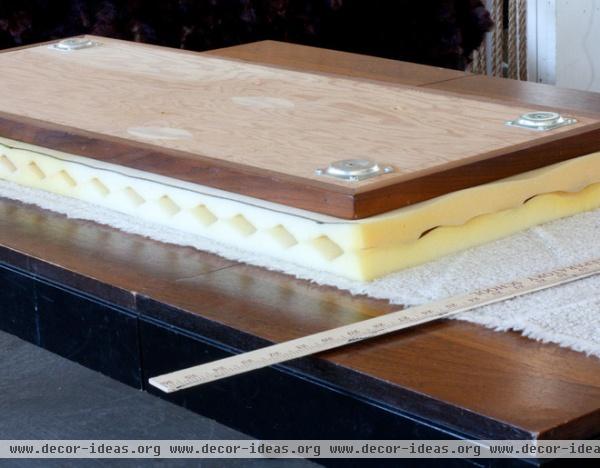
Flip the tabletop over and align it with the foam. Press down until the adhesive sets.
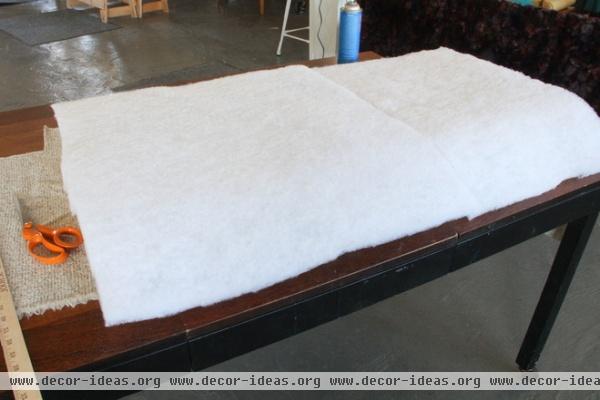
For the Dacron, use a tape measure starting at the short side of the table up and over the padding to the other end. Then do the same for the longer sides.
I used two scrap pieces of batting for a nice, smooth surface on the bench top. Because this is a hallway bench and won’t get a ton of use as a seat, I’m fairly confident the two pieces won’t come loose. If you’re creating a bench that will see more action, I recommend using one full piece of Dacron instead.
Spray the foam on your table and the underside of the Dacron piece with spray adhesive. Secure the Dacron evenly on top of the foam and press down. Trim any Dacron that hangs below the edges of the table.
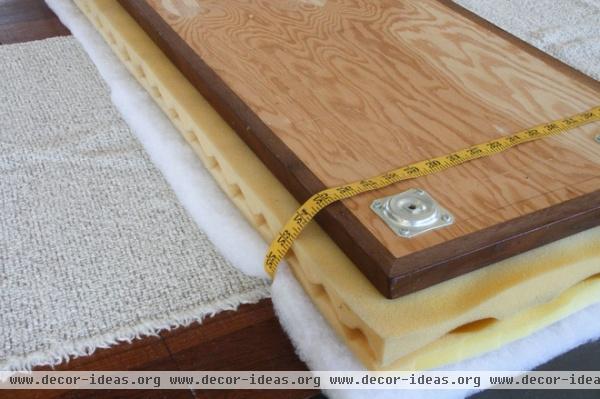
When all the layers are adhered, use a tape measure to determine how much fabric is needed to upholster the bench. The fabric should wrap around and cover all the padding and Dacron, and at least an inch of the underside border of your table.
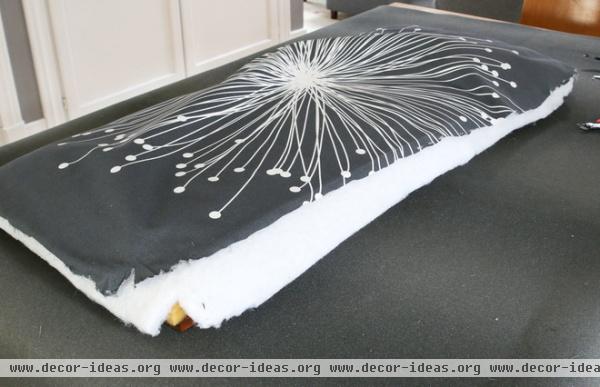
Miscutting fabric happens often in my upholstery classes. This piece of bench fabric left for scrap by one of my students provided just the right amount of pattern for my bench. It was a tight fit, but with careful pulling and stapling, it worked.
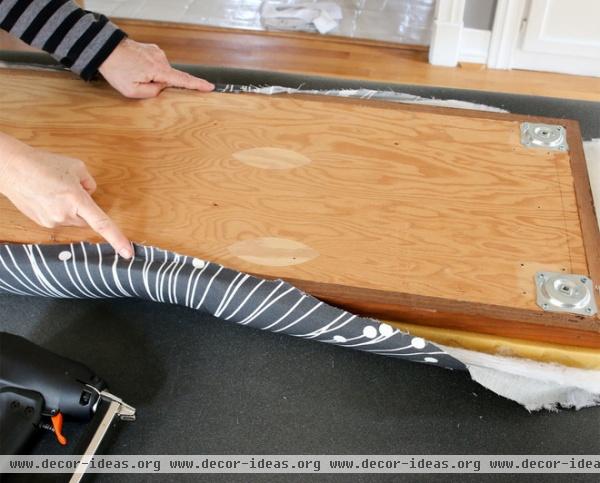
Center the fabric on the bench top. Begin on one long side in the center and secure the fabric on the bottom edge with a few “set” staples to hold the fabric in place, as shown here. Move to the other side and do the same thing.
If the fabric is nice and smooth and snug across the top, begin attaching the fabric on one side by smoothing it out toward the corners with your hand but also at a diagonal toward the corner, making sure the fabric and padding are smooth and even. Secure the fabric on the bottom with your stapler when you’re satisfied with how it looks and feels, but stop 4 to 5 inches short of each corner to leave enough room to work on the corners.
While you’re smoothing and stapling, keep checking to make sure the fabric stays centered and aligned on top of the bench. There’s nothing wrong with removing staples and restapling, as long as you don’t tear or snag your fabric.
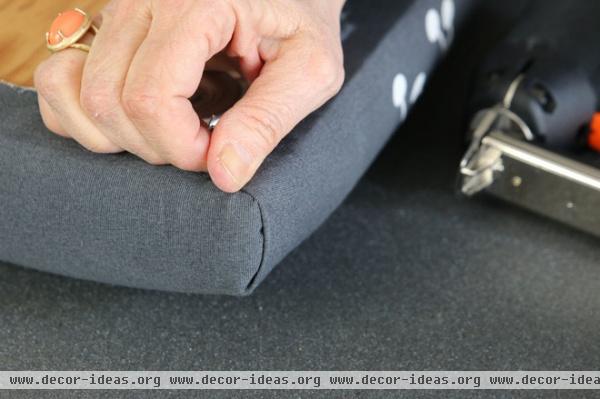
Having smoothly pulled and neatly folded corners makes the difference between an amateur-looking job and a pro-looking job. Work diligently to get smooth and even corners, pulled and smoothed until there is no wrinkling or bunching of the fabric. Be patient and stick with it.
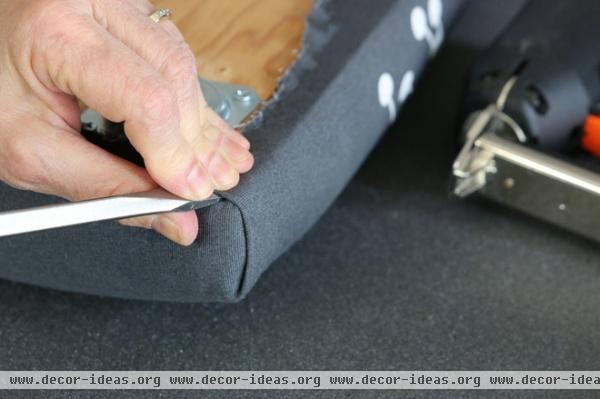
Use a flat-head screwdriver, an upholsterer’s regulator or a long tufting needle to help smooth the fabric behind the corner folds.
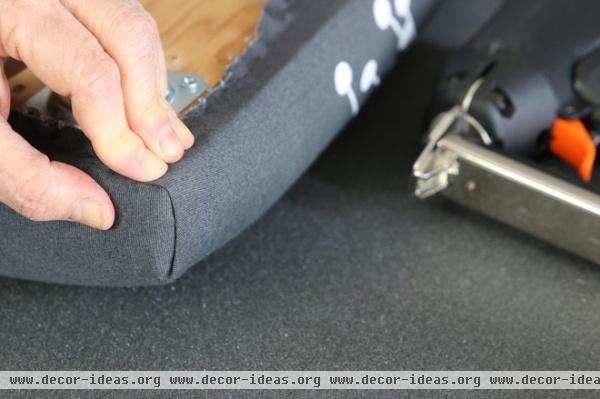
When it looks like this …
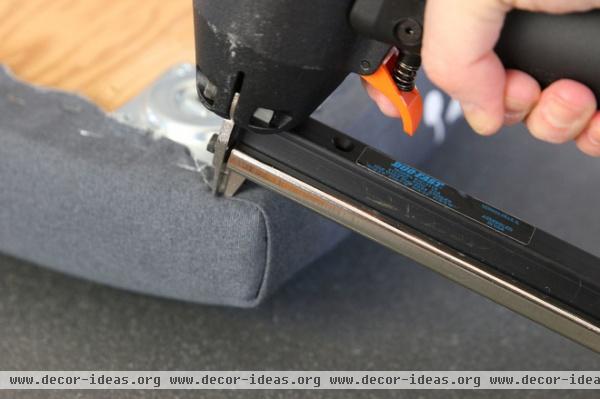
… secure it with a few staples.
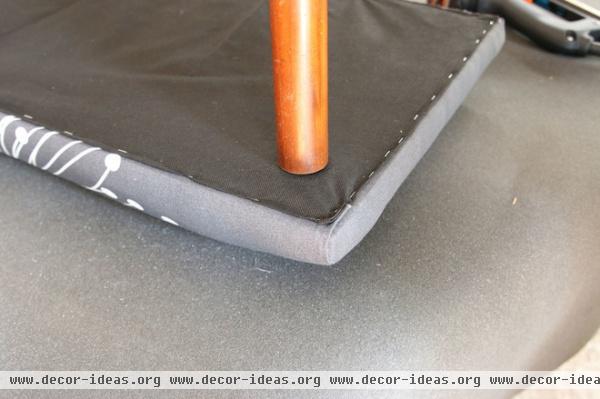
To finish your bench, cut a piece of scrap fabric or dust cover (cambric) 1-inch larger than the bottom of your bench top. Fold the edges under ½ inch and staple in place all the way around. Be sure to keep the dust cover at least ¼ inch back from the edge of the bench top so that it won’t be seen when turned right side up.
When you’re finished, poke holes in the dust cover to screw the legs back into the corner plates, making sure the bench is stable and doesn’t wobble.
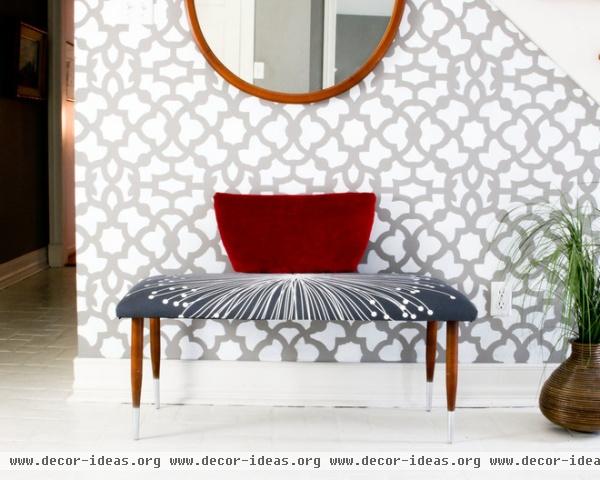
See how this jazzy bench with a vivid pillow brightens up this entryway?
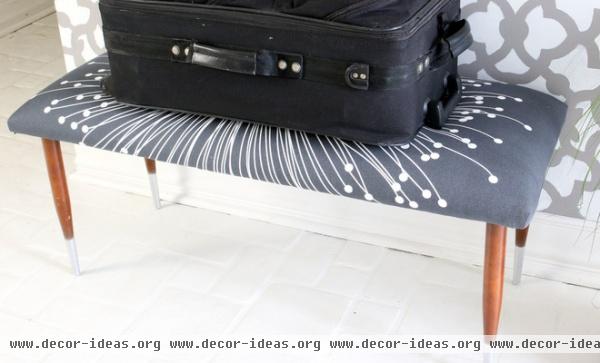
Or it could add pizzazz to a guest room as a luggage bench.
More: Make a Gorgeous (Cheap!) Pillow Using Vintage Clothes


