Make Your Own Barn-Style Door — in Any Size You Need
http://decor-ideas.org 04/17/2014 23:22 Decor Ideas
I have a thing for barn doors and often photograph random ones while sightseeing. I live in New England, so they’re easy to find on old barns in seaside towns or farmhouses in the country. I love the look of industrial hardware combined with a simple wood door, and how this style of door can save space in a room. (Pocket doors are high on my list, too.) When I renovated my basement two years ago, one item was a definite must. Somewhere, somehow, there would be a barn door.
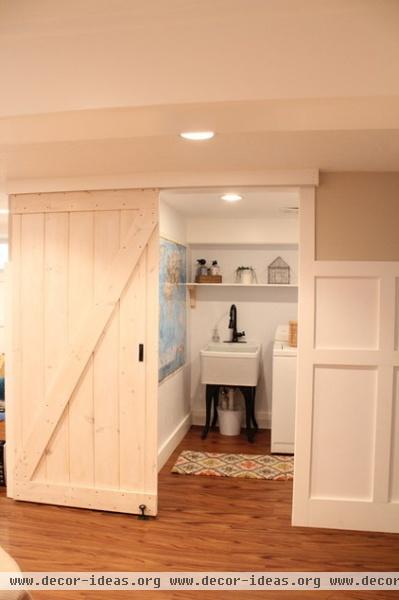
I had plans to relocate my laundry room to the basement, and I decided that would be the best space for the door. I had it all planned out, down to the $400 hardware.
Reality struck when I realized a barn door with intricate hardware would not fit in my basement. My ceiling was only 7 feet high. I was still determined and took the chance that maybe my perfect barn door could be more about the door and less about the hardware.

I went to Home Depot and picked up a simple closet track for $40. I extended the door molding to the left of the door frame to accommodate the track and cut the track to size. I mounted the track above the doorway.
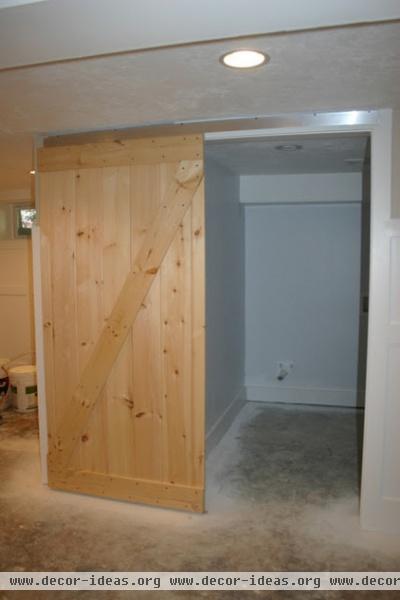
I had a sheet of exterior house siding cut to fit the doorway. These sheets are preassembled with tongue and groove joints and are easy to cut to any length and width.
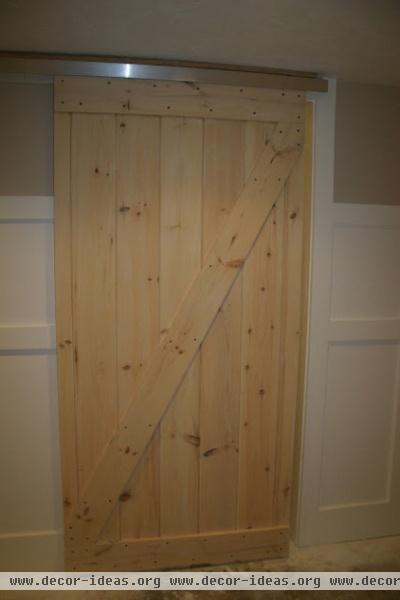
I wanted something simple and clean looking that would not compete with the board and batten throughout the rest of the room. We added trim to the top and bottom of the door for stability and attached a diagonal piece for more barn door style. We attached rollers to the top of the door and mounted it onto the track.

I had planned to paint the door white but ultimately decided I liked seeing the character of the wood. I ended up going with Minwax’s White Wash Pickling stain, which added just a white tint.

I lightly sanded the door and then used one coat of a prestain wood conditioner to help seal it. The wood conditioner dries in about 15 minutes. Once it was dry, I lightly sanded again and applied two coats of the pickling stain. I waited about two hours between each coat of stain.
Both the wood conditioner and wood stain are very thin, and I found that a rag worked best. I soaked the rag and wiped each coat in.
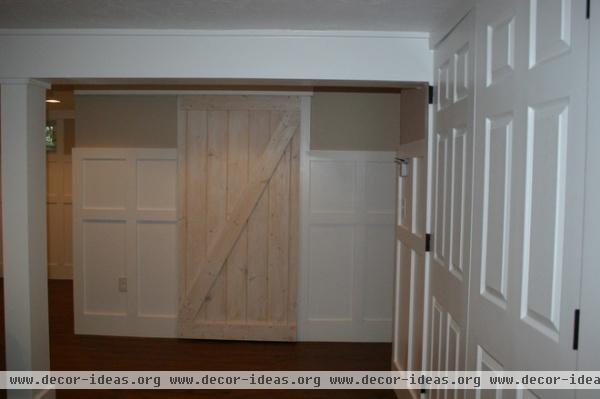
The more coats you apply, the richer the color. I just kept applying coats till I got the depth of color I wanted.
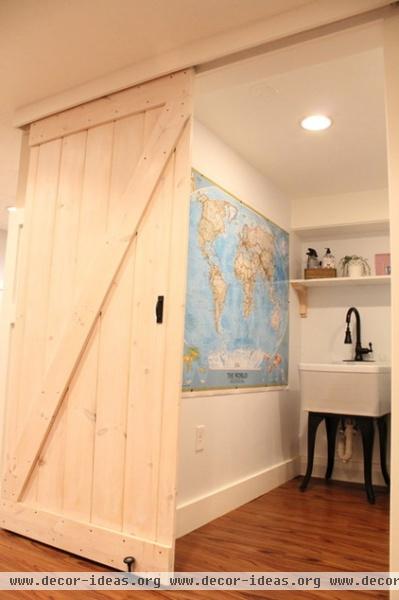
We made a wooden pelmet box (cornice board) with leftover baseboard. It runs the entire width of the doorway and extends to the left to hide the entire closet track. The pelmet box wraps around each side as well and keeps the door from rolling off the track on either end.
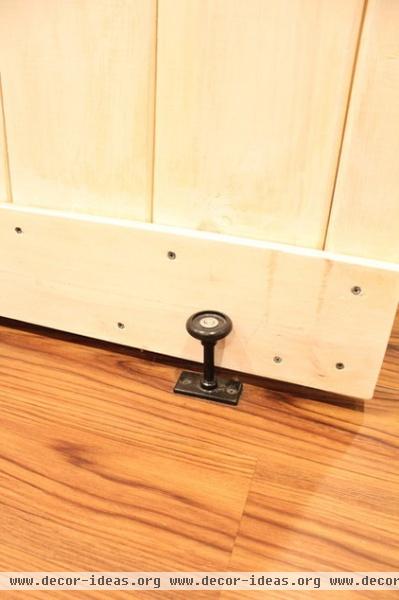
A floor guide from Home Depot keeps the bottom of the door in place. The rubber circular section at the top gently keeps the door from banging around.
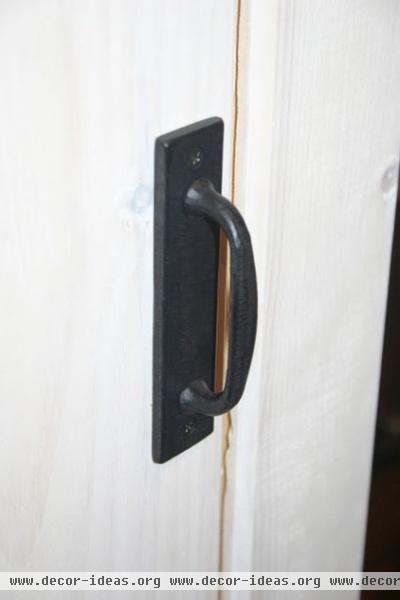
The finishing touch to my barn door was actually drawer hardware from Pottery Barn. It had to be the right scale, so this took a bit of searching. I wanted something with a backplate to create the look of a more substantial door pull.
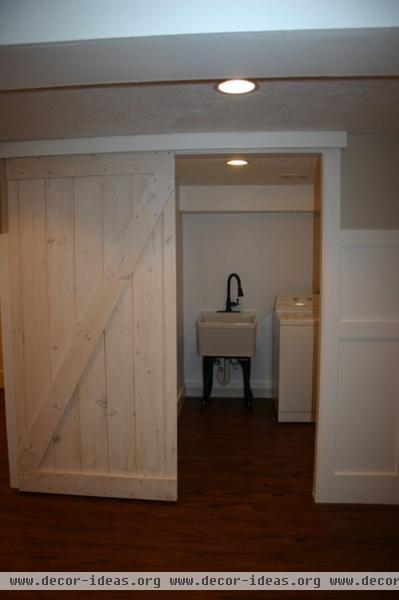
The door opens and closes without disrupting the layout of the family room. It is a great design element in the space and is the first thing people comment on when they come downstairs.
For about $120, I finally have a barn door of my very own.
Next: See more of Christina Katos’ projects and other DIYs
Related Articles Recommended


