Make a Marble Lamp Base With Tile
http://decor-ideas.org 04/13/2014 19:23 Decor Ideas
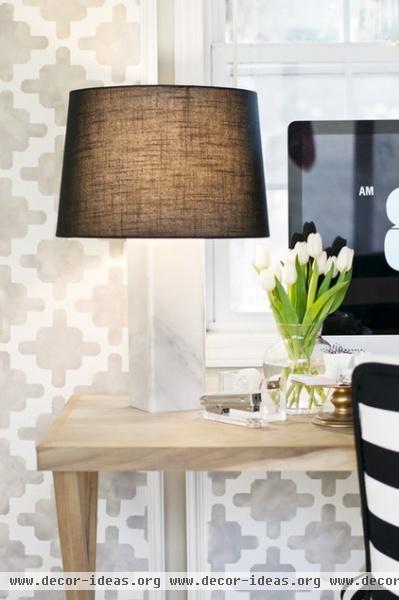
Love the look of high-end marble lamp bases but not the $100-and-up price tag? I’m going to show you how to make your own for $20 to $30. With a few simple materials from the home improvement store, you can make your own marble base lamp in about an hour (not including adhesive-curing time). Here’s how.
Materials:
4 pieces 4-inch by 12-inch marble baseboard tile (I bought mine at The Home Depot) Lamp kit (contains 2-inch threaded rod, socket and nut) or old lamp¾-inch copper coupler (found in plumbing section) Tile adhesive⅛-inch plywood squaresTools:
Drill and ⅜-inch masonry bit Tape
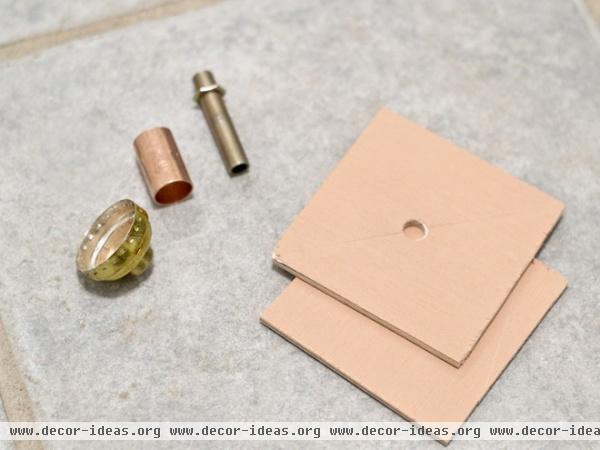
1. To cut the ⅛-inch plywood so that it fits flush inside the lamp base to form the top and bottom, first arrange the marble baseboard tiles in a square by overlapping the bullnose side over the square side, then measure inside and cut to fit. Mine measured 3⅝ inches by 3⅝ inches. Drill a ⅜-inch hole in the center of one of the squares.
Tip: If you don’t have a saw to cut the wood, ask a staffer at the home improvement store to cut it for you.
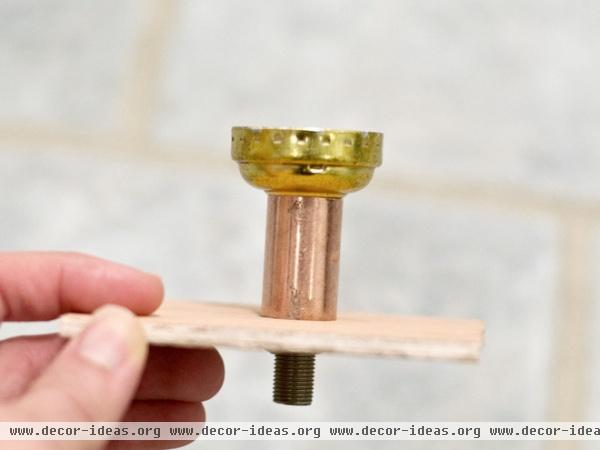
2. To assemble the socket for the lamp, insert the 2-inch threaded rod through the drilled hole in the plywood. Slide the copper coupler over the rod and screw on the bottom of the light socket. Secure the rod from the bottom with a nut underneath the plywood.
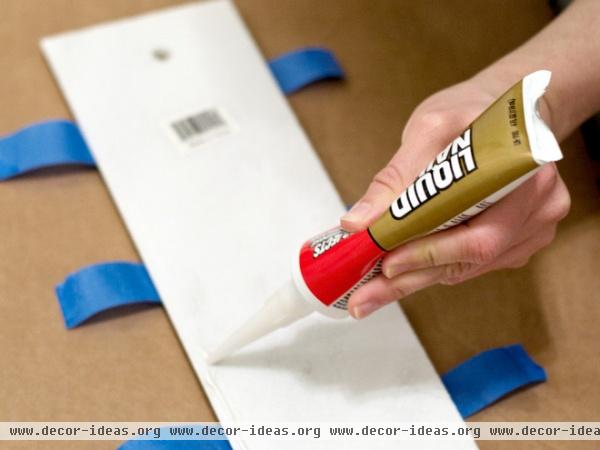
3. To assemble the base, apply tile adhesive to one side of the tile near a long edge, as shown. The glue sets quickly, and the square shape is fairly stable on its own, but using tape will help keep everything aligned while you’re constructing.
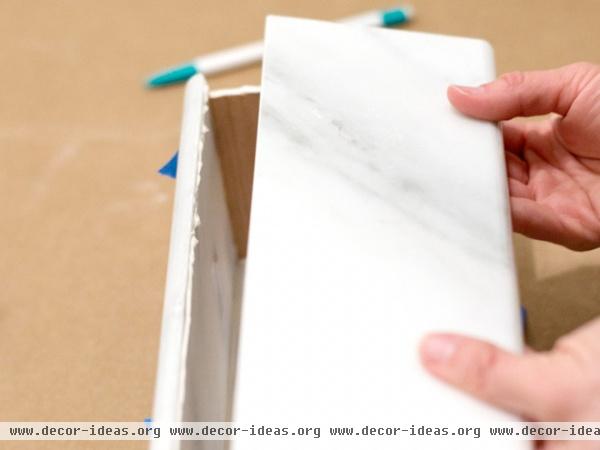
4. Glue only two tiles together first. With baseboard tiles, one long side is square and the other is a bullnose. Make a flush square by overlapping the bullnose edge over the square edges. It will make a perfect rounded square.
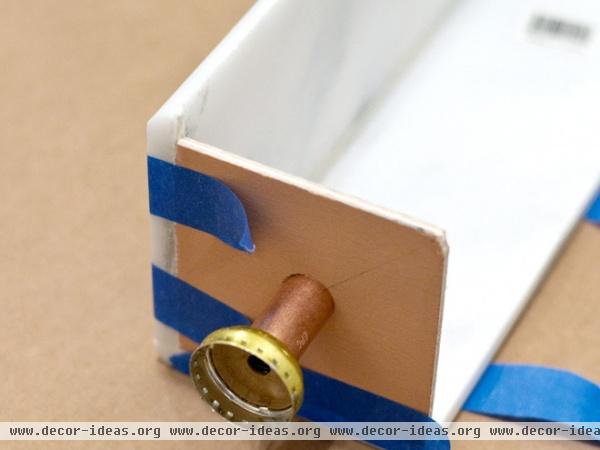
5. Prior to attaching the third tile side, attach the plywood squares flush with the top and bottom using tile adhesive.
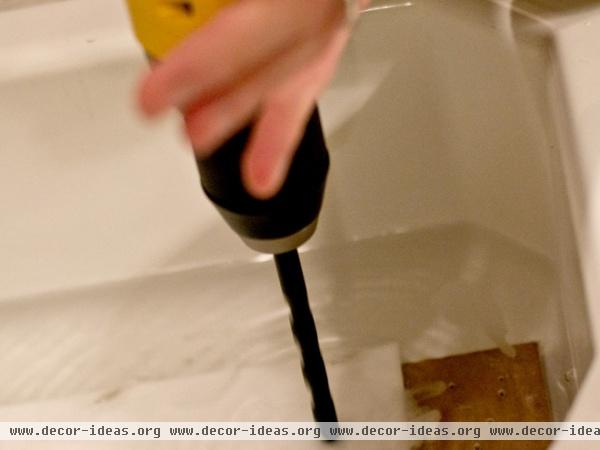
6. Using a ⅜-inch masonry bit, drill a hole in one marble tile about an inch from the bottom. This is where the cord will go. Drilling underneath water will keep the drill bit cool and help prevent the tile from cracking. It also will help contain the dust. Apply even pressure and place a scrap piece of wood underneath to prevent chipping on the back side of the tile and to protect the surface below.
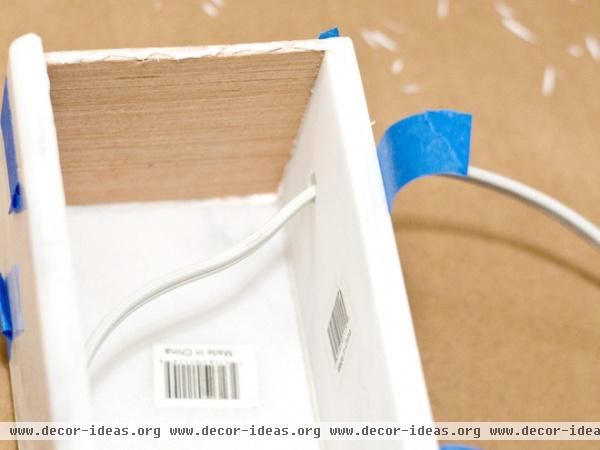
7. Attach the tile and run the wire through.
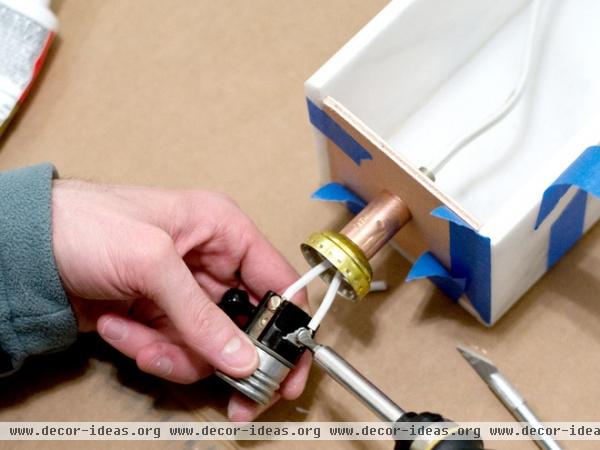
8. Run the wire through the threaded rod and follow the manufacturer’s instructions that came with the lamp kit. Once you’ve wired the light, install the last marble tile to complete the base. Let the adhesive cure for the recommended time. I let mine cure for 24 hours.
Finally, if desired, paint the plywood and copper rod.

Turn on your lamp and enjoy!
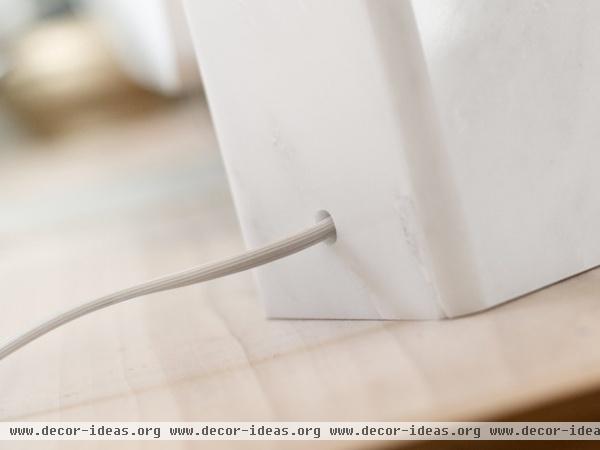
I love the clean lines and how the wire blends into the base.
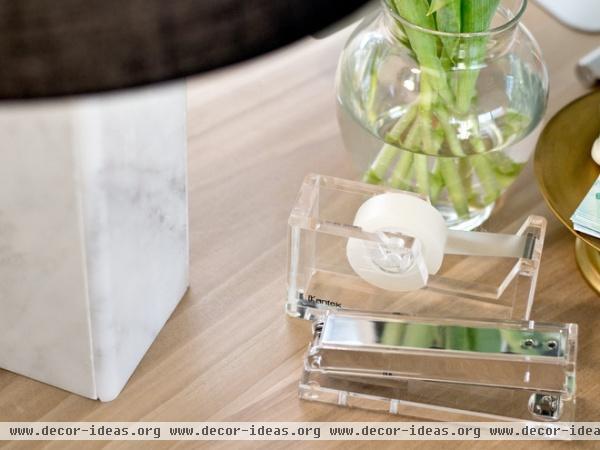
This lamp is perfect in my office!
See more DIY ideas
Related Articles Recommended


