Make a Cool Plant Shelf in an Afternoon — No Saw Needed
http://decor-ideas.org 03/24/2014 22:23 Decor Ideas
I found myself with a trio of glorious south-facing windows, houseplants that loved nothing more than basking in sun and some basil seeds ready to sprout. But where was I going to put the plants to benefit from the greenhouse effect? Easy. I’d build a shelf at the perfect height. Here’s how I did it — and you can too.
Photography by Julie Kim
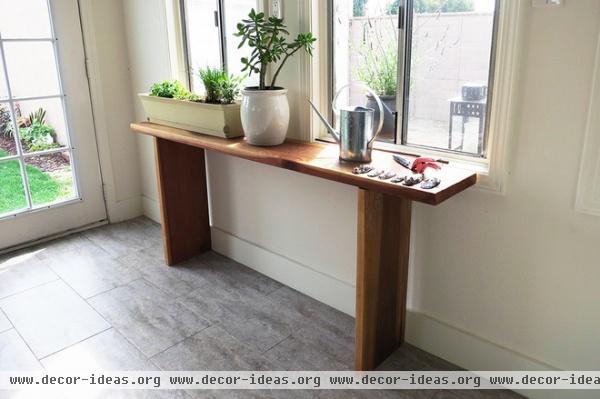
Running low on funds after a nightmare renovation and having limited childcare for my baby, I aimed to build something quickly yet have it be entirely presentable.
Another DIY obstacle: I had no access to a table saw or any other power tools. Fortunately, many big-box hardware stores offer woodcutting services onsite for a small fee. They provide only straight cuts, though, so I kept this in mind as I tried to design a piece that was as simple as possible.
Tools and materials:
One 2-inch by 12-inch redwood plank, 12 feet long, cut into three pieces (the size will depend on your needs)Six 2-inch by 2-inch by 6-inch angle brackets1¼-inch long screws, with a thickness depending on your bracket holes; I used #6 screwsSpray paint; I used goldGloves for transporting wood, sanding and applying finishSafety glassesSandpaper, both coarse and fine gritSanding blockDanish oilClampsScrewdriver / power drill
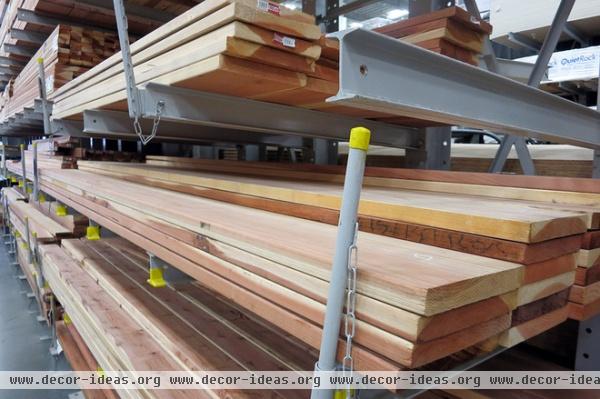
I originally purchased pressure-treated wood, because it costs slightly less than redwood and has similar durability and performance. When someone informed me of its toxicity, especially for indoor use, I thought about how my daughter liked to gnaw on patio furniture, so I switched to redwood.
Redwood weathers well and is naturally resistant to decay and insects; it is a natural choice for any furniture consistently exposed to the elements. You can find long planks of redwood at your local big-box hardware store. No need for furniture-grade wood for our purposes.
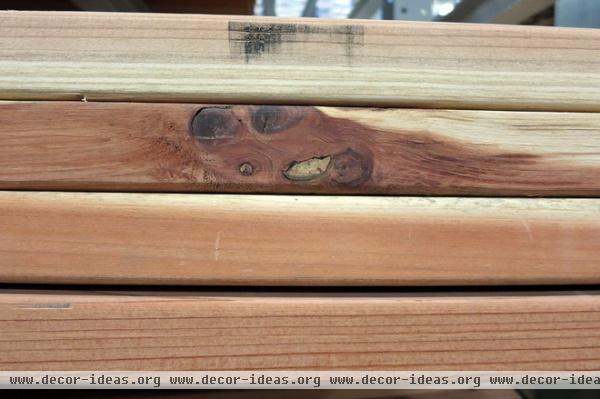
Select the least damaged piece with the most variation in color. With redwood, the color varies between creamy white and a rich terra-cotta. None of the planks look pretty on the shelves, so try to imagine how the wood faces will appear after a good sanding and finishing.
Depending on your preferences, knots can be beautiful, but avoid them in areas where you’ll need to add screws.
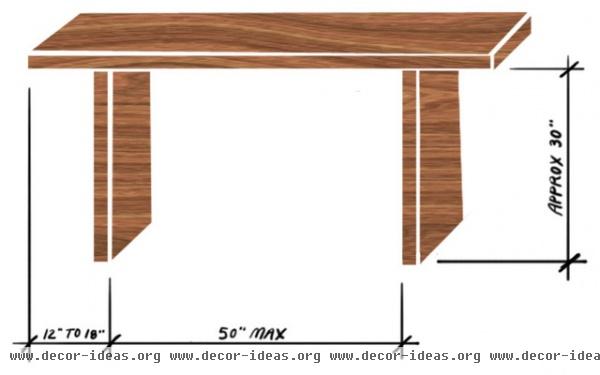
Ask a staff member to cut the pieces to your desired dimensions. The sizes are not an exact science. You’ll need three pieces, and the most variable dimension is the span between the two supports. This dimension depends on how much weight you intend to place in the center. From personal experience, staying within a maximum of 4 feet seems adequate to maintain stiffness in the top piece. (I also recommend positioning the support pieces no more than 18 inches from the edges.)
If you want to build a ledge for your window, know that most windowsills hover at about 32 inches from the floor. Therefore, 29 inches to 30 inches is an appropriate length for the two support pieces.
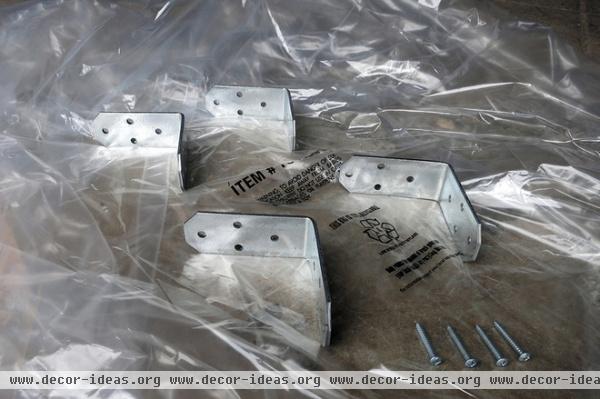
Lay your angle brackets and screws on a drop cloth.
Prepare them by removing any stickers and dust.
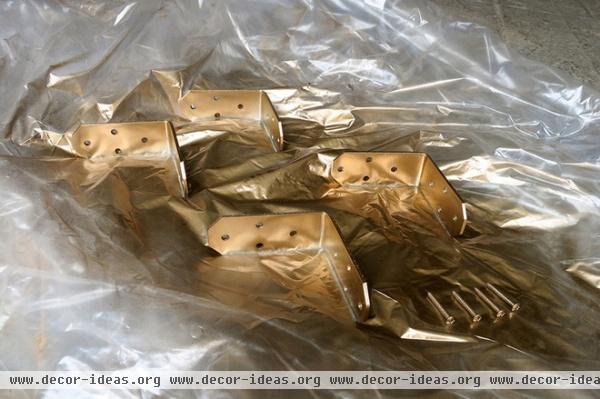
Spray paint the brackets and screws in your preferred shade. I used gold spray paint but wholeheartedly recommend experimenting with other colors. Remember that the bolder the color, the less utilitarian your hardware will appear.
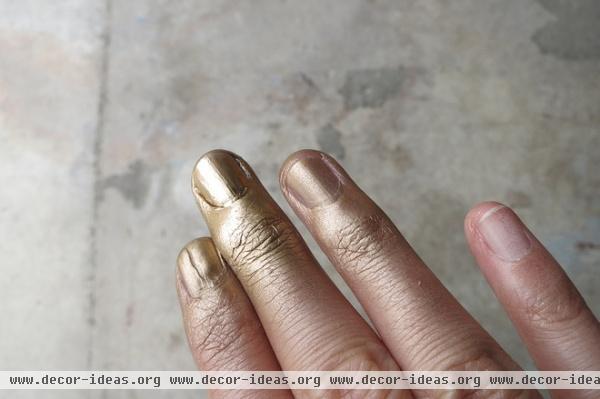
Just be sure to wear gloves, unlike me, unless you want to be a street performer.
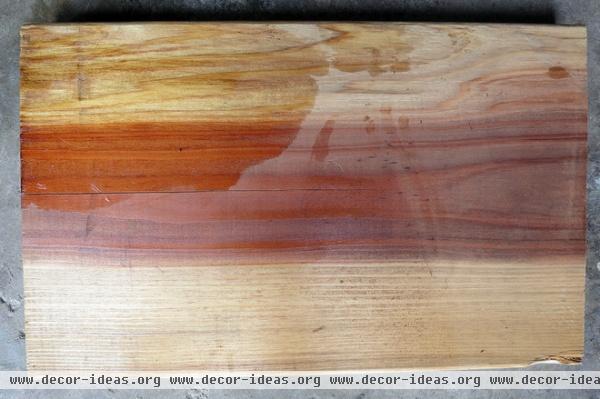
Sand the wood with the coarse-grit paper to remove dents and scratches. Then follow up by sanding with fine-grit paper. If you have an electric sander, save time and use it. Remember to wear a dust mask and safety glasses.
Finish with Danish oil per the manufacturer’s instructions. See here how the finishing oil enhances the color variation in the wood grain.
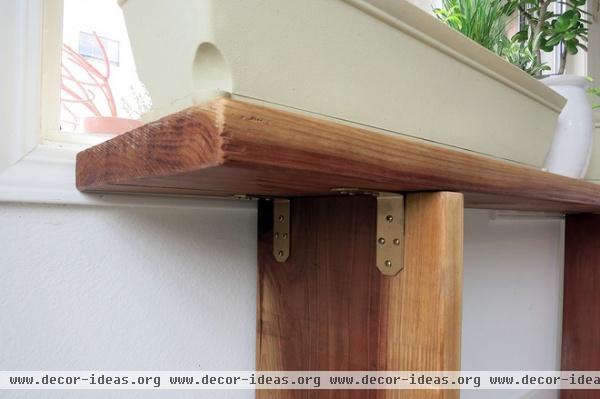
Orient the pieces so that the nicest face is the most visible. With the shelf flipped upside down, use a clamp to hold the pieces in place and screw in two angle brackets about 2 inches from the outer edges of the top piece.
My shelf is sturdy with two brackets on the outer face of each support as long as there is weight on the top. For additional support, screw another bracket to the inside center of the support pieces and/or bolt them to the wall.
More great DIY home projects
Related Articles Recommended


