Make a Push for a New Doorbell
http://decor-ideas.org 03/04/2014 03:24 Decor Ideas
Whether you’re adding a spark of personality to your porch, fixing a convenience that’s on the fritz or making your doorway as high tech as you are, a doorbell is inexpensive and easy to install or make over.

Project: Adding or replacing a doorbell.
Why: With limitless choices in styles, colors and features, doorbells are an excellent low-price, high-impact enhancement to a home’s exterior. Though it’s a small, decorative detail, a nice doorbell makes a good first impression and finishing touch, says Terry Richter, owner of The Glass Door Store in Tampa, Florida.
A doorbell might have a cracked casing, a corroded surface or loosened wires because of its exposure to the elements, but it’s often overlooked on homeowners’ to-do lists. After all, homeowners don’t usually have a reason to ring their own doorbell. But it sends a loud and clear message to visitors, particularly when it doesn’t work.
Since replacing a doorbell typically involves just a few steps, it is one of the easier DIY projects. “They’re totally affordable and low-voltage. They’re like the gateway drug to a curb appeal addiction,” says Jana Lombardi, owner of 360 Yardware in Portland, Oregon.

Who to hire: The electricians, doorbell vendors and contractors I spoke with agreed that most doorbell installations or replacements are ideal DIY projects; they involve relatively few components and are low-voltage installations.
“Transformers don’t often go bad — the wires are usually all copper — so generally it’s the button that needs to be replaced. You’ll hold two wires between your fingers, and though you might see a very small spark, it’s less than 24 volts, so you won’t get shocked,” says Charles Daniels, a retired builder and part-time remodeler at CW Daniels in Columbia, Maryland.
You could also hire a handyperson or an electrician (keep in mind that licensed electricians charge more). If you want a unique or custom doorbell, order it ahead of time to have it on hand for the installer. Confirm trip fees, hourly rates and the costs of any additional materials up front.
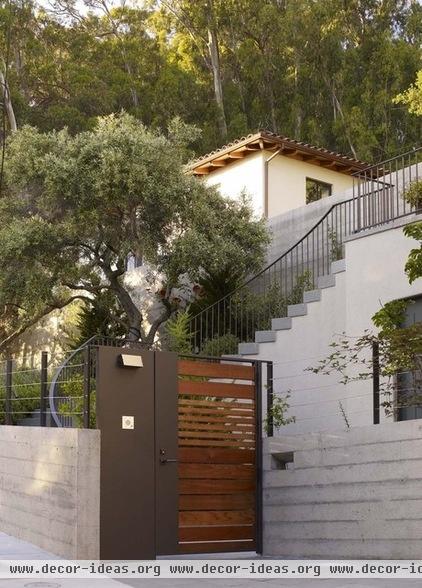
Details: First determine the scope of the doorbell project. Are you simply swapping out a cover (faceplate) for aesthetic purposes? Replacing a chime unit that no longer chimes? Or installing an automated point-of-entry system connected to a video feed or smart phone? These factors will help determine materials, costs, and labor and time requirements.
“We encourage folks to identify their home’s style and architecture, then set up a plan for changing out hardware items as a budget allows, and that includes gate hardware visible from the street, decorative garage door hardware, mailbox, doorbell, address numbers and entry hardware,” Lombardi says.
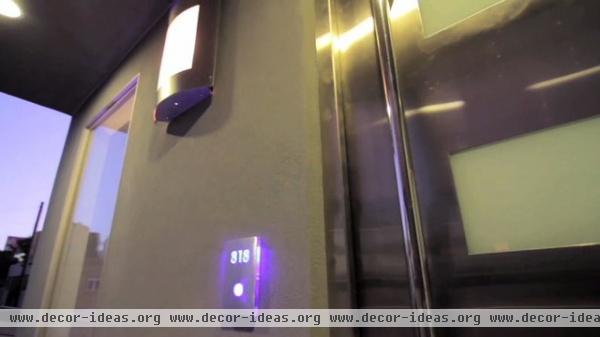
New doorbell covers: The easiest item to install is the cover; this usually involves just two mounting screws and piggybacking on the bell system already in place. Cover options are limitless; they can be traditional, modern, themed, decorative etc. They can serve as a small way for a homeowner to display personality or passion, says Lombardi, who has seen everything from dogs and military mascots to U.S. states.
And remember, even though this is considered a safe electrical project, don’t be a ding-dong when it comes to safety. Follow manufacturers’ instructions. Practice safe electrical methods, such as using tools with rubber handles and turning off the power at the breaker panel before starting.
New wired units: Before installing or replacing a hardwired unit, make sure the new version operates on the same voltage and that it takes up roughly the same amount of space as the old version (or you’ll have painting and resurfacing work to do as well).
Hardwired doorbells are usually made up of three parts: a bell, which goes outside the door; a transformer, which typically is located in a junction box or beam and serves as the link to the circuit (many new bell systems have built-in transformers); and a chime box, which houses the bell components that make sounds.

Edison Junior DoorBot Smart Doorbell - $169 New wireless units: Wireless doorbell units typically work via radio signals between a battery-operated bell outside and a receiver in the indoor chime box. The bell is attached outside via screws or adhesive; the chime box, located indoors, is plugged into an outlet or battery operated.
Most wireless units are limited only by distance — if the receiver is too far from the bell transmitting the signal, it won’t work, or additional receivers may be required (for example, on multiple floors). Units sometimes require operating on different radio frequencies to circumvent interference from other transmitters.
Video- and intercom-based doorbell and monitoring systems (like the one seen here) allow you to assess the entry via monitors or cameras when the doorbell rings. These can be wired or wireless through the same installation methods and work off audiovisual channels and digital signal processing. Other systems use Wi-Fi connections and allow viewing via an app on a tablet or smart phone.

Replacement process: Installing a unit is fairly straightforward, particularly if it’s a surface-mounted product, says Tom Borden, principal at Construction Services and Solutions in Crownsville, Maryland. Recess mounting will require a little more construction know-how, as it can involve cutting through wood, aluminum, brick, stucco, concrete or other entryway materials.
If the bell no longer tolls for you, it’s likely the button that needs replacing. Remove the old doorbell cover (usually mounted with two screws), and disconnect the interchangeable wires from the back. Tape the wires down so they don’t slip back into the wall. Using needle-nose pliers and a screwdriver, connect the wires to the screw terminals on the new switch.
Remount the switch to the house or doorframe using the screws provided with the new bell. Reestablish the power at the circuit box and test the bell. Since bell buttons often come as a set with a chime box (and chime boxes offer different ringing options and tones), it may be worth replacing the box. The chime box typically is installed on an inside wall high enough to be heard throughout the home (notice the chime box at the top-left corner in this image).
Remove the cover plate off the old chime unit, using tape to label the wires according to their respective connections. Unscrew the wires from their terminals and unscrew the chime unit from the wall carefully, ensuring that the wires do not slip into the wall cavity. Thread the wires through the base of the new chime unit and mount it to the wall with the provided screws. Connect the wires to the screw terminals on the new unit, matching the labels to their respective terminals. Attach the cover plate. Turn the power back on and test the unit.
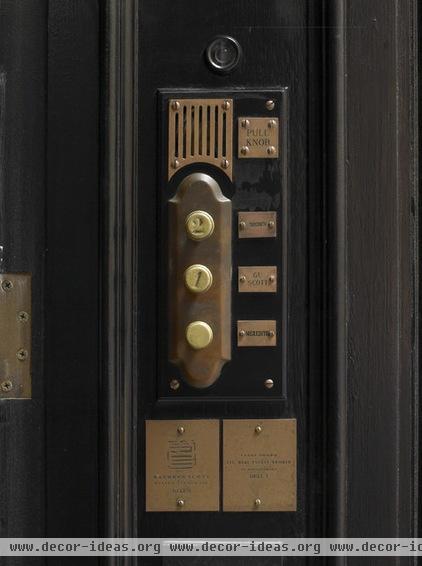
Fixing or replacing hardwired systems, particularly older versions, can be challenging. “Is the transformer easy to locate, and is it accessible if it needs replacement? What is the condition of the existing wiring, especially behind the button?” asks Catherine Nazarene, an electrician at Little Sparkie Electric in Mt. Airy, Maryland. “Most of the time, there is very little slack on what is there; the wires are extremely fine; and if the insulation is cracked, there may not be much I can do to fix it.”
If that’s the case, Nazarene often recommends installing a wireless doorbell set.
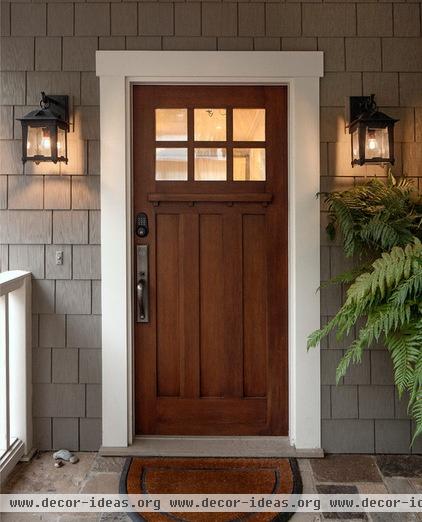
How long the project will take: Swapping out a cover or bell can take as little as 15 minutes. Replacing chime boxes and transformers can take longer, depending on their location and condition.
Best time to do this project: In most areas you’ll just need to consider weather conditions.
Costs
Doorbell covers: Hardware stores sell basic versions starting at $20. Hand-cast or more elaborate covers cost $35 to $65. Customized covers or specialty products with LED lights or more features can cost $175 to $200.
Wired and wireless kits: The varieties are endless, from basic white ($20) to maple wood and pewter ($75) to antique brass with school mottos that can you can upload MP3s to ($190).
Video units: Doorbell intercom and video systems start at $140; additional monitors or cameras cost more. Tablet- and phone-based systems like the DoorBot (shown) cost approximately $200.
Labor: You’ll save considerably doing the project yourself or enlisting the help of a knowledgeable friend. Installer fees vary significantly based on region and installment complexities, but most charge a flat trip fee ($50 to $100) and a per-hour fee ($50 or more for independent contractors; $100 to $150 for licensed electricians).
Chime in: Share your doorbell disasters and successes in the Comments!
Related Articles Recommended


