Make a Designer-Look Pillow Sham for Just $15
http://decor-ideas.org 02/07/2014 07:22 Decor Ideas
When I’m feeling bored with my living room or bedroom, the first thing I do is swap out my pillow shams. It’s superfast, and it makes my space feel fresh and new. But while I love designer pillow shams, at $50 and up each, filling a sofa adds up quickly.
So I found a way to get a similar look for a few dollars and a little effort. With an existing solid pillow sham, fabric and iron-on adhesive, the possibilities are endless.

Geometric patterned pillows are a great way to revitalize a tired sofa. Here’s how I made some for less than $15 each.
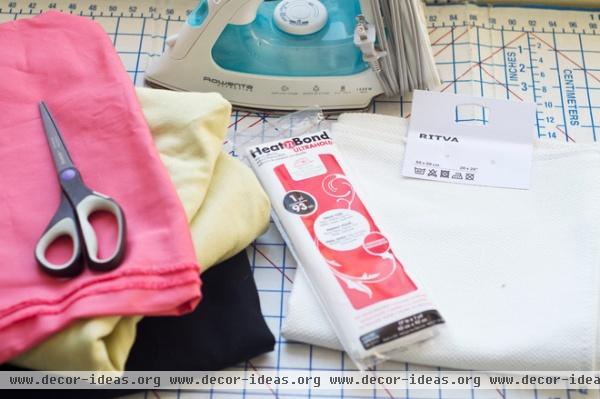
Materials and tools:
• Fabric (thinner for a more seamless look; thicker for more dimension): ¼ to ½ yard per pillow (about $5)
• Iron-on adhesive sheet (I used Heat N’ Bond Ultra Hold, $2.50)
• Solid pillow sham (I used White Ritva from Ikea, $7)
• Scissors
• X-Acto knife
• Iron
• Template (printed or drawn freehand on paper)
• Paper clips
• Tape
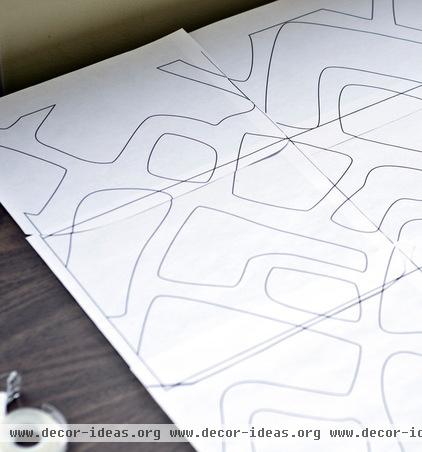
1. Create your pattern on paper. You can use a ruler and a pencil or draw it freehand. Or use a computer — the one shown here was made in Adobe Illustrator and printed on six pieces of 8½- by 11-inch paper; then I taped the pieces together.
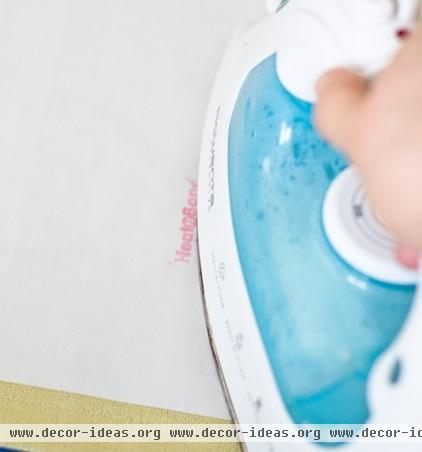
2. Measure the existing pillow sham and cut out a square of fabric that’s slightly larger. Lay the iron-on adhesive, sticky side down and paper side up, on the back of your fabric. Press with the iron (steam off) for about two seconds per section or until it adheres. Attaching adhesive to the fabric will prevent fraying once it is cut.
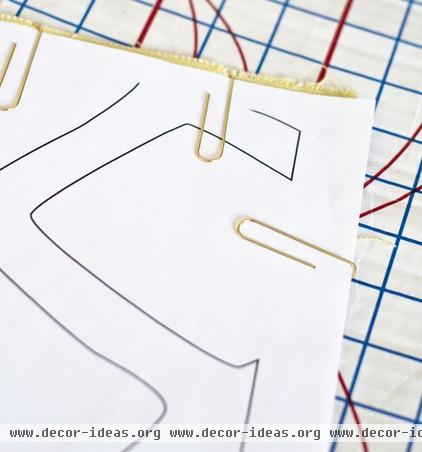
3. Flip your fabric and adhesive so the fabric’s top side is up. Place a little double-sided tape between the paper and the fabric and add paper clips along the edges to hold everything in place.
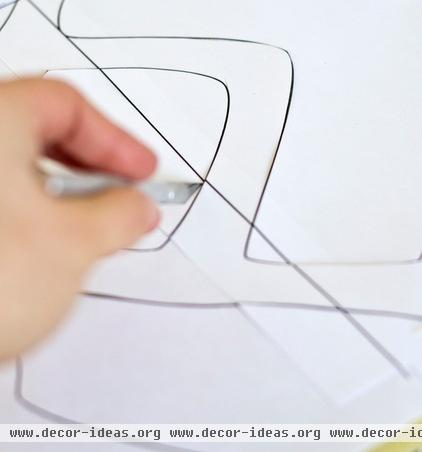
4. Once your template is secured to the fabric, start cutting it out. I used an X-Acto knife for the detail cuts and scissors for the straight lines.
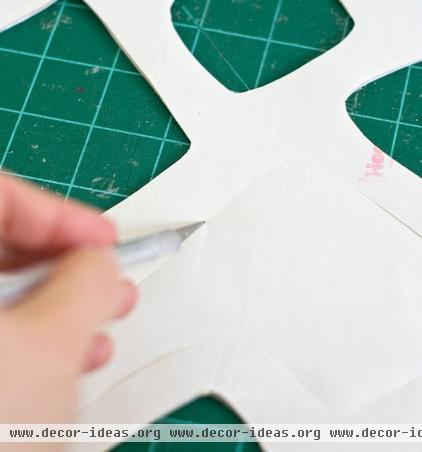
5. If your knife doesn’t cut all the way through, flip it over and lightly cut from the back.
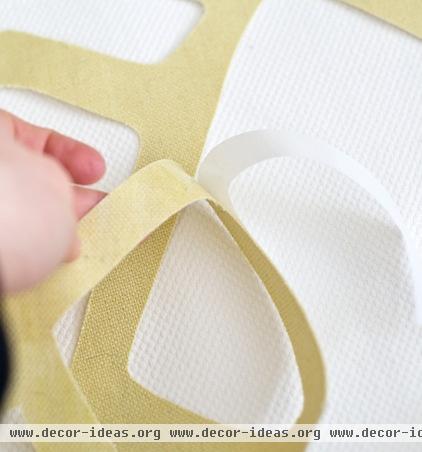
6. Once you’ve cut out your design, peel off the paper backing so the adhesive shows.
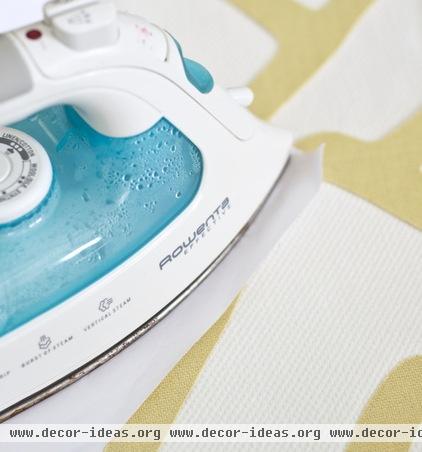
7. Place the fabric with adhesive on the pillow sham. Place a piece of plain white paper on top, between the iron and the fabric, and iron with no steam. Press for about eight seconds per section.
Tip: Don’t overdo the ironing, because it will disintegrate the adhesive. Let the adhesive cool and then gently pull on the edge to make sure it is secure. If not, press a little more.

The black, mitered stripes are constructed of a thinner fabric for a blended look, and the chartreuse fabric is a little thicker to create a more dimensional look.
Add a designer pillow or two next to your new DIY one for a high-end look.

The possibilities are endless; pick your favorite pattern and start creating!
Next: How to make a Greek-key-patterned pillow sham
See more DIY ideas
Related Articles Recommended


