Planning Time: Get Your Garden Started With Seeds
Garden catalogs have a lot to answer for. They arrive during the doldrums of January and offer glimpses of spring and summer gardens full of bright flowers and luscious vegetables. Unfortunately, when you look outside, it seems like gardening weather is still a long way away.
There is hope. You may not be able to hasten the arrival of warm weather, but you can at least get going on a summer flower or vegetable garden by starting the seeds for one. Not only will you save money (a packet of seeds is far less expensive than a flat of seedlings), but you'll be able grow the exact plants you want, whether exotic perennials or your family’s favorite tomato variety, and fill your home with summery greens even when it’s cold outside.
When to plant outside? Check the ideal outdoor transplanting date for each plant, then count backward to determine how early to start the seeds. Cool-season edibles and other plants can go outside when the soil is considerably cooler than heat lovers can, but even so, most plants should not be set outside before the last expected frost. If you start your seedlings too early, you may find yourself with plants that are ready to go outside before the garden is ready for them.
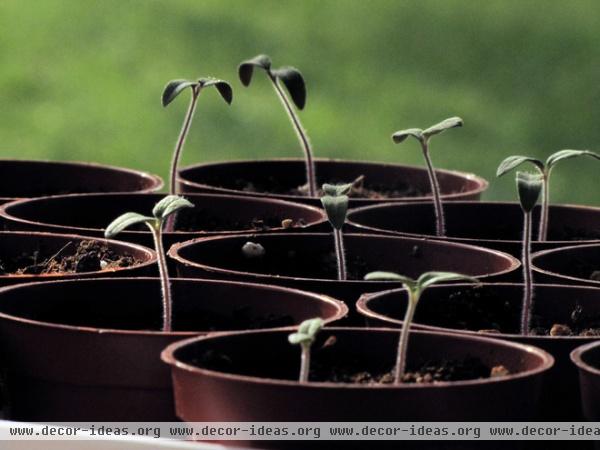
Germinating Seeds
Seeds aren’t fussy about where you start them. Any container that is at least 3 inches deep and has good drainage will work. Many people sow seeds in large flats or trays, or even in large pots. Others choose individual plastic or peat pots or cell packs. Still others look outside the garden and use egg and cardboard milk cartons or old tins. The choice is yours.
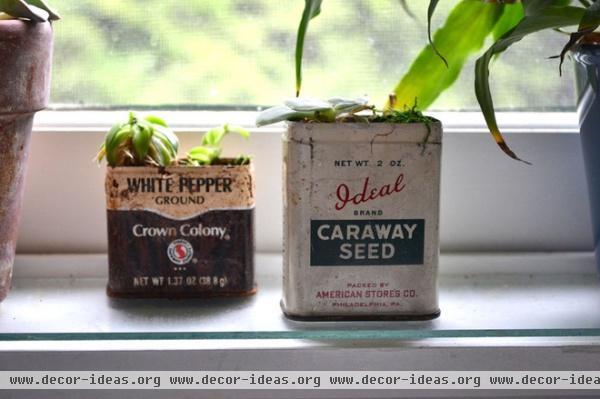
If you’re reusing containers to start seeds, scrub them thoroughly, then soak them in a 10 percent bleach solution for at least 10 to 30 minutes. Rinse and dry them thoroughly before using.
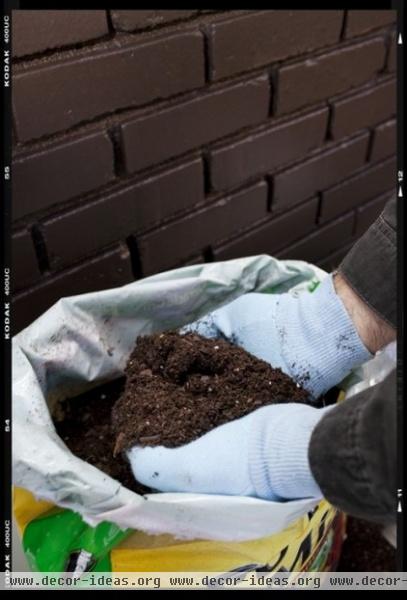
Soil
Choose a seed-starting or potting mix for best results. Moisten the mix thoroughly and let it drain. It should be thoroughly damp, with no dry clumps, but not overly wet and heavy. You can do this either before or after you add the mix to your chosen containers.
Tip: Before you get started, check the seed packet for any requirements prior to planting, such as soaking or chilling the seeds. It will also tell you of any soil and light requirements.
Planting
Plant 2 seeds per small starting pot, or scatter seeds across the top of the mix in a seed tray. Lightly tamp them in place and cover them with more mix to the recommended depth given on the seed packet. Moisten the soil on top but don’t overwater it.
Label the container or tray with the plant name and planting date. You can find plant labels at nurseries and home stores, but popsicle sticks also work well. Just be sure to use permanent ink that won't fade or run if it gets wet.
At this point you may want to cover the seeds with plastic wrap or a plastic cover to help keep the soil damp and warm, which will speed germination.
Keep the soil temperature above 75 degrees Fahrenheit (24 degrees Celsius) for heat-loving warm-season plants by setting them on a heating mat or on top of a water heater or refrigerator. Don’t let the surface get too hot, though; above 90 degrees Fahrenheit (32 degrees Celsius) is too high. Cool-season plants will be fine with average home temperatures.
Watering from a tray placed under the seedling containers is good way to keep the soil moist but not overly wet.
Caring for Seedlings
Once the seedlings start emerging, remove the plastic covering and move the plants into a brightly lit spot with daytime temperatures between 60 and 75 degrees Fahrenheit (16 to 24 degrees Celsius). This may be a warm window in your home, a sunny porch or even a greenhouse. Avoid crowding by thinning your seedlings according to the instructions on your seed packet.
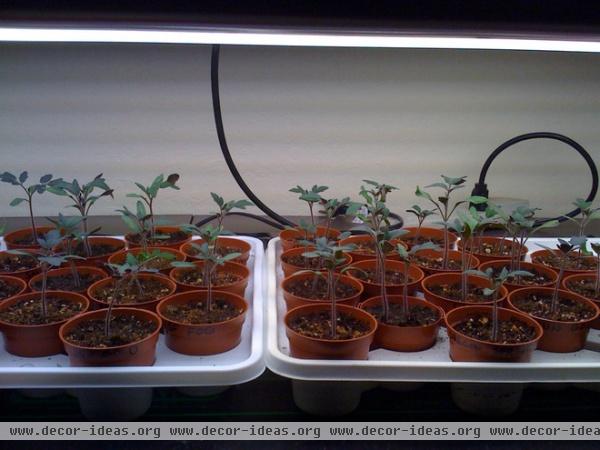
If you don’t have a bright spot in your home, a grow-light setup with or without a heating mat underneath will work. Keep the light about 3 inches above the plants, raising it as the seedlings grow.
Plants will need about 12 to 16 hours of light per day for best growth; too little light will result in leggy and weak plants.
Once leaves appear, begin feeding the seedlings weekly with a diluted liquid organic fertilizer or other fertilizer designed for seed starting.
Transferring to Larger Pots
Depending on how big your original containers were and how large your plants are growing, you may want to transfer individual seedlings to their own pots. 4-inch pots are a common size for seedlings that have outgrown their seed trays.
Tempting as this is, especially if the seedlings look crowded, be patient. The first “leaves” to emerge are not really leaves, but rather cotyledons, which provide the first food for the seedlings. Wait until the true leaves form; they will look different from the cotyledons.
Once you have a second set of true leaves, it’s OK to transfer plants to new pots. Fill the new containers with moistened potting mix to just below the rim and make a hole in the soil for the plant. Turn the original container upside down and gently squeeze it with one hand while removing the plant and the soil from it. Hold the plant by the leaves and the soil and root ball, not by the fragile stem. If you pull out several seedlings at once, separate them with your fingers, a skewer or a toothpick. Take your time so you don’t damage the roots.
Place the plant in the new container and firm the soil around it. Moisten the soil but don’t overwater it. Place the pot in bright light (avoid direct sunlight for the first few days) and continue to keep the soil thoroughly damp but not too wet.
Tip: Many gardeners swear by gently brushing their hands over the tops of seedlings as they grow, moving them back and forth. This simulates a gentle wind and helps develop stronger stems.
Hardening Off
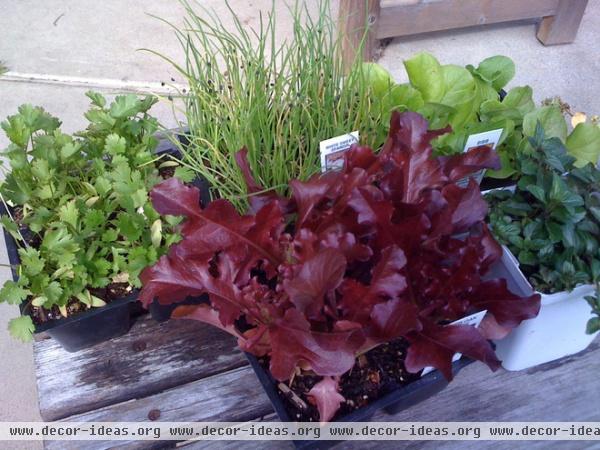
About 10 days to two weeks before you want to plant your seedlings outdoors, start acclimating the plants to the conditions outside, a process called hardening off. When you’re ready to do this, stop weekly fertilizing and cut back a bit on water.
Set the plants outside for a just a few hours each day — even just one hour to start is enough — then gradually increase the time outside. Bring them inside at night or if temperatures drop.
As well as limiting the time spent outside at the start of this process, also limit the amount of sun and wind the plants receive at first. Choose a spot with filtered sunlight and minimal wind, then gradually move the plants into brighter spots until the plants are in direct sunlight all day.
Once the plants have spent several nights outdoors, they’re ready for transplanting to the garden or their permanent containers.
Tip: Cover the seedlings with bird netting when you set them out. Birds and other critters find those tender seedlings very tasty.
Alternatives
You can start seedlings inside your home, but outdoor cold frames, cloches and greenhouses offer alternatives for all or part of the process.
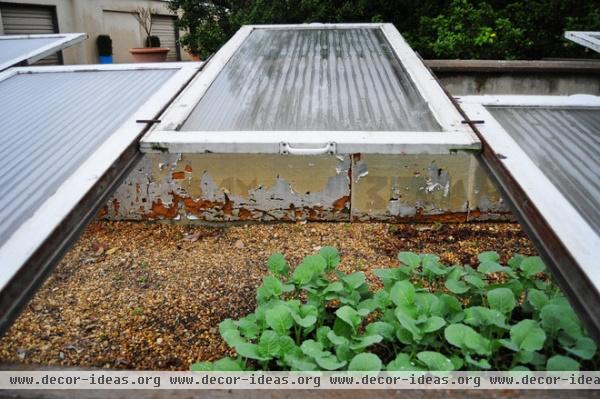
If you’re growing in a cold frame, whether you start seeds there or set out the seedlings, once you want to harden off plants, simply open the cover a bit each day and close it at night. Gradually increase the amount the cover is open until the seedlings are ready for planting.
Extend your growing season in an outdoor cold frame
Large Glass Bell Cloche - GBP 30 Placing a cloche over a plant will help keep it warm at night. It’s a good idea for a few plants, but it's not really practical if you have a lot of seedlings.
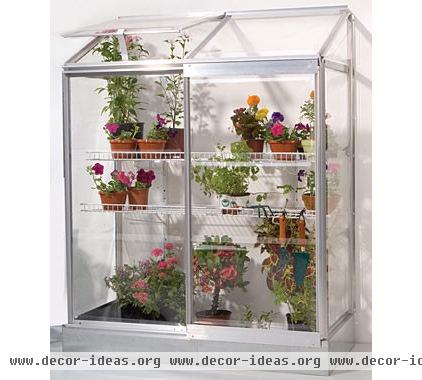
Lean-To Greenhouse - $215.95
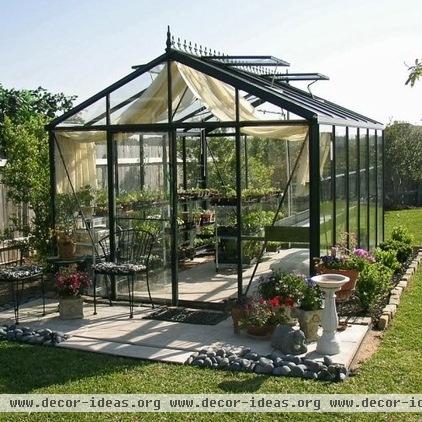
Janssens Royal Victorian Greenhouse Kit - $8,399.99 If you’re lucky enough to have a greenhouse, this is an ideal location for seedlings. If it’s warm enough, you can start seeds in the greenhouse itself. If not, use the greenhouse as an intermediate step between the house and the garden proper.
More: Get a Jump on Your Cool-Season Vegetable Garden


