Get Organized: Make Your Own Stylish Corkboard
http://decor-ideas.org 01/03/2014 04:42 Decor Ideas
So 2014 is here, and it’s got me craving a little more organization. Corkboards are perfect for organizing papers and calendars in an office or kitchen command center. I decided to deviate from the traditional corkboard and create one using two thick frames and a sheet of cork that I stenciled. The thicker frames give it a custom, more expensive look without the extra work! This is perfect for anyone without access to power tools.
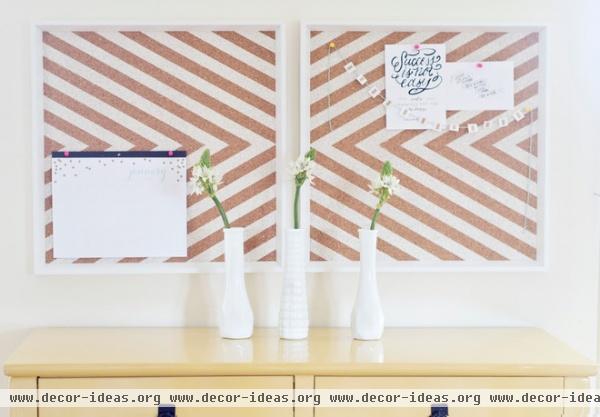
There are endless opportunities, so get creative. If space allows, try using four frames to create a large statement piece, or use the glass from the frames to create a dry-erase board.
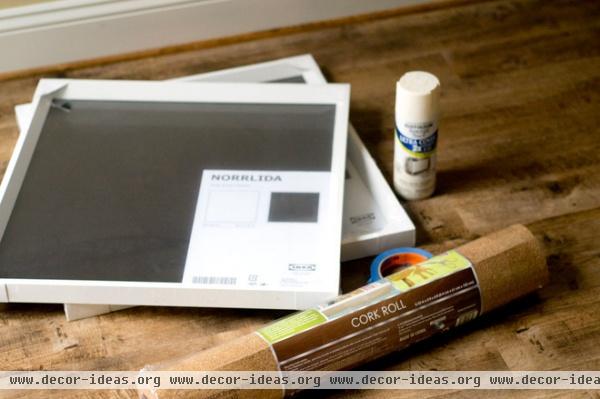
Materials and tools:
2 Ikea Norrlida frames1 roll of 2- by 4-foot cork Contact cement adhesive (if the cork doesn’t have an adhesive backing) 1-inch painter’s tapeSpray, craft or latex paintCutting tools: X-Acto knife, metal ruler and cutting mat (or scissors)
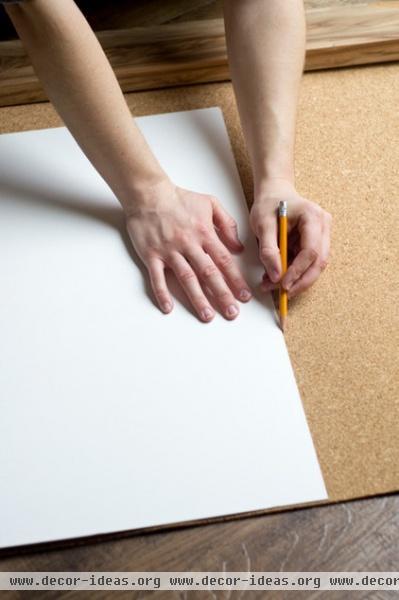
1. Take the back of the frame off and remove the mat board. Unroll the cork and trace around the mat board included with the frame.
Tip: Unroll the cork the night before and weigh it down with books to make it easier to work with the next day.
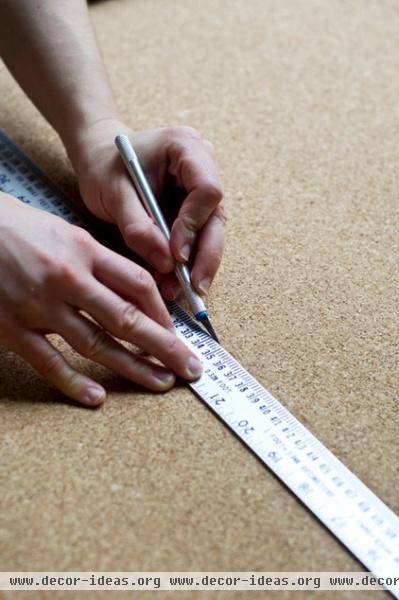
2. Cut the cork using the cutting mat, X-Acto knife and metal ruler or carefully trim it with sharp scissors.
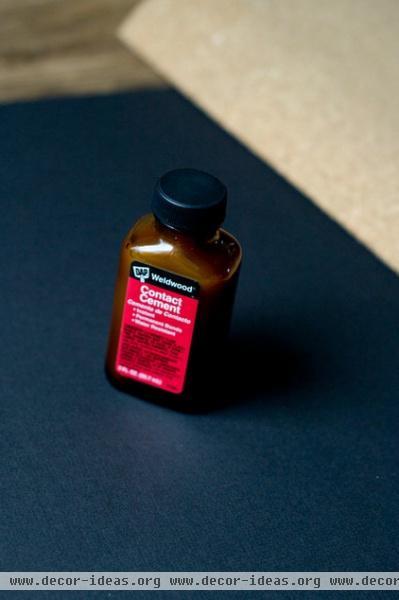
3. Apply contact cement to the mat board and carefully line up the cork. Place a few heavy books on top so it adheres evenly.
Tip: Enlist an extra set of hands to help line up the cork, since the contact cement sets quickly.
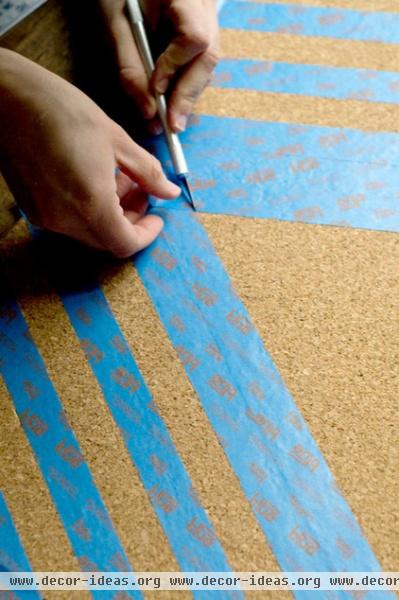
4. Lay out the painter’s tape. For a simple chevron design, start in the middle of the inner edge and work out to the outer corner. Use two pieces of painter’s tape between the lines to allow for easy, accurate spacing. Where the tape intersects and creates a point, overlap the intersection and use the X-Acto knife to trim the excess tape past the angle.
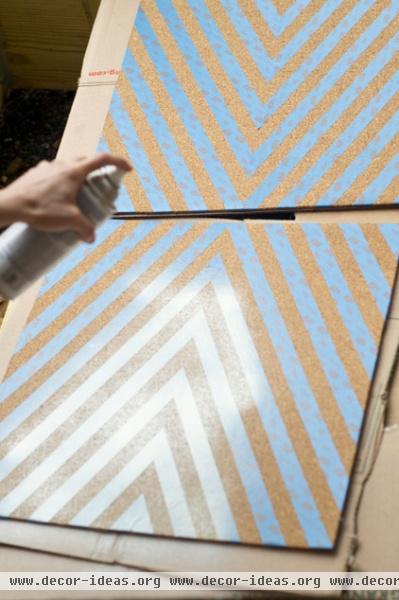
5. Press all of the painter’s tape down firmly and apply a few thin coats of spray paint, allowing it to dry in between coats. Or brush on craft or latex paint.
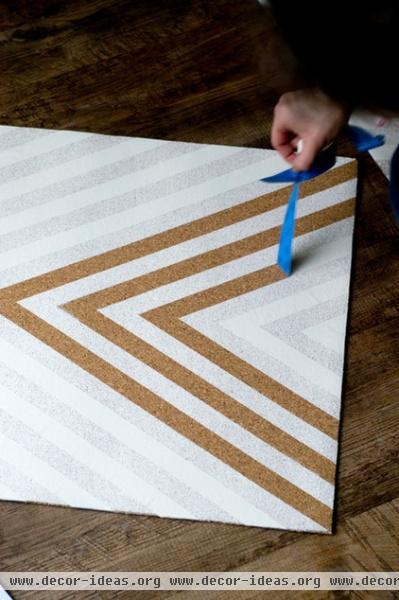
6. Once the paint is dry, remove the painter’s tape.
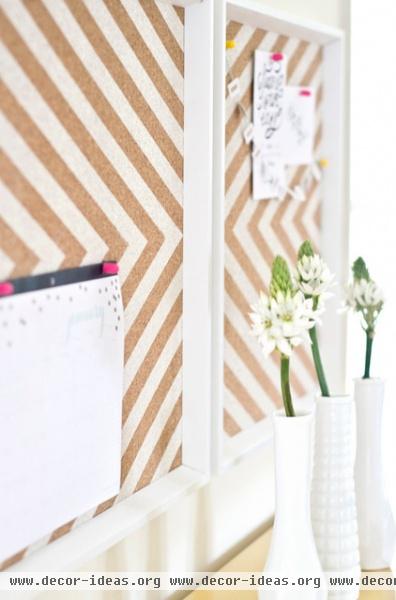
7. Remove the glass from the frame (you can keep it for a dry-erase board), insert the corkboard and frame backing, and secure everything in place. Then mount it to the wall and start pinning!
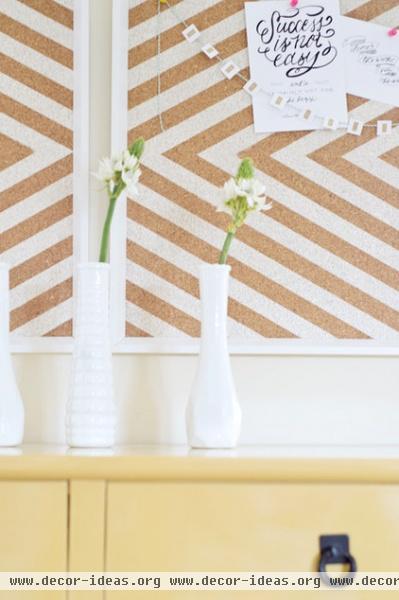
Pin your favorite quotations or photos, or a calendar, on your new corkboard.
Find more DIY ideas here
Console: HomeGoods; calendar, pins: Target; quotations, banner: DIY, using print inspiration from The Everygirl.
Related Articles Recommended


