Shine Up Your Holidays With DIY Mercury Glass Globes
http://decor-ideas.org 12/14/2013 01:20 Decor Ideas
As a professional home stylist, I’m always on the lookout for interesting and unique accessories. Decorating for the holidays is no different. After all, this is the time of year when we want our homes to look their best.
Finding distinctive and sophisticated off-the-shelf seasonal decor is not always easy. And if you find it, it can often be expensive. This year I got creative and made something pretty special from a common household object. This faux mercury glass orb looks like a costly relic but was easy to make, and it adds a nice touch of bling to a buffet, mantel or dining table. I was so happy with the results, I made a pair.
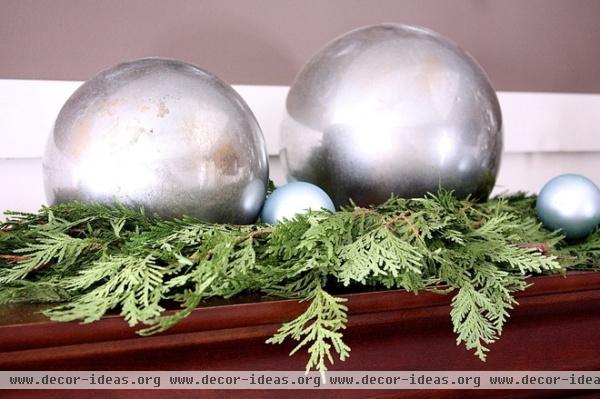
Authentic mercury glass is made by sealing a silvered solution between two layers of glass. It has a beautiful reflective finish with depth and variation in color.
Antique mercury glass pieces can be expensive, so I researched and created my own faux version, applying silvery spray paint to the inside of a glass orb.
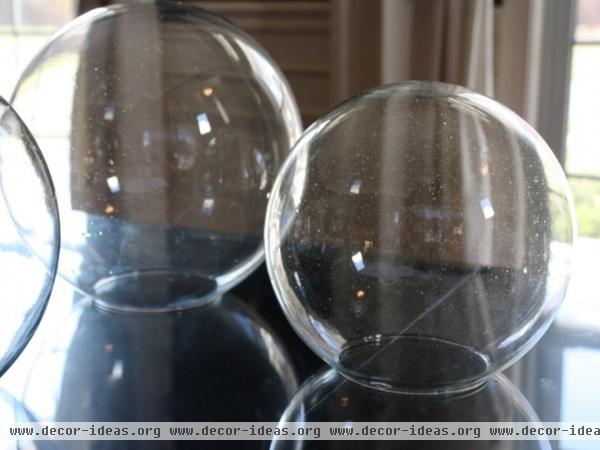
I purchased large, clear glass globes from a lighting supply company. Spare lighting parts such as these can also be found at thrift shops and Habitat for Humanity ReStores. I chose globes with slight imperfections, not only because they were less expensive, but also because the flaws in the glass would enhance the overall look in the end.
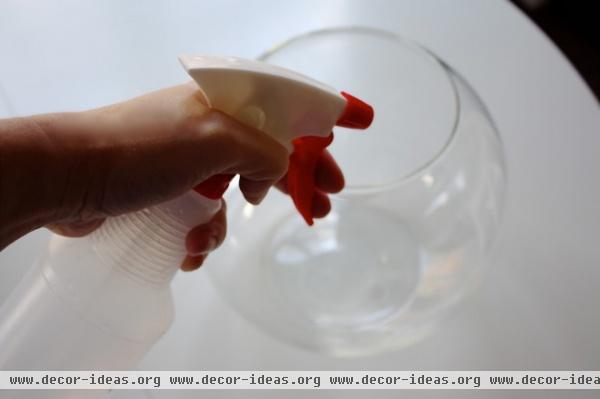
First I cleaned the globes and allowed them to dry. Then, working on one globe at a time, I sprayed the inside with a fine mist of a solution made from equal parts white vinegar and water.
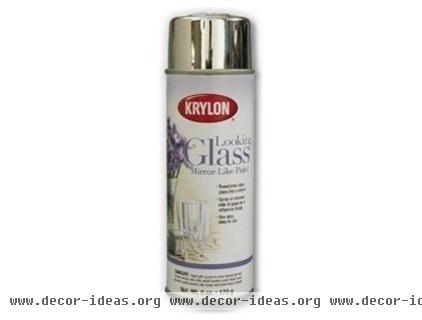
Immediately following the misting, while the surface was still wet, I sprayed the inside of the globe with a light, even coat of Krylon Looking Glass spray paint.
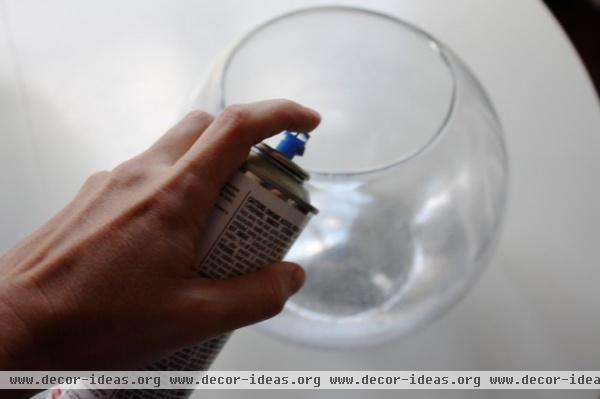
The vinegar and water solution creates a barrier between the globe and the Looking Glass paint, producing an uneven, bubbled look similar to that of real mercury glass.
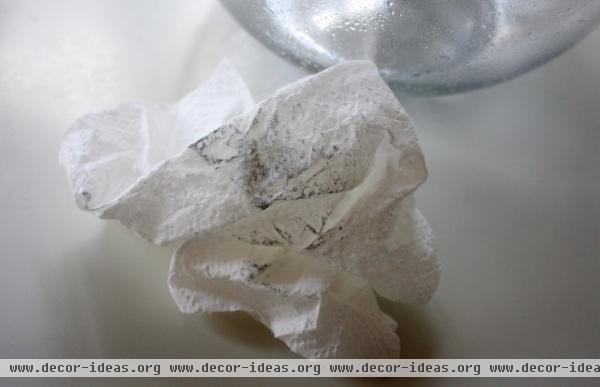
It’s important to use fine mists to avoid drips or pooling on the bottom of your globe. When puddles or drips do appear, I simply dab them away with a paper towel. This removes some of the paint from the surface of the glass, but no worries — it adds character and depth.
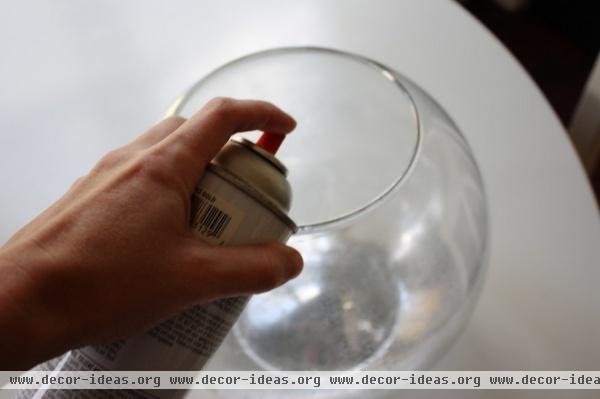
Allow the paint to dry for 30 minutes, then apply short bursts of metallic gold spray paint in just a few areas inside the globe. This adds a subtle gold patina to the layers of paint, giving it an aged appearance.
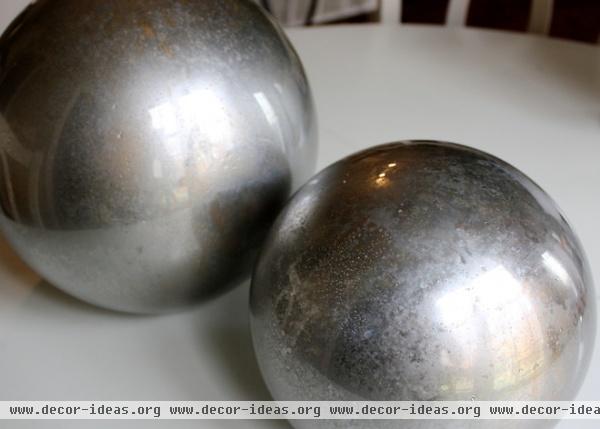
Let the gold paint dry for 15 minutes, then repeat the entire process beginning with the misting three more times, so you end up with four layers of the vinegar and water solution, Looking Glass paint and gold paint. (Remember to apply the Looking Glass paint right after the vinegar and water solution, but allow the other layers to dry between coats.)
The first few coats were very light and barely visible. But repeating the process will give you a semiopaque finish.
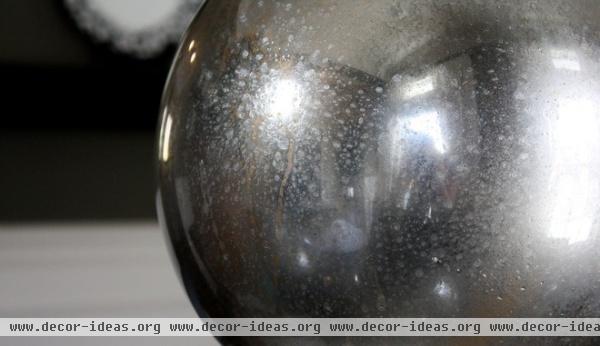
After the last coat has dried, wipe the outside of your globe with a cotton ball soaked in nail polish remover, to remove any overspray. You should end up with a perfectly shiny finish.
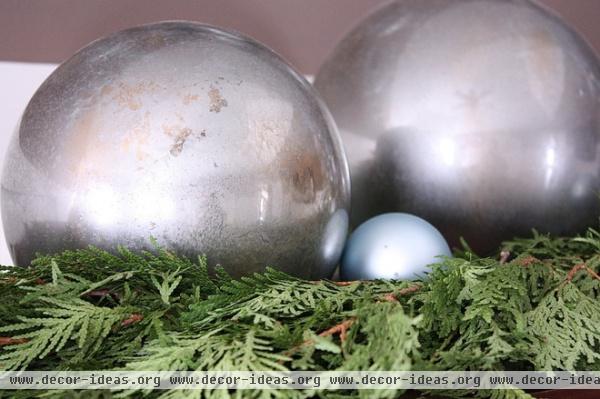
I brought my faux mercury glass orbs into our master bedroom and nestled them on top of fresh cedar clippings.
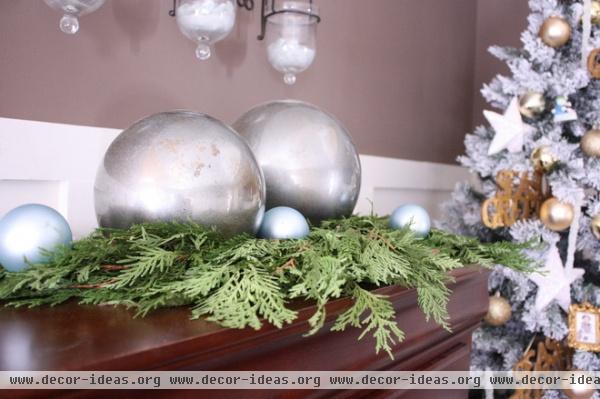
During the day they provide a wonderful reflection of our Christmas tree — similar to a gazing ball in a garden.
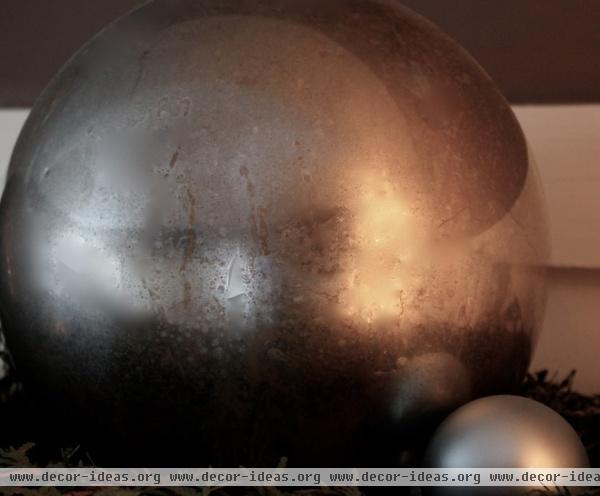
At night a battery-operated candle slipped inside creates a celestial glow.

These orbs are an unusual and romantic addition to our bedroom. And they’re a good reminder that do-it-yourself projects can be a budget-friendly option for seasonal decorating and a great way to create unique holiday accents.
More: Budget Decorator: Easy Holiday Decorations
Related Articles Recommended


