Hide Cords in Style With DIY Graphic Panels
http://decor-ideas.org 12/12/2013 19:10 Decor Ideas
If you have an open desk like me, you probably hate seeing those ugly wires hanging down. Creating a panel system is a great solution to hide the wires and have a completely customizable area without impacting the walls. Lots of people are more productive working in an organized space; if that’s the case for you, this will be perfect for your office.
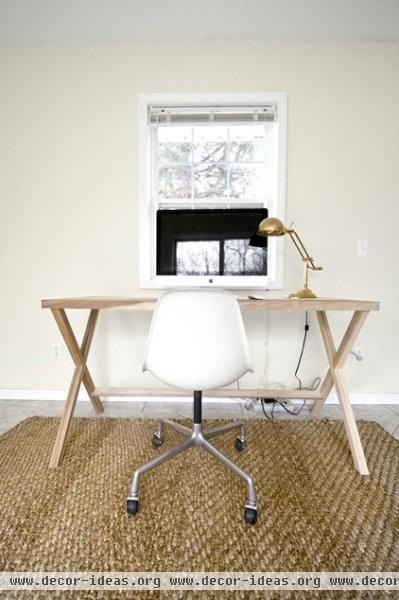
I hated walking into my office and seeing those unsightly wires hanging down. Having things visually organized helps me stay composed and increases my productivity. I knew adding panels would allow me to keep the open feel of the desk while still allowing the use of all my electronics.
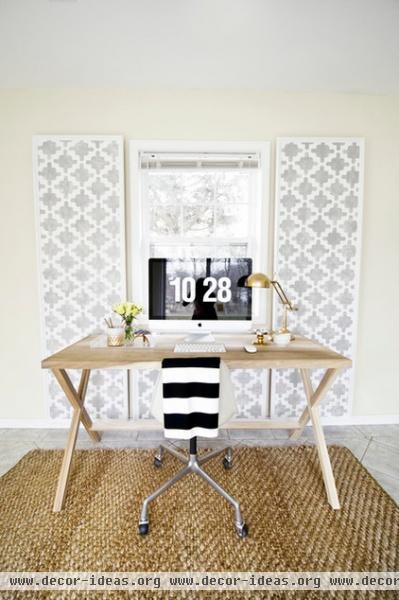
Voilà! No visible wires but still plenty of power. Plus, the added pattern and architectural interest help spruce up my bland rental walls.
I wanted something renter friendly that could be taken down when I move. Using minimal tools and a damage-free hanging system, I created three panels for my desk — two act as stylish accents and one hides the outlet and messy wires. One of the best things about this project is that it’s completely customizable.
I went with 2-foot-wide panels on either side because it was just easier and I could get both out of one sheet of luan. A third panel in the middle is the width of my window and the height of my desk. All three panels are hung 1 inch from the window.
Here’s how you can do it yourself.
Materials:
⅛-inch luan plywood, 1½ sheets or 2 sheets with extra. Have it cut to size at the home improvement store. I got two pieces that measured 80 inches by 24 inches and one that measured 39¼ inches by 28 inches, custom cut for my window.Trim. I used five 8-foot pieces of 1¼-inch poplar trim.Paint. For the background I used standard white, and for the stencil I used Valspar’s Cathedral Stone with a little white mixed in.Two 8-foot pieces of 1- by 2-inch furring strips, for back supportsStencil. I created mine and cut it myself. If you don’t want to stencil, try applying wrapping paper, contact paper, marble paper etc.Wood glue3M Command Picture Hanging Strips. I used 12 sets of the large sizeTools:
Paint roller or paintbrushMiter box and hand saw or miter sawClamps
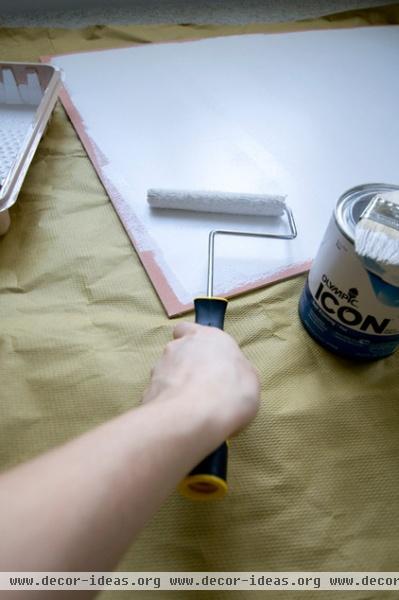
1. Paint the cut-to-size luan panels your desired background color. You can paint to the edge or leave a border where your trim will cover.
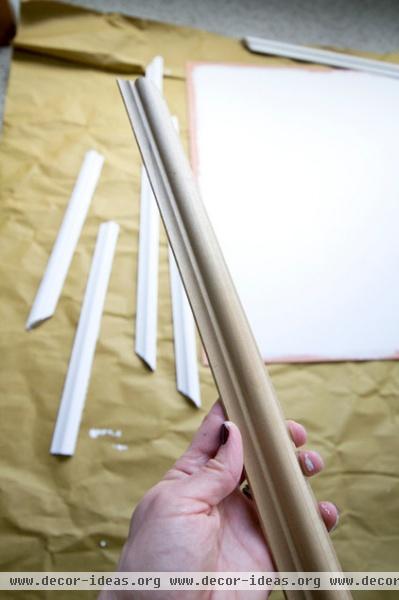
2. Using a miter saw or a hand saw and miter box, cut the trim to fit the panels with 45-degree angles on the ends. Make sure to hold the trim tight against the straight edge when cutting to get the perfect angle.
3. Paint the trim using the same color as the background.
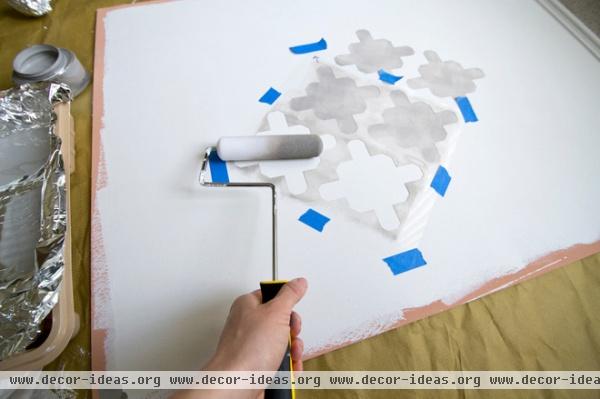
4. Stencil before adding the trim to avoid the tricky edges. Center your stencil and make sure that it is level before you paint. Making sure that the first stenciled area is centered and level will help your pattern end at the same point on both sides and keep it straight.
Tip: When stenciling, use a paper towel to remove excess paint from the roller or brush before painting. Start with the smallest amount possible first to avoid the paint’s bleeding under the stencil.
5. Once your pattern is on, use wood glue to secure the cut and painted trim around the front outer edge of your panels. An air stapler would also work well to secure it from the back.
Tip: Clamp the trim while the glue dries. Put cardboard between the clamp and trim to avoid denting the trim.
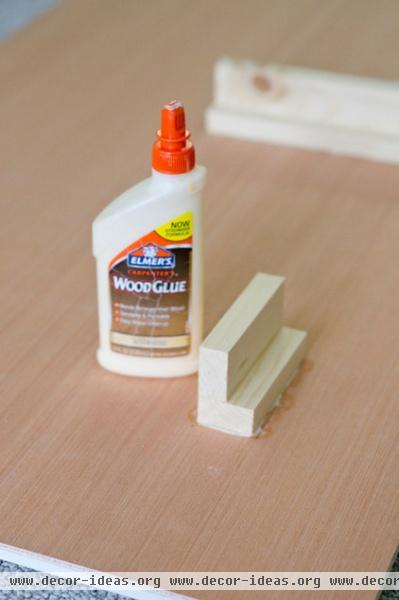
6. Work on the back supports. These will offset the panels from the wall to allow room for the wires and power strip. They will also connect the panels to the wall.
Cut 4-inch sections of the 1- by 2-inch furring strips and glue them into an L shape. Also cut a longer section to hold the power strip if desired. Once the pieces are dry, glue them to the backs of the panels about 5 inches in so they aren’t noticeable from the side.
Weigh down the Ls with heavy objects to ensure that the wood and wood glue properly bond.
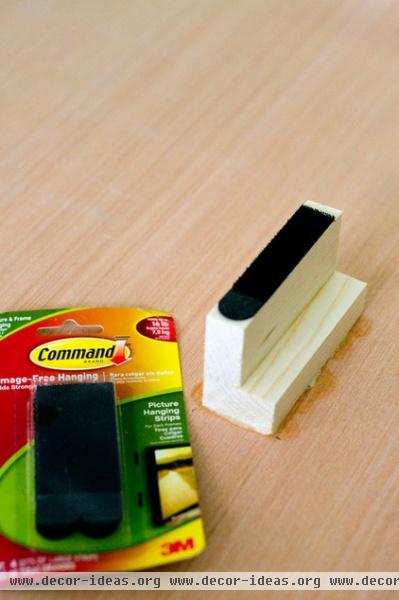
7. Weigh each panel to determine how many picture hanging strips are needed. Also take into account the weight of your power strip. My panels weighed 10 pounds each, so I used four sets of 4-pound strips to secure up to 16 pounds per panel.
8. Carefully follow the instructions on the package and apply the strips. I’ve found that following the instructions exactly is important to secure the panel without the risk of its falling.
9. After the strips have set, line up the panel and click it into place.
Tip: Have someone hold a level to make sure the panel is straight. The strips are repositionable, so if you mess up, just remove them and start again.
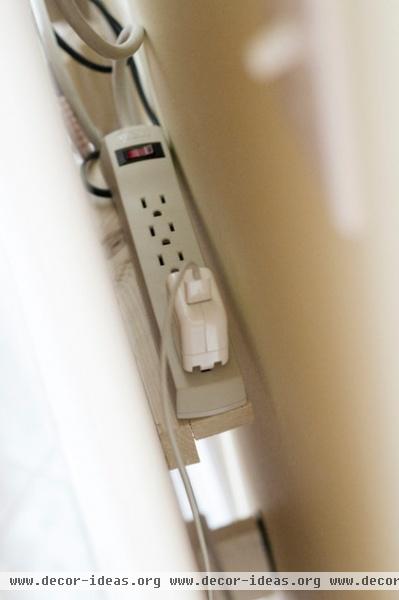
9. Run the wires between the panels, position the power strip and plug everything in.
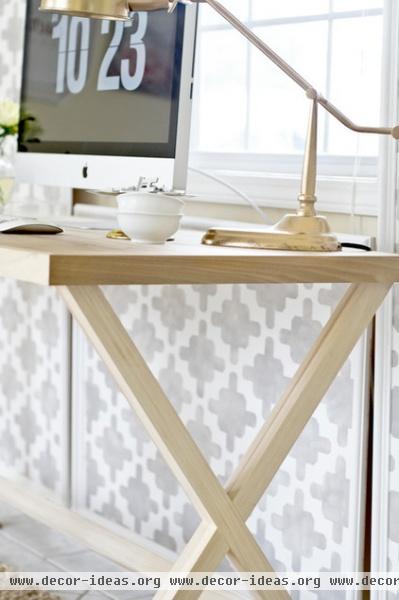
The wires go easily behind the panels and then to the power strip, creating a beautifully clean look.
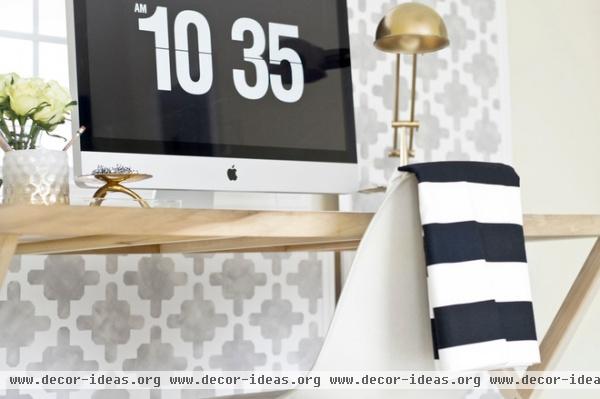
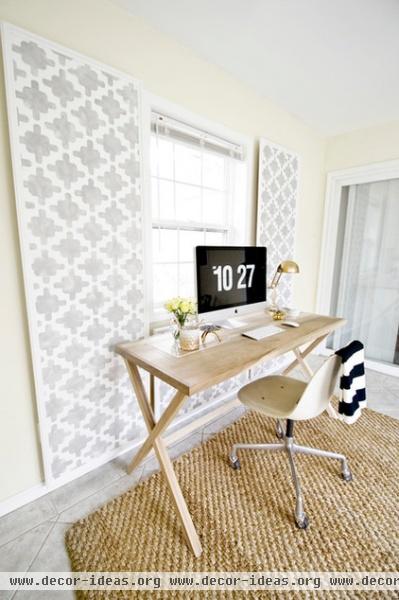
Now there’s no unsightly electrical-cord mess, plus I love how the panels create a cool backdrop. This could also be a great solution for wall-mounted TVs or media stands. So get creative and hide those ugly wires!
Looking for more DIY inspiration? Find ideas here.
Related Articles Recommended


