Remodeling After Water Damage: Tips From a Homeowner Who Did It
Flooding can come from a variety of sources: overflowing rivers, storm surges, excessive rain, a ruptured dam, ice melting rapidly in the mountains or even a burst pipe in the dead of winter. But no matter the cause, when vast amounts of water enter a home, the damage is almost always total. And the process for getting a house back in shape is long, expensive and trying.
I had the unfortunate opportunity to undergo this process when Hurricane Irene passed over Cape Cod in 2011. A layer of a new roof was lifted off our top-floor condo during the storm. A temporary repair to the roof held up, until a follow-up nor’easter destroyed it and flooded the condo. The water passed through our condo to the unit below. The carpet was ripped out of the main living-dining room, and much of the ceiling and some drywall were peeling and leaking.
Even though we were at the end of hurricane season, restoration for us didn’t begin until the following spring. It can take months for insurance adjusters to release funds, and even longer to line up professionals to begin to rebuild if an entire neighborhood or community is affected. So our restoration wasn’t completed until a year after the storm hit. I recently got a call from a family who needed design help for their home, which was flooded by Hurricane Sandy more than a year ago. They are still living in a temporary residence and are eager to see their home rebuilt and fully restored.
Needless to say, rebuilding after water damage takes time. For us, living in Canada added to the complexity of restoring our condo in Cape Cod. I am by no means an insurance expert, but I will share with you some of our insights into the process. We just hope we won’t ever need to know them again.
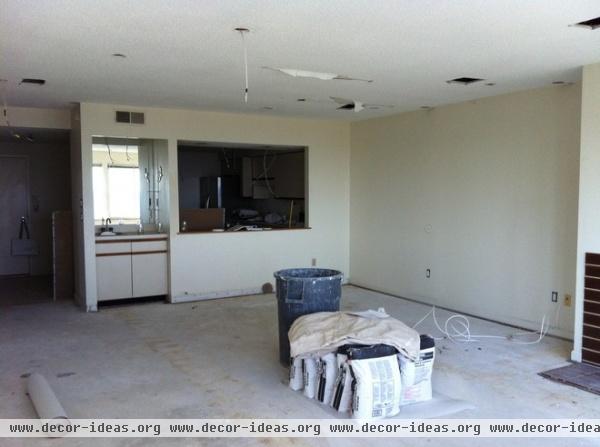
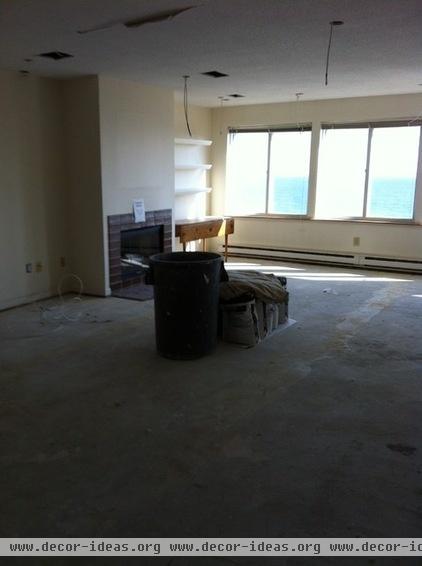
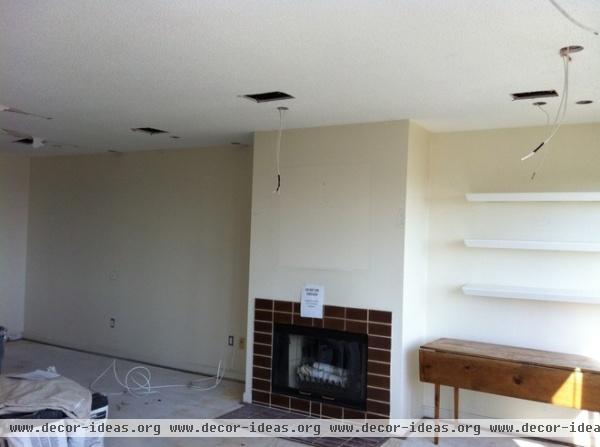
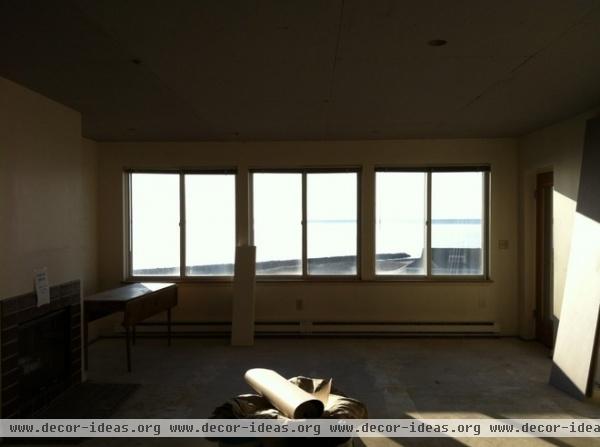
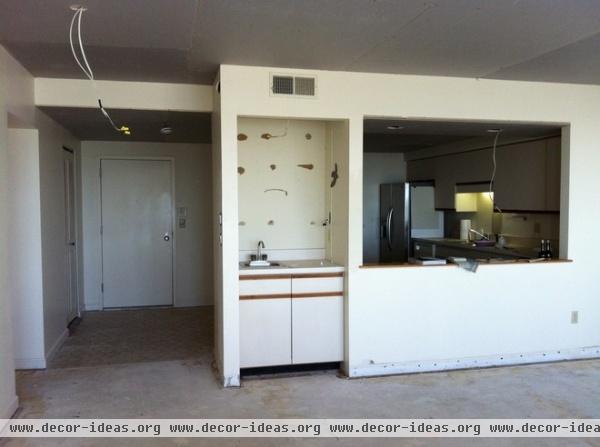
Prepare for a dreary greeting. Hello, construction site! I don’t think there is any way you can prepare yourself for how this will feel. I just don’t. This is what the main living space looked like when we arrived. We were reminded of how vulnerable we are to the whims of nature.
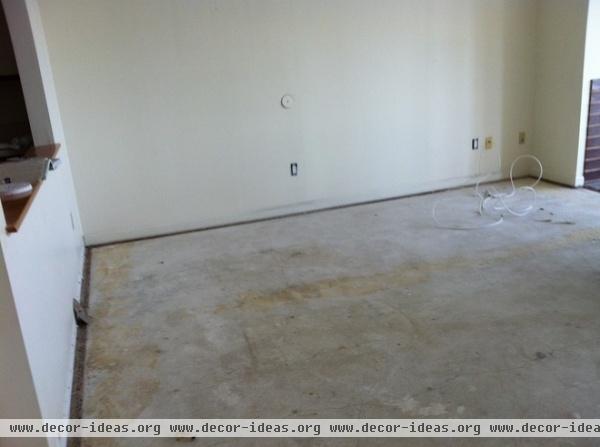
The furniture had all been removed, the wall-to-wall carpet torn away. Bare concrete flooring and a peeling ceiling surface were not welcoming sights. Weary from the 12-hour drive, we set about the task of making ourselves at home.
Dry it out now. The very first step, and I must impress upon you how important it is to act swiftly on this, is to call your local disaster recovery team to remove any soaked carpet or furniture and set up industrial fans to dry the place out. Don’t put this off until tomorrow! Don’t call your best friend to tell her what happened. Do this now!
Turn up the heat or air conditioning, depending on what time of year it is; otherwise open up the windows. Do anything you can to get the moisture out. It is imperative that you take every precaution to protect your home from further deterioration due to mold and excess moisture. Ask your disaster recovery team members if they recommend an antimicrobial wash for any surfaces that are in question.
Fortunately for us, this was done by our condo managers before they called to tell us of the damage.
Contact your insurance company. This brings me to my next point, and this is imperative too: Call your insurance company.
Get the company to send an adjuster as soon as possible to assess the damage. This person will also document that you have taken steps to dry the place out. Work closely with the adjuster. He or she is going to be your best adviser, advocate and friend right now.
How to Prep for Disaster Insurance Claims
Inspect for mold. Once the insurance adjuster has had a good look at the place, and the fans have completed their task of drying out the moisture, have an inspector take samples from the remaining drywall and ceiling surfaces.
These can be tested at a lab to determine if any black mold spores are present. Black mold growing inside the walls, unbeknownst to the dweller, can continue to grow and lead to no end of health issues.
How to Combat Mold in a Flooded House
Wait. Wait for the test results to see if mold spores are present. This can take a few days, but you have to wait. There is no point starting reconstruction until you know how much of the remaining drywall needs to come out.
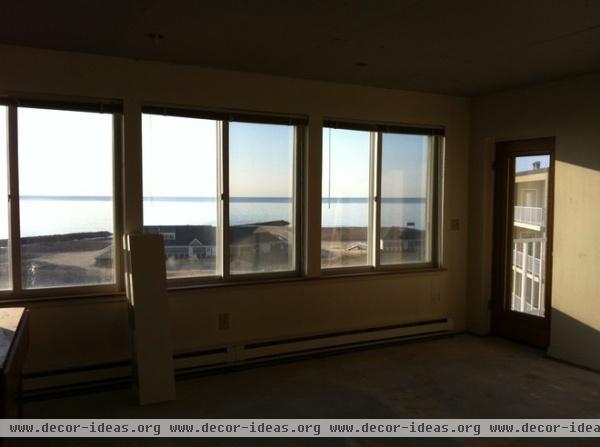
Begin reconstruction. Once you have the green light on the mold situation, you can address reconstruction. By this time you may have heard from the insurance company what amount from your coverage it is prepared to pay out. Look for a good professional you can rely on.
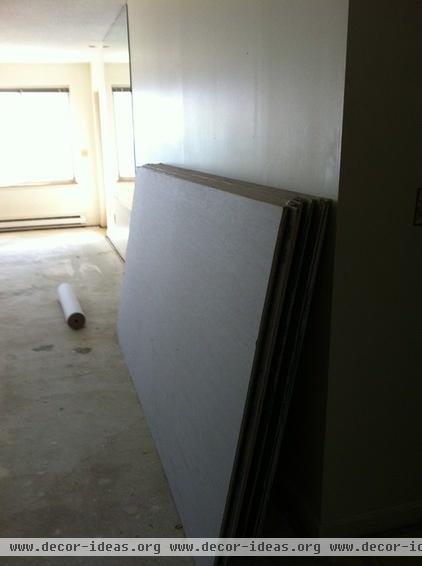
Be prepared. If you are staying at the property, be prepared for life on a construction site. Put up dust barriers between the work zones and living zones. There will be dust and paint fumes for quite some time. Cover the vents in the construction area. If you skip this step, you will circulate all the dust and fumes throughout the property despite attempts to seal them off.

Find a holding zone. We used the guest room to stack up as much of the furniture as we could. Sealing the door kept the dust at bay here too.

Set yourself up. One-room living will be the order of the day for a while. Add phone numbers for your favorite takeout restaurants to your speed dial. Be ready for everything to taste like paint and drywall dust.
Make decisions. Lots of them. Be prepared for plenty of negotiations. Anyone who has lived through a renovation has learned that the design decisions, material selections and details to be negotiated are exhausting. Even for a designer.
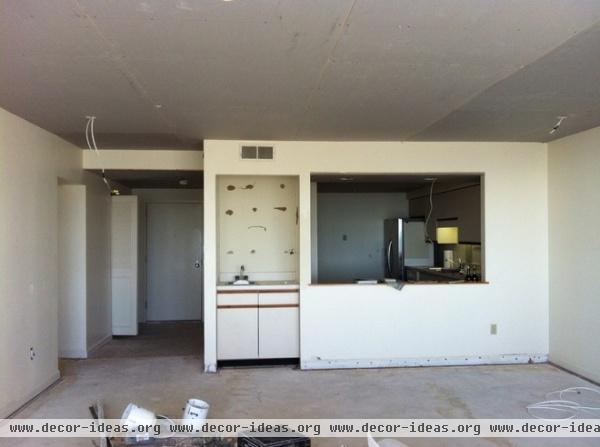
Consider upgrades carefully. You might not realize just how much that big-box-store light fixture bothered you until you have to hire an electrician to rehang it. Then you realize this is the ideal time to upgrade and update a few things. This can be a very slippery slope, so be prepared for it and know where to draw the line.
For example, this former wet bar was best left behind in the ’80s. We decided to remove the sink and create a storage nook for books. Also, we figured if we had to repair the ceiling, there was no time like the present to bring it into the 21st century and get rid of that stippled surface. And thus it began.
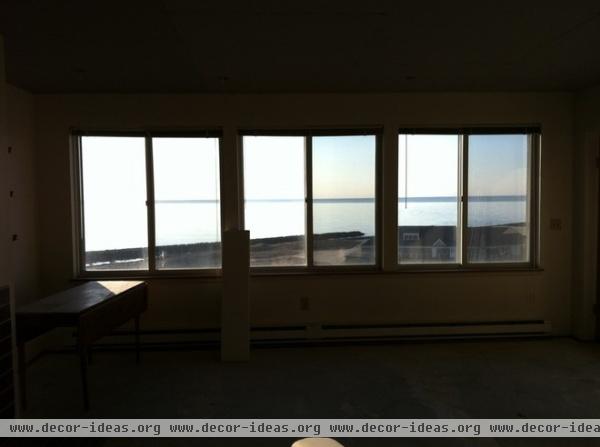
Review your insurance coverage. No doubt you will be looking back at this point, wondering what stopped you from increasing your coverage. When we initially took out our policy, we considered all the furniture and personal belongings and didn’t really think they would add up to very much.
Many things are easy to overlook until you view your home as a construction project. Beyond furniture, you need to consider the cost of new drywall and the fees to install it. Specialties include installation, drywall taping, sanding — and then there is the ceiling. Blueboard requires a different team of specialists to prepare a smooth skim coat of plaster. Then you have to pay for the paint and the painter. Likely there will be some electrical work required too — and the list goes on.

Check in. I made a couple of trips to check in on the progress. Be prepared to travel several times to check paint selections and materials on the site for final approval. Anything can go wrong if you aren’t prepared to follow through on the design details to ensure a great outcome.
If you have had the misfortune of water damage, take heart. Here you can see the end result for us: a relaxed beach home we love even more than before.
See more of the fully restored condo


