Make a Long-Lasting Eucalyptus Holiday Wreath
http://decor-ideas.org 12/05/2013 22:20 Decor Ideas
Fragrant and textured, this wild eucalyptus and juniper wreath can be a pleasant addition to a front door or a wall above a fireplace mantel. Tracy Goldman of Sabellico’s Florist breaks down the steps.

Set against a bright door, your handmade arrangement would be sure to stand out. Or bring it indoors to enjoy its fragrance inside.
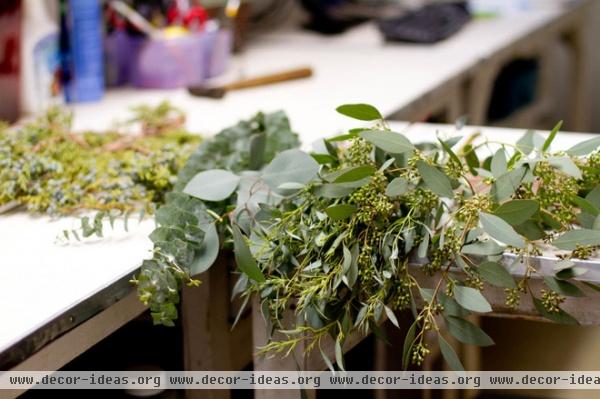
To create this wreath, you will need the following greens:
4 different types of eucalyptus: spiral, gunni (baby), flat and seededJuniper sprigs (optional)You will need one bunch (about 5 to 10 stems) of each eucalyptus type, available at your local florist.
Additional materials and tools:
14-inch metal wire wreath, clamp-style form (available at a crafts store or florist)2 feet of 2-inch-wide burlap ribbonScissorsPruning shearsHammer

1. Lay the metal wreath form flat. Starting with the spiral eucalyptus, work with two pieces at a time for the base layer, trimming to somewhat uniform lengths as you go. Place them between the clamps, making sure they are even.
Note: You can adjust the amounts of each type of eucalyptus to suit your tastes.
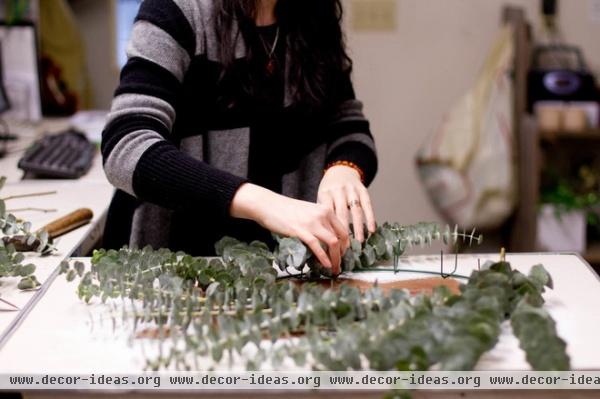
Continue layering all the way around the wreath base. Keep everything visually even and uniform.

2. Rip little pieces of the gunni (baby eucalyptus) off each bunch.

Follow the same process as for the spiral eucalyptus, layering each gunni stem in a uniform way.

3. Layer the gunni on top of the spiral eucalyptus between the clamps, going around the whole wreath, staggering each one and making sure the pieces are even.

4. Layer in the flat eucalyptus. Since these leaves are bigger, move them more toward the center of the wreath so they don't overpower the base layer. Continue layering around the wreath as you did in the previous steps.

5. Now it's time to add the seeded eucalyptus. As you did with the gunni, break small pieces off the stems and layer them on top. The seeded eucalyptus adds a unique texture that stands out from the rest of the wreath, breaking up the other silvery textures. Add as much or as little as you like.

6. Snip off small sprigs of juniper from the stems with garden shears. Place each piece carefully on top of all of the other greens.
Note: At this point, the clamps may be getting harder to see underneath all of the greens. This is completely normal. As you place the juniper sprigs in the wreath, try to find all of the clamps and make sure each one has a sprig of juniper in it.
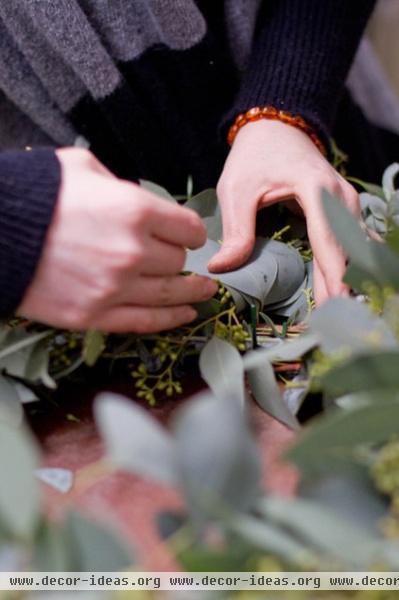
7. Feel through the greens to find the clamps. Push down on each to close it, so they will hold all of the greens in place.

Tip: If the clamps are too hard to close with your hands, use a hammer to lightly push them down. Be careful not to bruise the greens during this process.

8. Once the clamps are down, fluff up the wreath. Don't be afraid to pick it up and give it a good shake to see how well everything stays in place. Make sure the clamps are covered by the greens. Here, the wreath is propped up on a florist's easel to make it easier to work with.

9. To create a hanger for your wreath, cut about 2 feet of 2-inch-wide burlap ribbon.
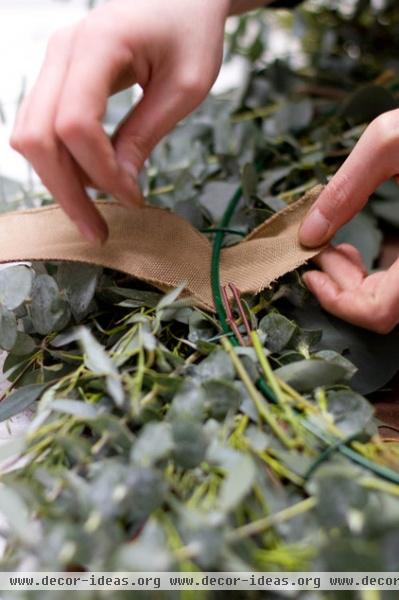
Turn the wreath upside down and loop the ribbon through the metal frame.
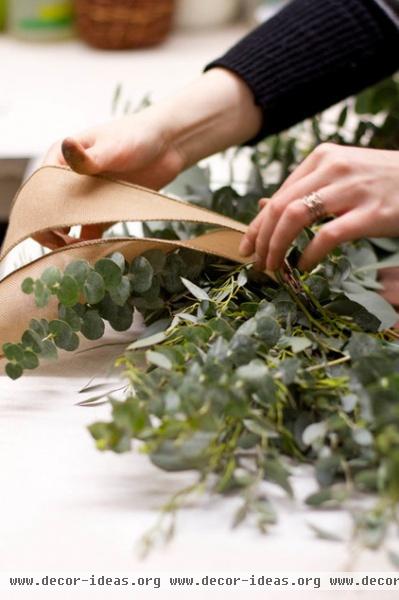
Pull it all the way through and tie a bow where the two ends meet at the top.

To add to the rustic look of the wreath, you can use scissors to fray the ends of the bow.
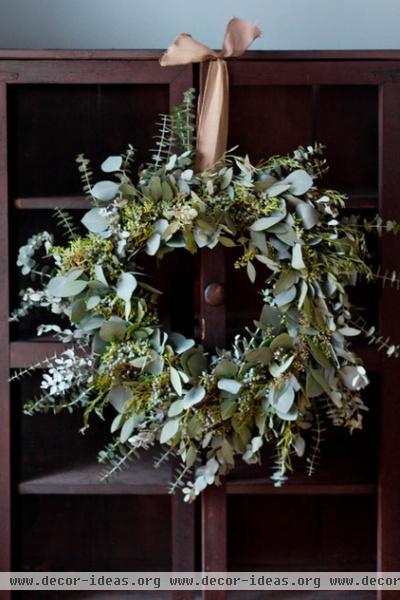
This pretty wreath will last for many weeks throughout the holiday season. Enjoy!
More wreath DIYs:
How to make a wonderfully twiggy natural wreath
How to make a lush and leafy holiday wreath
Related Articles Recommended


