How to Create Your Own Semicustom Media Wall
http://decor-ideas.org 12/01/2013 10:20 Decor Ideas
Have you ever priced a built-in? I had 17 feet of wall space in my basement for a TV and storage for DVDs, board games and books. One of the contractors bidding on my basement renovation quoted me about $9,000 for the built-in alone. That wasn’t in my budget, so I moved to plan B.
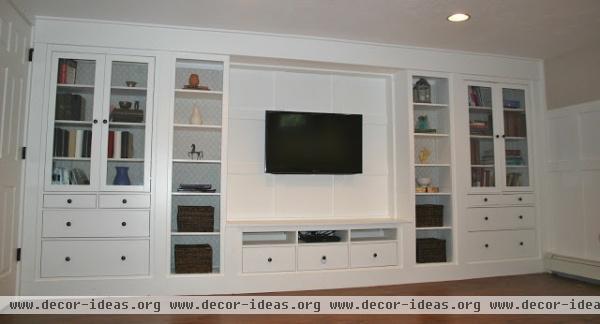
A combination of pieces from the Ikea Hemnes line became the backbone for the media wall. I figured out the dimensions and put together a custom assortment of pieces that worked. About $2,000 later (including labor, wood and hardware), I had my built-in.
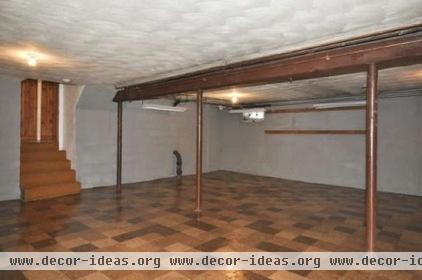
Starting with a blank canvas made it easy to plan out this storage wall. After figuring out the layout of the rest of the room, I had a 17-foot-wide wall to work with.
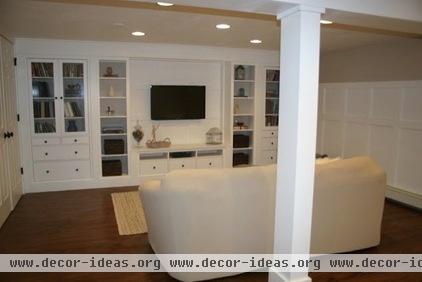
The original plan was to center the built-in with a couple of inches of wall space on either side. After seeing how little space would be left over I decided to space the pieces out over the entire 17 feet.
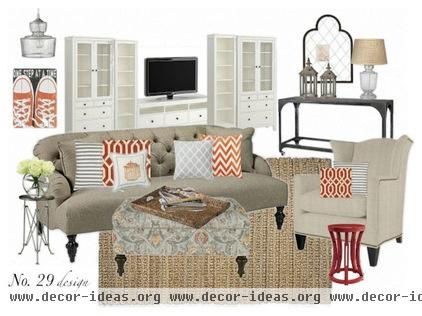
I created a mood board to capture the general look and feel of the finished room. This way I was able to visualize how my built-in could fit in with any room and design style.
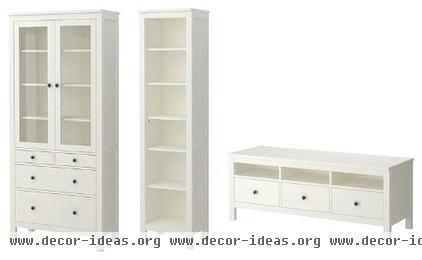
I decided on the Hemnes line for two main reasons. First, the pieces are solid pine, not MDF or melamine. This means they will hold up to the years of wear and tear we plan to unleash on it. My second reason was the clean straight lines. Any combination of pieces can be transformed into one built-in.
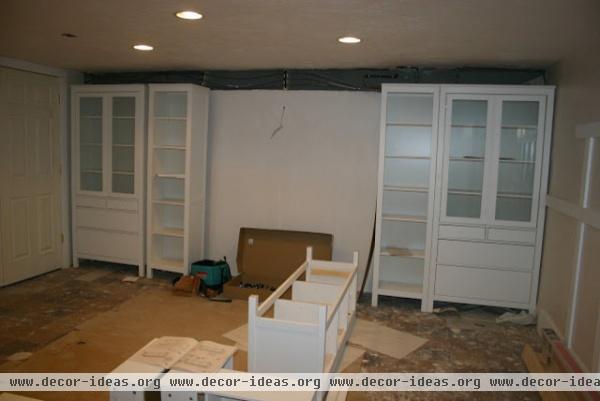
I wanted a symmetrical-looking piece with space for a wall-mounted television in the center. After measuring about 15 times to make sure it would fit, I placed my order. Home delivery was another perk of this project. No trip to Ikea was involved whatsoever!
The hardest part was putting the pieces together. Once everything was assembled, I arranged the pieces against the wall.
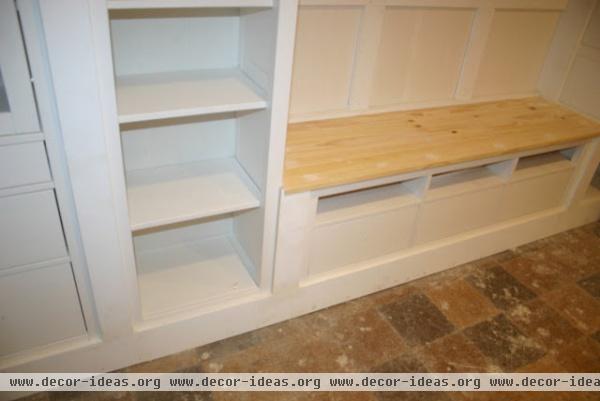
After the pieces were in the correct location, I pulled the two larger pieces on either side of the TV unit forward to line up with the face of the TV unit. The TV unit was a different depth but I wanted all pieces to line up flush in front.
My contractor took over at this point. Wood was put behind each of these sections to stabilize them, since they were not sitting against the wall. A large piece of baseboard molding was placed along the entire front of the 17-foot built-in. This hid the legs of each of the pieces and created the built-in look.
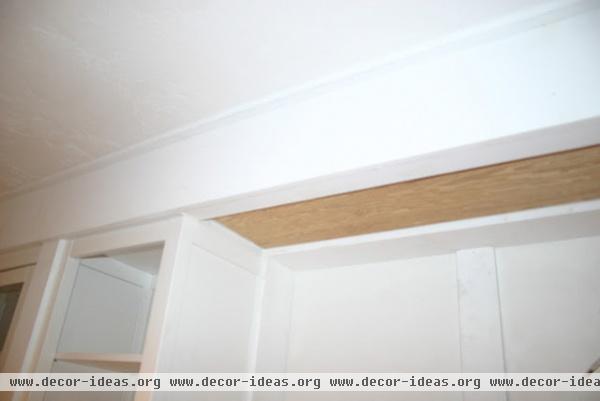
The contractor added a soffit above the built-in to hide pipes and wires and finish off the built-in look.
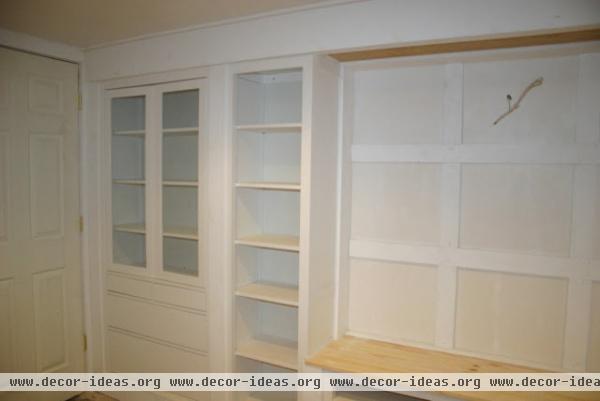
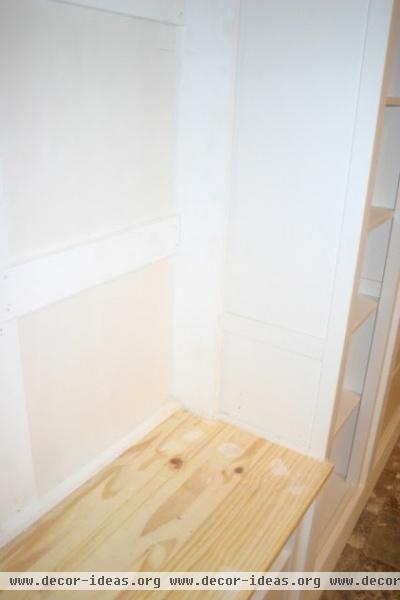
Walls elsewhere in the basement have a board and batten detail, which I wanted to continue between the built-in’s bookshelves. This helps unify the space and creates a framework behind the television.
I didn’t use the top of the TV unit that came with the piece because it was too wide for the central space between bookcases. To replace it, we cut a new piece of pine to fit.
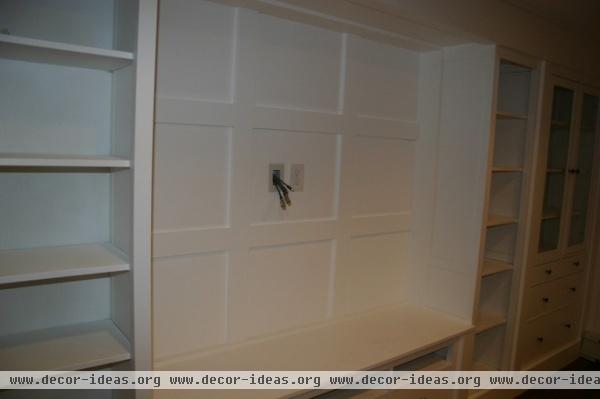
An outlet and multiple HDMI cables were installed and the wiring was hidden behind the wall.
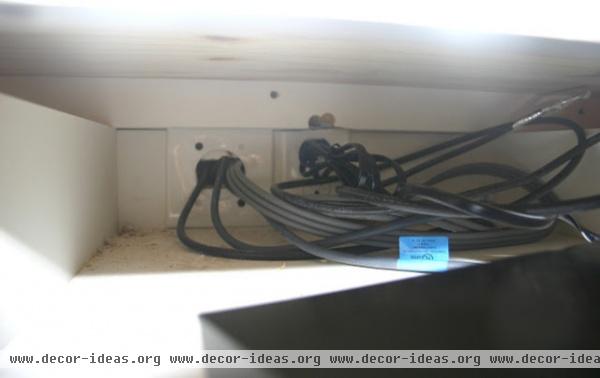
The cables and an outlet are accessible for the Blu-ray and Wii. We have plenty of space and cables for future needs.
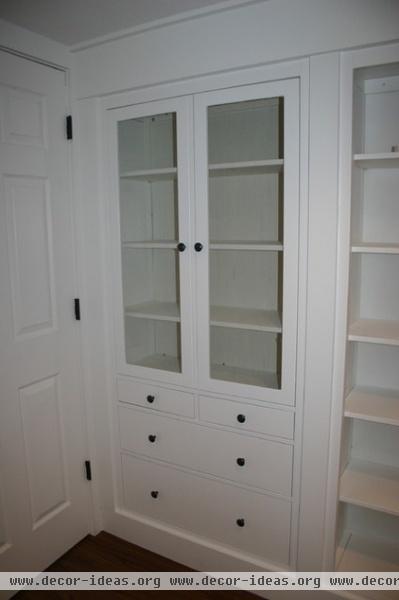
Now it was time to paint. We removed the knobs and covered the glass and sprayed the built-in, along with the rest of the board and batten throughout the room. Benjamin Moore’s Decorators White was the paint of choice. With a low ceiling and only one window, this room needs all the help it can get!
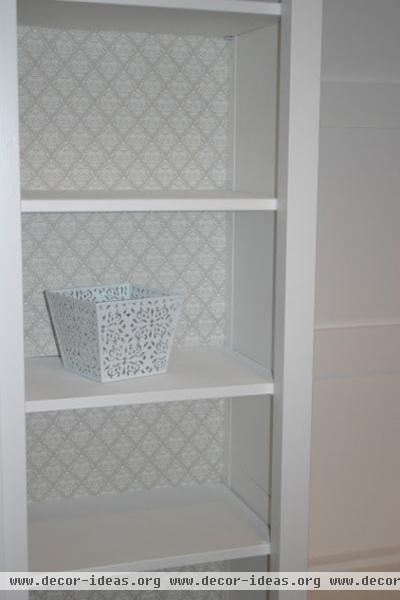
I lined the back of the bookshelves with shelf liner from Chic Shelf Paper. With lots of options and colors to choose from, I was able to find one that wasn’t too bold but still had enough of a contrast. The same thing can be done with wallpaper, paint or even wrapping paper.
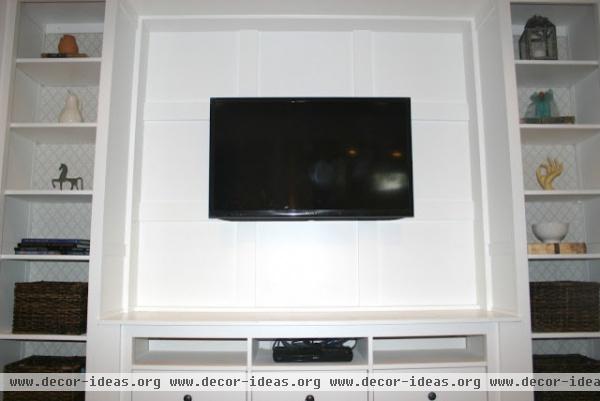
We centered the television on a universal wall mount.
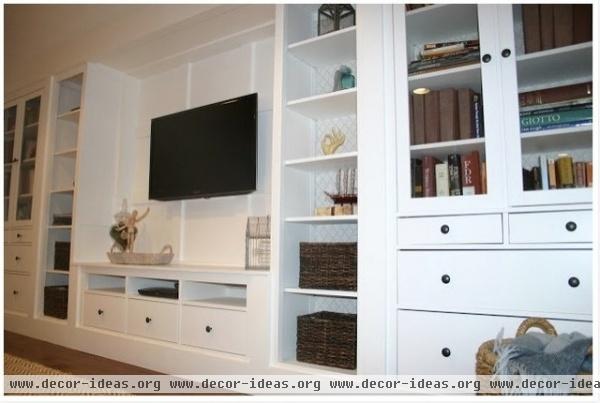
Accessories and books filled the shelves, board games went into the large drawers and remotes and DVDs went into the small drawers. Everything has a place, and then some.
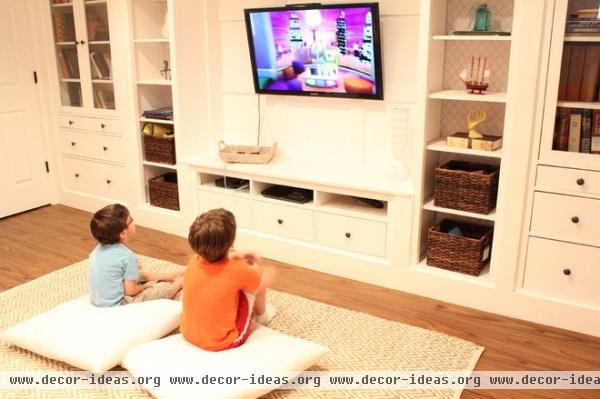
This is now where all the movie watching, Wii championships, dance parties and karaoke nights happen. For a fraction of the cost, I was able to get exactly what I was looking for.
Do you have a dream media wall, either DIY or professionally installed? Show us what you did!
Does DIY scare you? Find a cabinetmaker on Houzz
Related Articles Recommended


