Make a Traditional Fresh Holiday Wreath the Easy Way
http://decor-ideas.org 12/01/2013 10:10 Decor Ideas
Whether on a front door or above a mantel, few things convey the holidays better than a fresh wreath. Tracy Goldman of Sabellico’s Florist breaks down the process of making a wreath of mixed greenery into eight simple steps, perfect for beginners. Follow along to create your own fresh front door adornment.
More DIY wreaths

Mixing common lemon leaves, available year round, with seasonal greens like huckleberry, incense cedar and boxwood creates a textured look that's just right for this time of year. Bright red Ilex berries add just the right pinch of color.

To create this wreath, you will need greens and berries such as:
Lemon leavesHuckleberryIncense cedarBoxwoodIlex berriesYou can find these at your local florist; five to 10 stems of each should be enough for one wreath.
Additional materials and tools:
8-inch metal wire wreath, clamp-style form (available at a crafts store or florist)Stapler1 1/2 yards of 2-inch-wide ribbon ScissorsPruning shearsGardening glovesHammer

1. Lay your metal wreath form flat and layer the lemon leaf stems in first for a sturdy base. Trim the ends of each piece.

Layer the greens between the built-in clamps, using a generous quantity for the base of your wreath, fanning the leaves to the outside around the entire frame.

2. Add a layer of huckleberry greens. Use garden shears to trim the pieces to your desired size.

Use one generous piece of the huckleberry for each clamp. This will add some nice texture without overpowering your design. Continue all the way around the wreath.

3. Cedar is prickly, so you may want to wear gardening gloves for this step. Trim the cedar into pieces and place the pieces around the wreath inside each clamp. Feel free to play with quantities to get your desired look. Cedar adds a nice seasonal look, and the fragrance is wonderful.

4. Break the boxwood nto pieces, starting with larger tufts and then moving on to smaller ones.
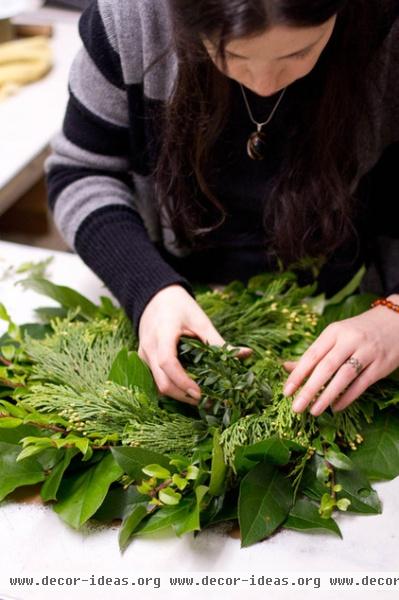
Tuck the boxwood more toward the center of the wreath form to fill it in. Use the larger tufts first, then use the smaller pieces to fill in any gaps.

5. Choose your red Ilex berries for long-lasting, festive color.

Trim the berries and twigs to about the length shown here.

6. Carefully place a small branch of berries in each clamp. They can be fragile, so take extra care when working with them.

Your wreath should start to take shape and look like this as you add all the greens and berries.

7. Feel through the greens to find each clamp and bend both pieces together. Use a hammer for any clamps that are more difficult to close. Make sure all of the greens are in place before closing the clamps, so nothing falls out. Tuck in additional greenery as needed to cover the clamps.
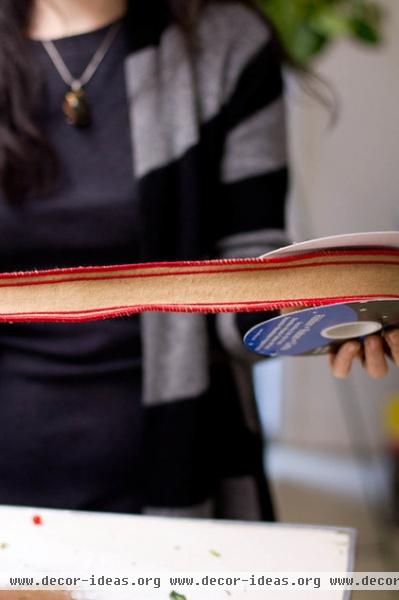
8. Cut about 1 1/2 yards of ribbon for the hanger.

Wrap the two ends of the ribbon around the frame a few inches away from each other.

Staple each individual ribbon end together to secure the ribbon to the frame.

Cut the ribbon in half at the top of the loop and tie a bow with the two ends. (See the first image for the final result.)

This wreath will make the perfect greeting on a front door. Be sure to take it inside during any storms to keep it in good shape through the holidays.
More wreath DIYs:
How to make a wonderfully twiggy natural wreath
How to make a eucalyptus and juniper wreath
Related Articles Recommended


