How to Fix Up a Thrifted Lamp
It's not often that I step into a retail store to look at furniture or lighting. The other day, as I was picking up a shower gift from a popular home furnishings store, I got stuck looking at the lamp selection. The shelves were lined with simple, organically shaped ceramic lamps in soft and classic colors, each topped with a drum shade.
I'm a bit of a collector when it comes to eye-pleasing vintage lamps. Now that I've learned how to rewire old lamps with cracking cords and exposed wires, I'm free to grab any lamp that catches my very discerning eye. The classic black lamp from Goodwill below was a great find at $6.99. I replaced the wire and hardware, and it's now the perfect base for a white pleated drum shade I also found at Goodwill, priced at $4.99. The overall project cost me about $15 and could very easily be mistaken for one of those lamps I saw in the popular home furnishings store.
Note: I recommend always purchasing a lamp wiring kit from your local hardware store and following the manufacturer's directions on it.

The spruced-up and repaired lamp has found a permanent home in our living room. The shape is pleasant, and the black grounds the surrounding decor.
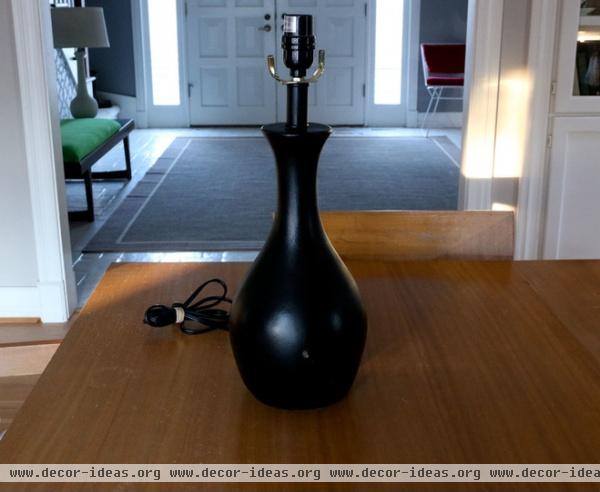
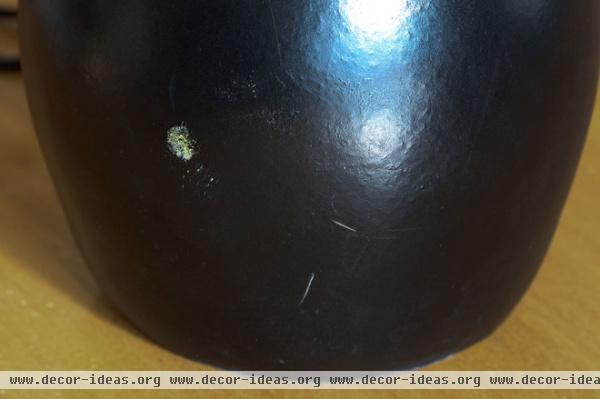
The discarded lamp needed a new harp bracket (the metal bracket on top of a lamp that holds up the lampshade) and new wiring. There was also an unsightly spot where the finish was worn off.
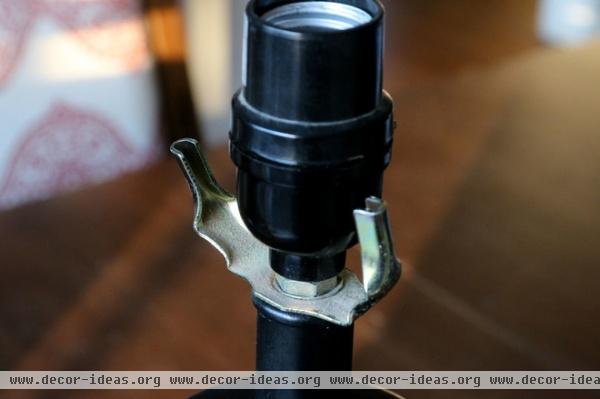
The saddle — the metal bracket that holds the lamp harp in place — was badly bent.
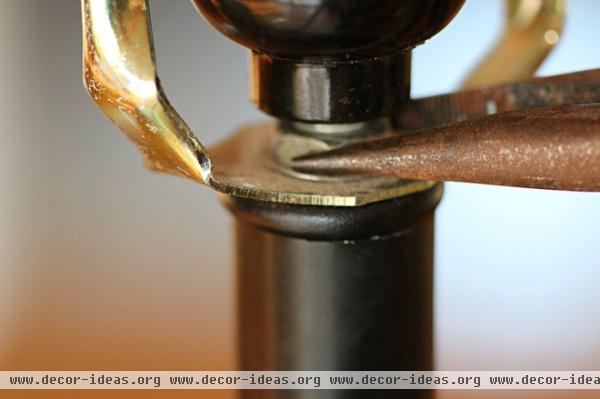
Removing the bracket. To remove the old bracket, the lock nut had to be unscrewed. I used pliers to do the job.
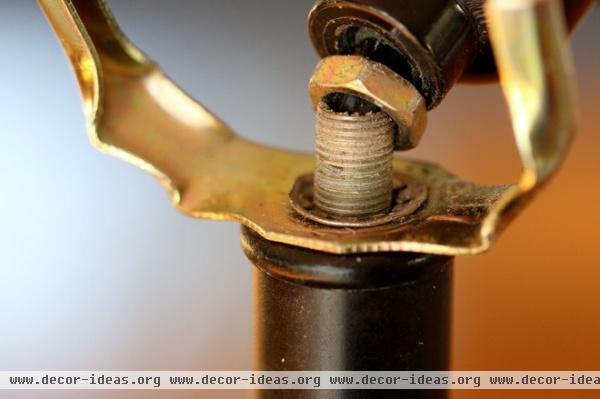
The lock nut came loose, but the lamp's wire was so tight, I thought it must be tied in a knot inside the lamp neck. I couldn't get it to move enough to do anything.
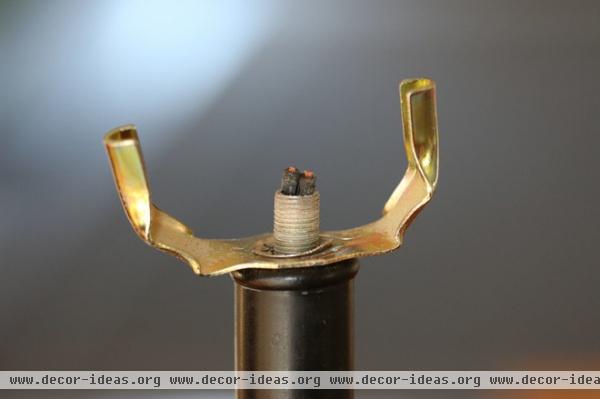
It wasn't really necessary to replace the existing wire, but it was so tight inside the threaded pipe, I cut the wire to remove the metal bracket.
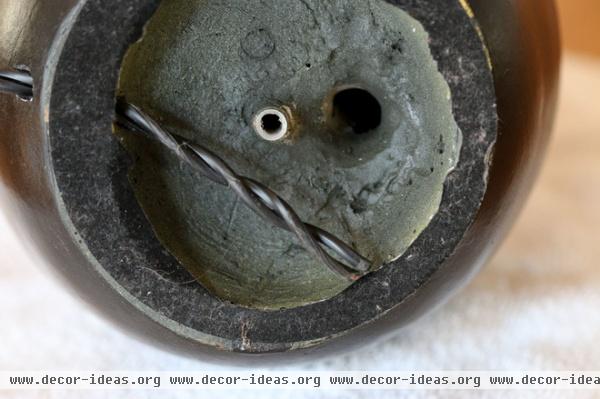
Replacing the wires. Once I pulled the wires out of the tight lamp column, or pipe, I knew I'd have to fish a wire down from the top to pull the new lamp cord back up and out of the top. I purchased the wire and the plug in an affordable lamp rewiring kit at my local hardware store.
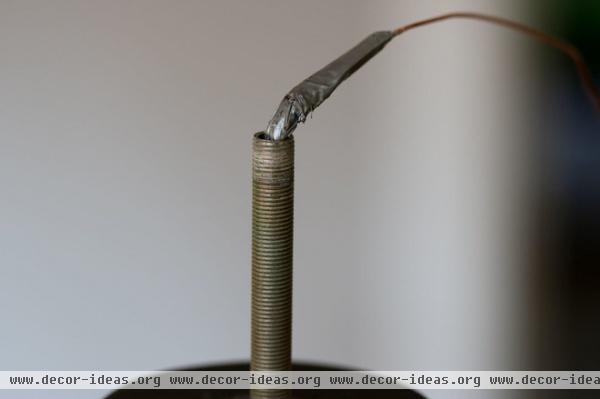
It was such a tight fit, I had to snip one side of the wire cord back about 2 inches to eliminate some of the wire bulk at the tip. Adding duct tape and a small copper wire helped me pull the electrical cord out of the top of the column.
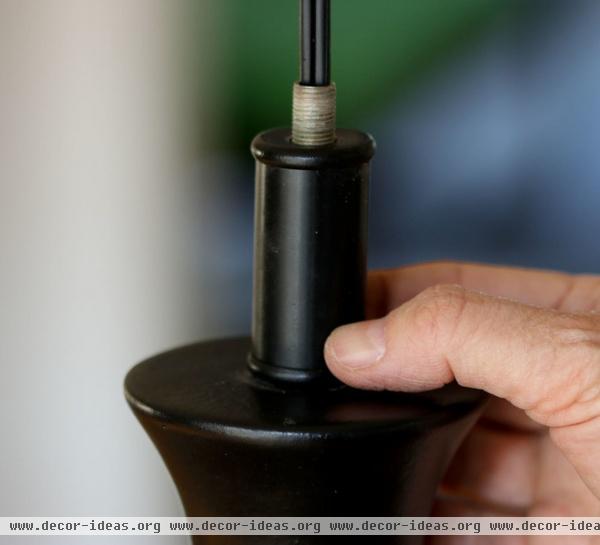
Before adding the new metal harp bracket, which I purchased at the hardware store, I replaced the black collar.
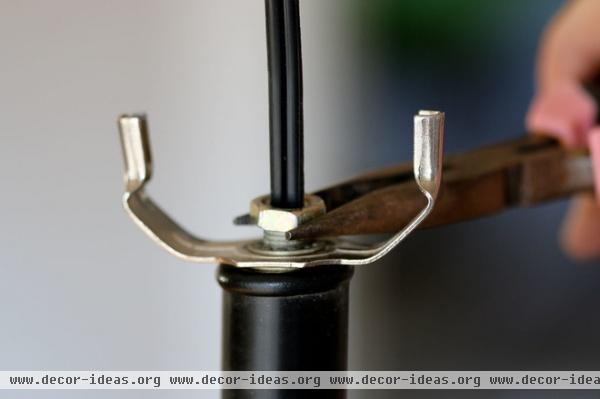
I tightened the lock nut down, securing the new bracket in place. Most of these brackets come in standard sizes, but ask someone in your local hardware store's lighting department if you're unsure about getting the right fit.
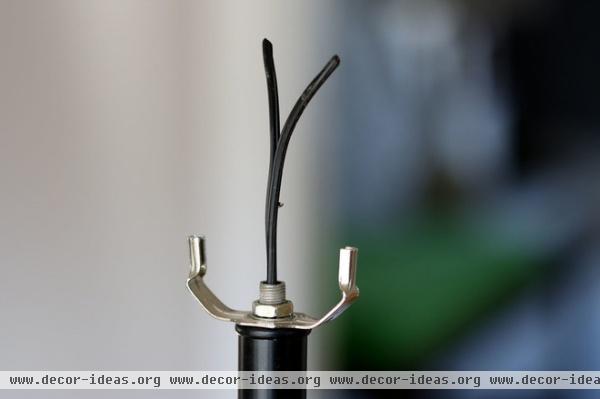
Rewiring the lamp. After evening up the lamp cord, I split the wire approximately 1¾ inches from the cut end, following the instructions on the lamp kit.
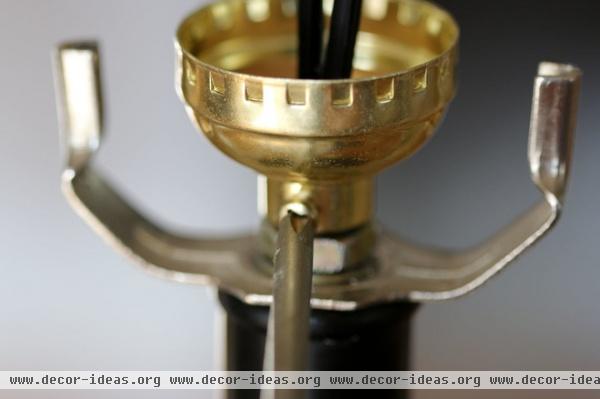
Before getting the wires ready, I placed the socket base over the wires and tightened the base onto the threaded pipe. With a Phillips-head screwdriver, I tightened the set screw from the rewiring kit to hold the socket in place.
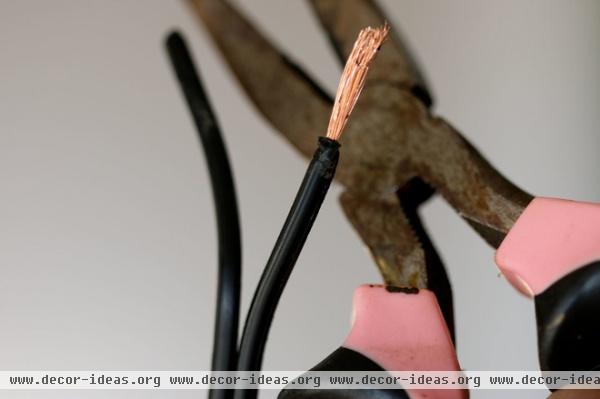
I stripped off the plastic coating with wire strippers, approximately ¾ inch back from the cut end of the wire.
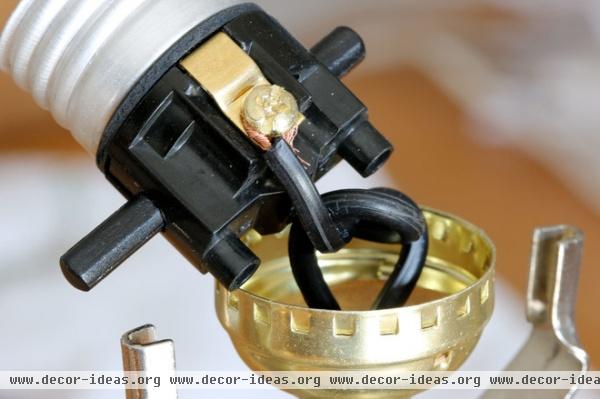
I made an underwriter's knot with the two sides of the split wire and attached the wires to the socket screws. The underwriter's knot holds the wires securely in place in the socket base so they can't be pulled loose from the screws. One side of the lamp wire has a groove in the plastic coating, while the other side is smooth. I wrapped the twisted copper wire end coming from the grooved side of the cord around the brass screw and tightened it with a Phillips screwdriver. I wrapped the neutral wire (coming from the smooth side with no grooves) around the silver, or neutral, screw and tightened it securely.
Note: Follow your rewiring kit's directions and diagrams carefully when working on this part of the DIY.
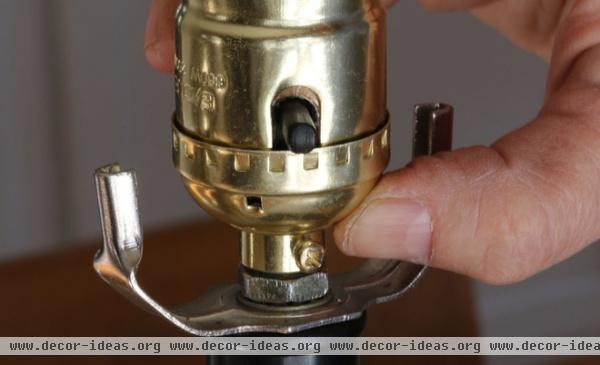
After that it was easy to snap the socket sleeve down on top of the socket base. I put in a bulb and tested it to see if it worked. (It did.)
The Final Details
I disguised a little white spot on the base with a craftsperson's trick: using a black felt pen.
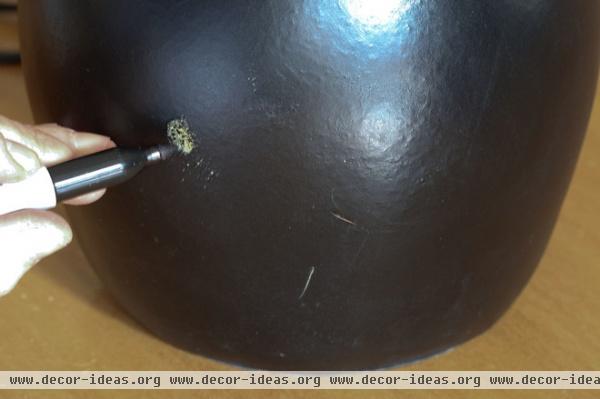
Instead of painting the entire base or coloring in the entire spot, I dotted the white spot with a black Sharpie. It hid the white spot without drawing attention to the area.
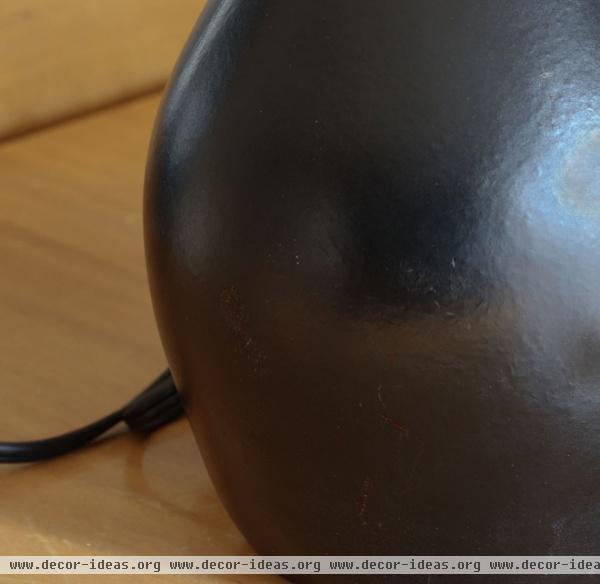
After I disguised the spot, it was time for the lampshade.
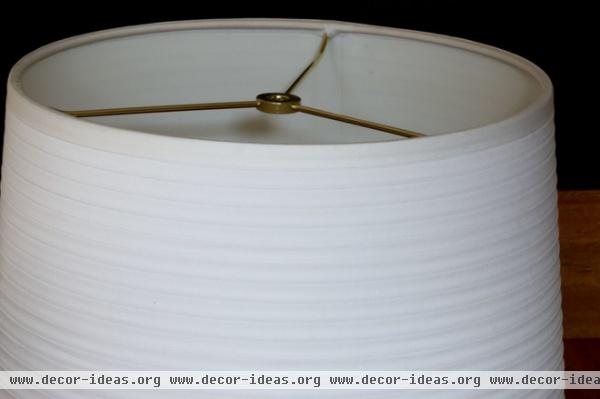
The $4.99 white pleated shade has a subtle dressmaker detail that is a perfect complement to the simple black lamp base.

The new lamp adds much-needed light to an otherwise dark corner in the living room. I love the fact that the stylish new lamp cost only around $15. Plus, I got a great deal of satisfaction in repairing a piece that still has plenty of life left.
More: Light Up Your Night With an Easy Outdoor Table Lamp


