Furniture Clinic: End the Curse of Slouchy Couch Cushions
http://decor-ideas.org 11/13/2013 03:50 Decor Ideas
With cold weather and holiday entertaining just around the corner, our attention often turns to our home interiors. Take a good look at your furniture from the perspective of a guest: How do things really look? A few easy updates can make a big difference in how people see your home.
My big problem piece is a sofa from the mid-1970s that I haven't had time to repair or reupholster. To get one more year out of it, I updated the loose back cushions with symmetrical tufting. This is a quick, easy trick that I tried out on a love seat last year with amazing results. You just need a tufting needle, tufting twine and basic sewing skills.
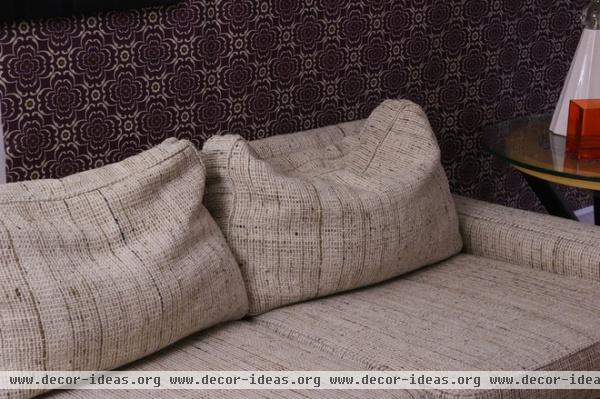
The tufting serves two purposes. First, it visually updates the loose, boxed and corded cushions that were standard in the late '70s and early '80s. Second, it solves the saggy back-cushion problem.
Boxed-back cushions tend to get saggy because the cushion inserts are usually sewn with a baffle straight across the center. The baffle acts as a shelf and keeps the fiberfill from sinking down to the bottom of the cushion. When the filling is new, fresh and unmatted, it looks and feels great. But over time, the filling in the top channel sinks to the bottom of that channel, and the filling in the lower channel sinks to the bottom of that channel.
That's what had happened to this sofa. No matter how many times I fluffed the cushions, they always ended up slouched down.

AFTER: Tufting keeps the filling evenly distributed and give those plain back cushions a fresh, modern update. With this simple trick, even an old, tired sofa can last a little longer.
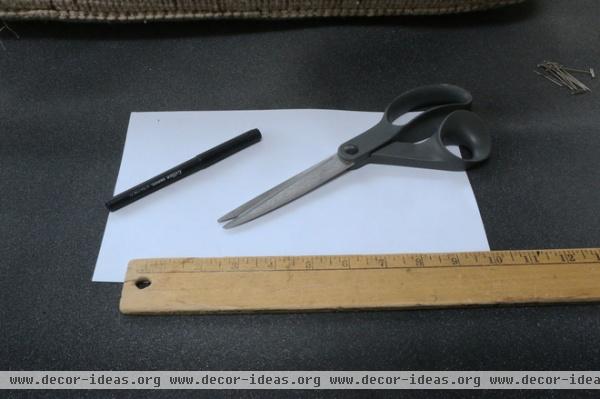
How to Add Tufting to a Cushion
Determine the number and spacing of your tufts — I did four, evenly spaced, in the center of the cushion. Then measure and cut a template on a piece of white paper, so each cushion will be exactly the same.
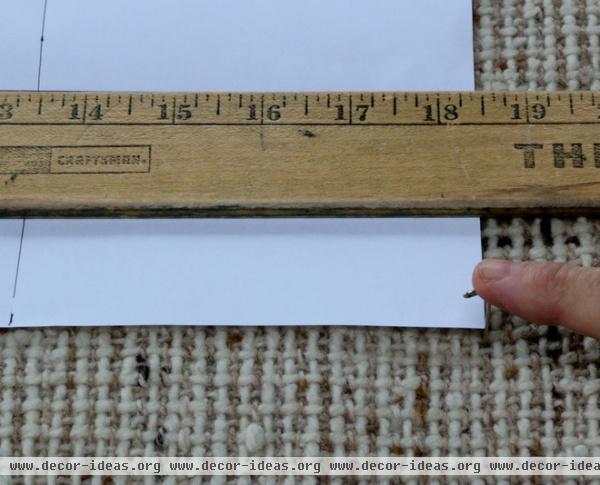
Place the cushion on a flat surface and even out all the inside stuffing. Mark the vertical and horizontal centers of your template on the cushion.
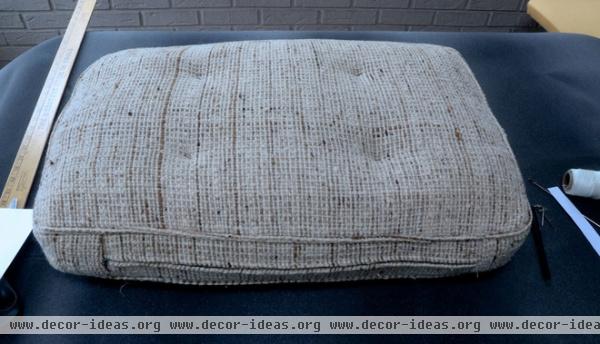
Push in pins where the tufts will be to see if you like the placement.
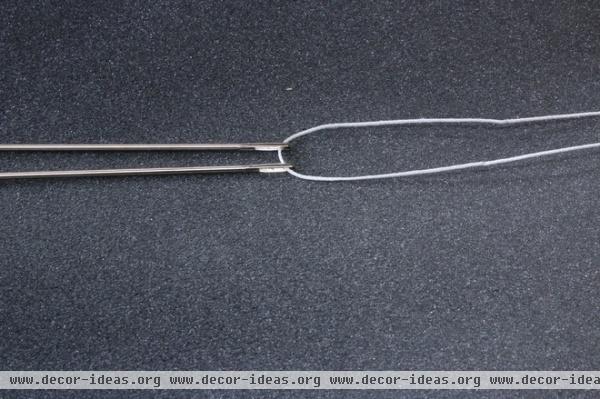
Thread two long tufting needles with tufting twine, or any twine that will slide through your cushion fabric.
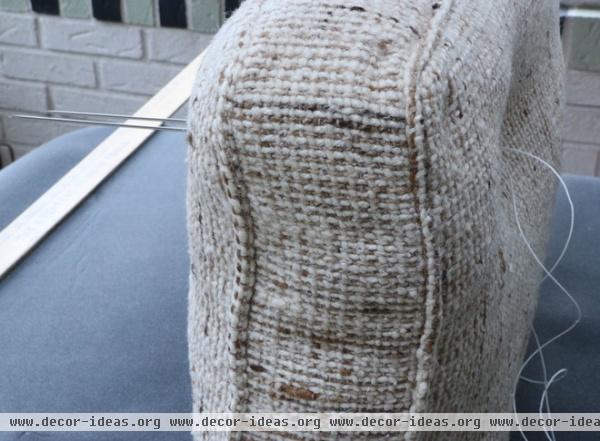
Place needles ½ inch apart at the tufting spots and push both needles through to the back of the cushion.
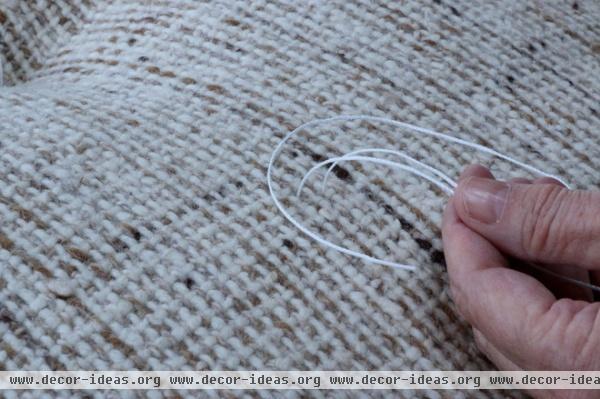
Create a slipknot to hold the tuft in place.
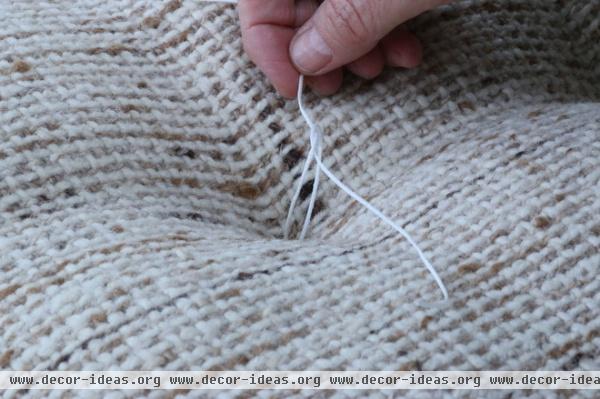
As you push the cushion down to tighten up on the knot, hold the short end in your right hand and pull the left end snug to tighten the knot. When all the tufts are uniform, tie a standard knot to secure the tufts. Either cut the twine ends near the knot or thread a needle and push it through the cushion, so it comes out on the other side. Pull the ends snugly while putting pressure on the cushion and snip the ends. They'll be hidden inside the cushion.
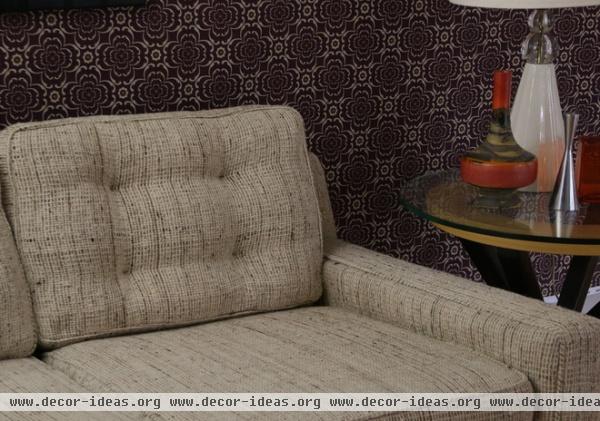
This kind of tufting takes only an hour or so, but it's a practical and affordable solution that will prolong the life of your old sofa for a good while.
More: Furniture Clinic: Quick DIY Glides for Sofa, Chair or Table
Related Articles Recommended


