High-End Look for Less: Make a Layered Headboard for $20
Adding an upholstered headboard is one of the fastest and easiest ways to change your bedroom's look. It creates an instant focal point and is a great starting point for redesigning a room. Unfortunately, upholstered headboards can be pricey. New, they typically start at $200 and can go into the thousands. Even DIY versions can be expensive; depending on the materials used, they can cost around $100 to $200.
But I've come up with a solution: eliminate expensive wood and foam, and use fabric remnants instead, to make a layered headboard for a grand total of $20. Sure, it's not as comfy as a plush velvet headboard custom made for $500, but it's quick to make as well as temporary and easy on the wallet — perfect for renters, college students and indecisive decorators.
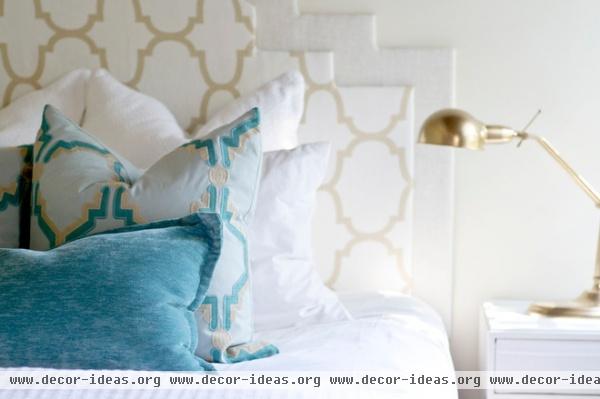
My original plan was to keep it simple and use one layer of fabric and cardboard, but my queen bed was 60 inches wide, and my 1-yard remnant fabric was only 54 inches wide. After brainstorming a little, I decided to layer it with a coordinating panel so that the entire headboard would be the width of my bed. I also used a layer of thin batting to smooth any imperfections in the cardboard.
I love the slightly padded, layered look. The extra layer makes it look more expensive without adding much extra cost. Sometimes those unplanned changes make your project better — so don't get frustrated; get creative!
Materials for a queen-size headboard:
2 large sheets of cardboard, at least 60 by 42 inches each1 yard of thin batting, 90 inches wide1 yard of fabric 2 yards of a solid coordinating fabric (for the outer edge; I used ivory burlap and a 50 percent off coupon)Spray adhesiveGlueHigh-strength tape3M Picture Hanging Strips
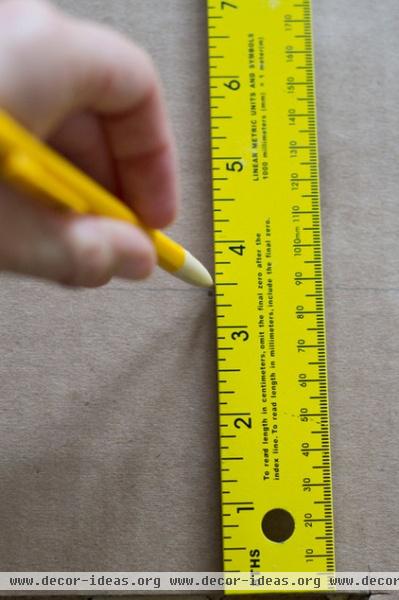
1. On the two large pieces of cardboard (at least the width of your bed), lay out your design. Use a straight edge to draw your desired shape. For a curved edge, use a large bowl or draw freehand, then trace the design on a piece of paper to transfer it to the other side.
Start with the smaller headboard piece. Mine measured 53 by 38 inches for my queen bed.
Tip: For the cardboard, ask a mattress store for a discarded box or tape two flattened boxes together.
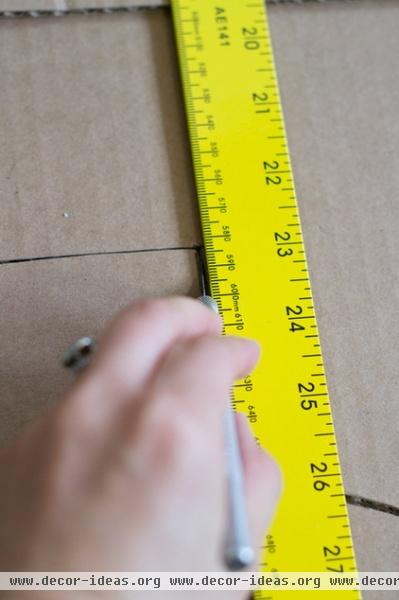
2. Using a metal ruler or other template (such as the rim of a metal bowl for curved sections), cut out your design on the cardboard with an X-acto knife.
Next move on to the larger piece of cardboard. (My larger piece measured 60 by 42 inches.) Trace the existing shape on it and measure 3½ inches outside the line.
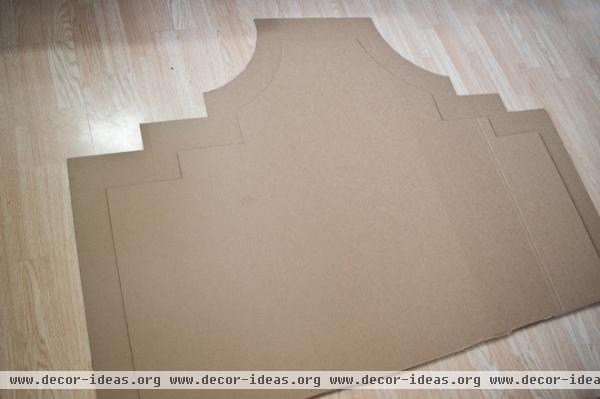
Now you should have two pieces of cardboard ready to be upholstered.
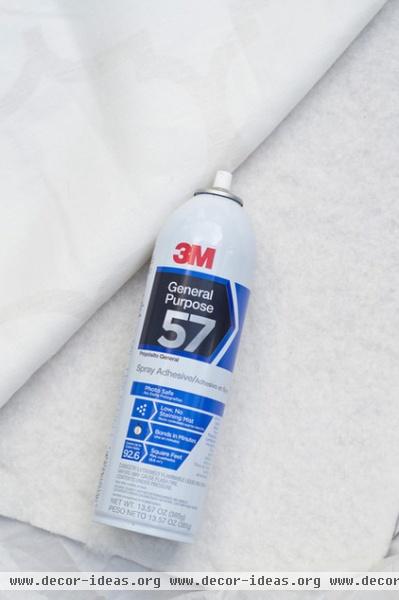
3. Start with the larger piece of cardboard this time. This will become the back piece. Cut out batting in the shape of your headboard, leaving about an inch or two on the outside. Use spray adhesive to secure the batting to the cardboard.
Don't fold it over the edges yet!
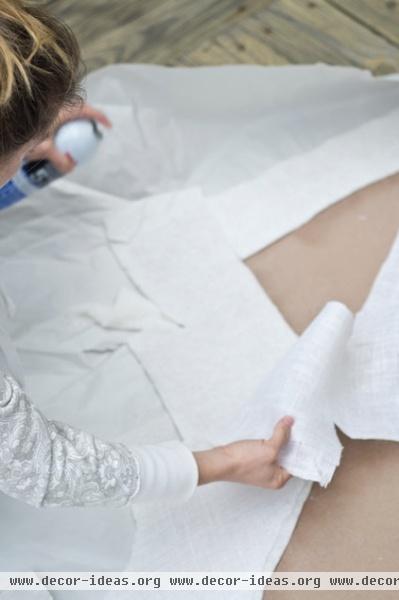
4. Iron your fabric if needed. Then repeat the previous step with the fabric, securing it to the batting with spray adhesive.
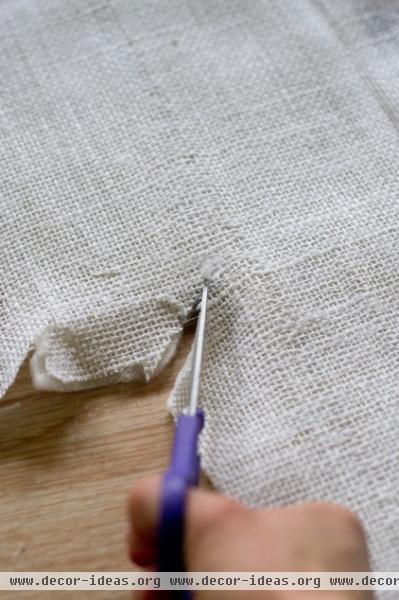
5. Cut the corners of the fabric and the batting at a 45-degree angle. Cut the materials almost all the way to the edge of the cardboard, but not all the way.
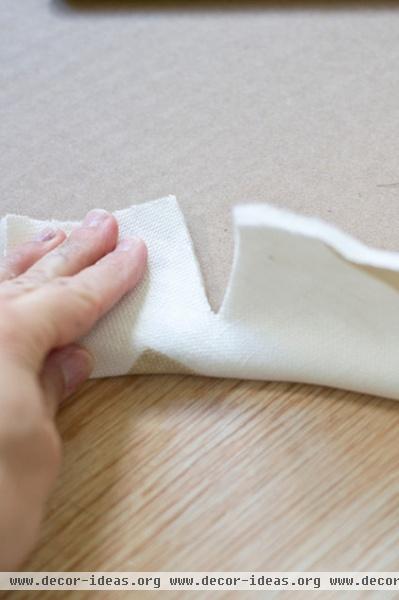
6. For any curved edges, you'll need to make several short cuts into the material, so it can fold over the cardboard neatly. Again, avoid cutting all the way to the edge of the cardboard.
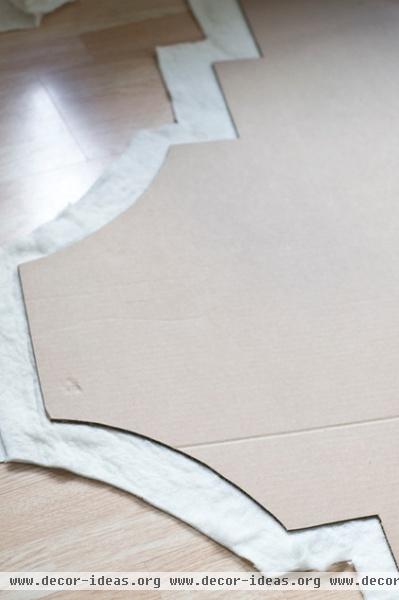
7. Fold the fabric and batting over the cardboard edges, and secure it to the back of the cardboard with adhesive or high-strength tape.
Repeat steps 4 through 7 for the smaller piece of cardboard.
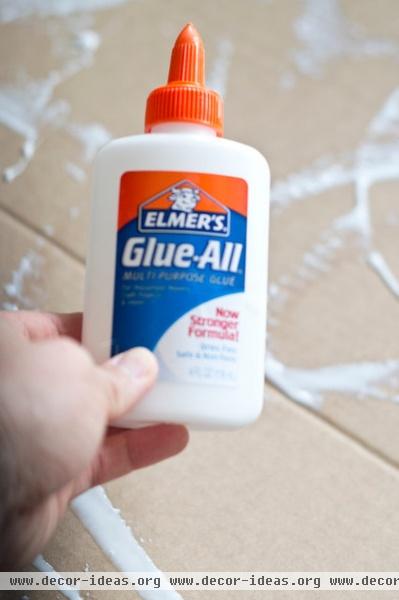
8. Join the two cardboard pieces (now upholstered) with glue. Let it dry for a few hours.
Tip: Lay extra cardboard on top of your new headboard to prevent it from denting during the drying process, and weigh it down with heavy objects, such as books.
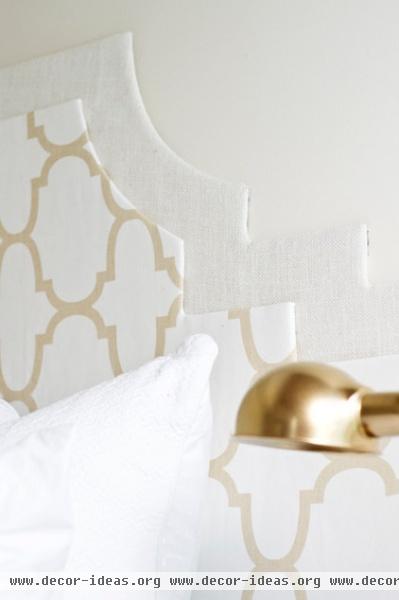
9. Attach 3M Picture Hanging Strips to the back of the headboard and secure the entire piece to the wall.
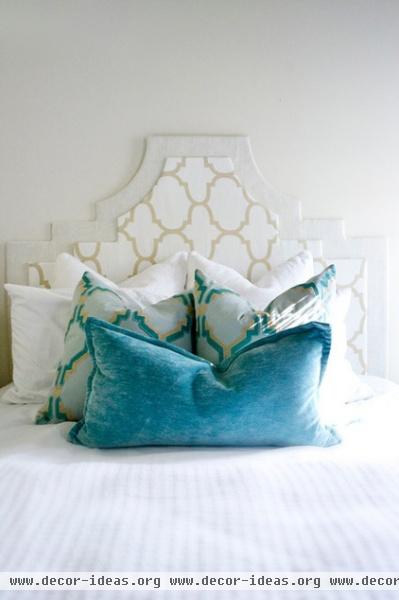
That's it! Layer a few new pillows in front, and you'll have a completely fresh look.
More: Improving a Rental: Great Ideas for the Short and Long Haul
Make Your Own Rustic-Chic Headboard From Salvaged Doors


