Once a Cluttered Closet, Now a Creative Workspace
So I built a "cloffice" — an office in a closet. Cloffices have been done many times before, and I decided to put my own spin on one.
This cloffice was for my 10-year-old daughter's bedroom, a workspace for her. She is a bit of a tomboy with a total of three or four items that need hanging. We have lots of other closets in our home, including a large walk-in closet in our guest room. And next to her closet is a built-in cabinet that can hold whatever clothes need to hang. Her room also has a wall unit with eight shelves and eight drawers, as well as a large underbed drawer. Lots of storage all around.
If she were a very girly girl, I might not have decided to go this route. I am a firm believer, though, in making you house work for you. My children's closets are often such dead spaces full of mess that I have no issue with using them for other things that better suit their needs. In this case moving my daughter's desk into the closet opened up her entire room.
The new workspace has actually helped her room stay neater than before. Here's how we created it.
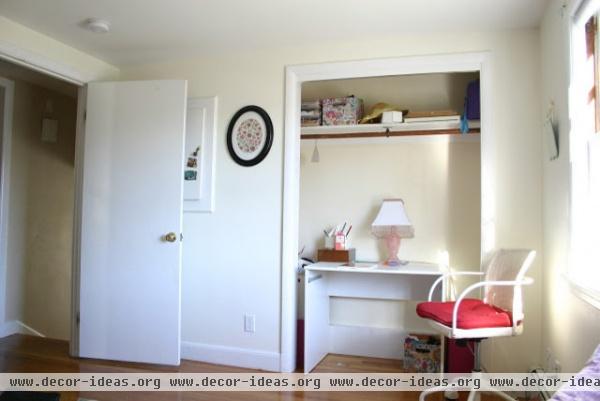
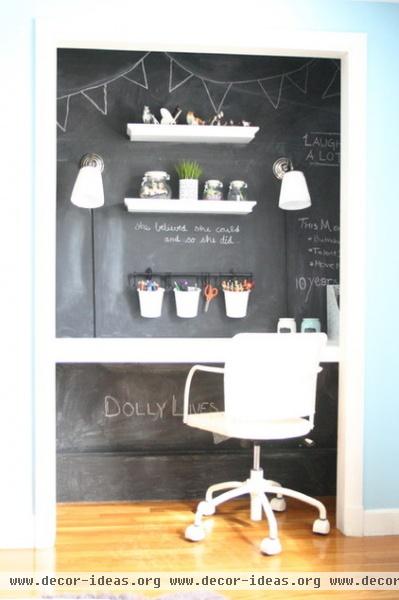
The project started out with a typical bedroom closet with a double sliding door. We tested out the cloffice theory for a couple weeks with an old desk to see if it would work. My daughter was happy with the setup and loved the space that her room gained.
I gutted, painted, installed lighting, put in shelves, built a desk and created an organized and fun space for my 10-year-old daughter.
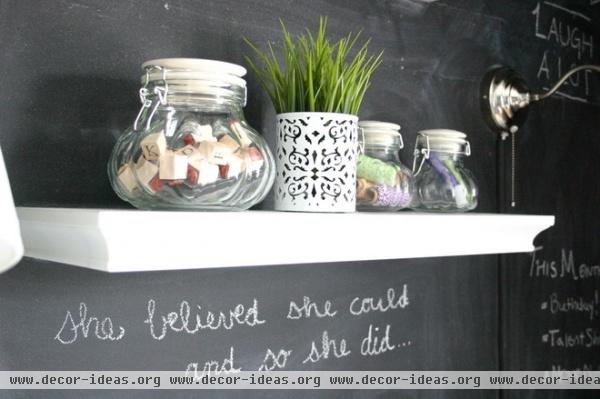
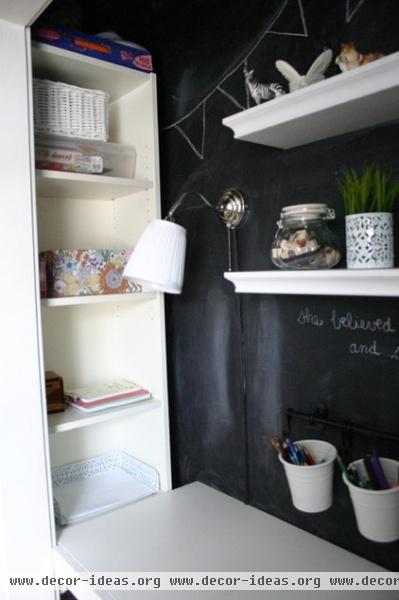
I added fun accessories to hold craft supplies and add personality. Any of these items will be easy to alter as she grows and her tastes change. In the meantime there is plenty of storage to help keep my young daughter organized for years.
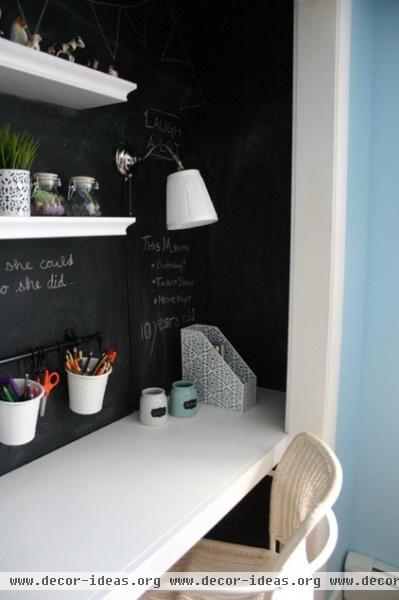
We wanted a space for homework, creating, reading and having fun. There would be storage shelves, bins for pencils and markers, and plenty of desk space.
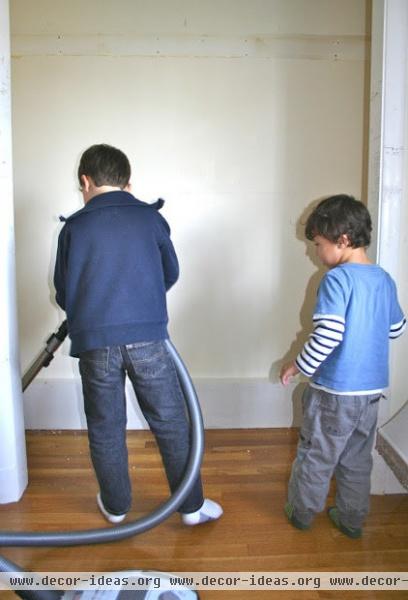
Once the closet was empty I began by removing the doors, shelf and closet rod. (If you worry about resale, just save these pieces to put back later.) My favorite cleaning crew came in to watch mom wielding a crowbar and then pick up the mess. Make sure to get all the screws and nails right away if you are doing something like this in a child's bedroom.

I then painted the entire closet, ceiling included, with two layers of Rust-Oleum chalkboard paint. After the paint was dry, I cured the walls to set the chalkboard paint for chalk. It is done by rubbing the side of a piece of chalk all over the paint and letting it sit for a day. I then rubbed it in with a chalkboard eraser and let that sit for a day as well. Then I wiped it all down with a wet cloth.
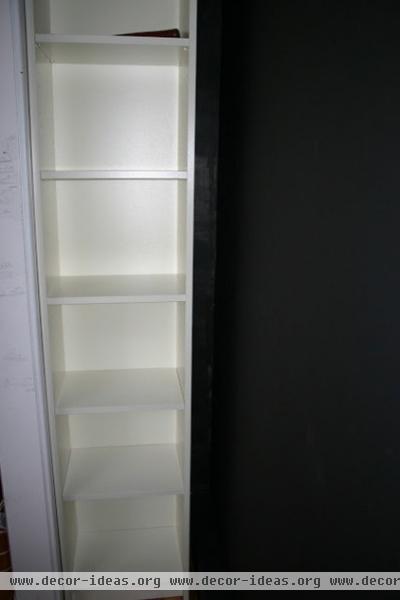
The closet is 76 inches wide and 20 inches deep. I had enough room to add a 65-inch-wide desk as well as an Ikea Billy shelving unit on the side. This unit, turned sideways, is not visible from outside the closet. A 4-inch gap from the side of the shelving unit to the back wall is perfect for larger items like board games.
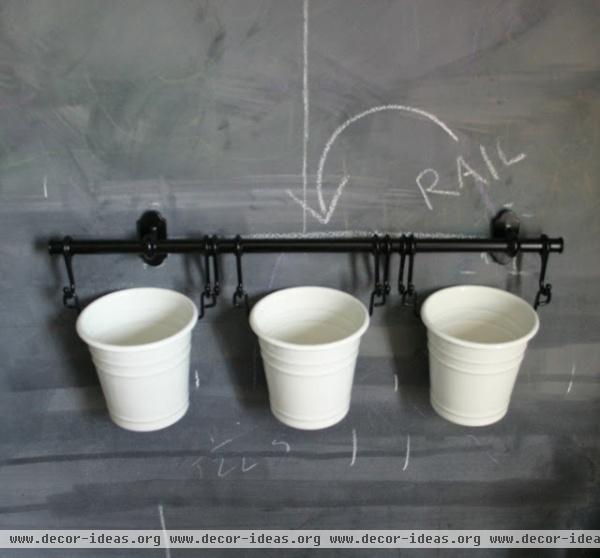
Next I added an Ikea Fintorp wall storage system. The rail is 22½ inches wide and has three caddies for pencils, markers and chalk. Extra hooks hold scissors and other tools.
I centered the rail with the opening of the closet. The chalkboard finish came in handy for marking off the studs, which provided a solid place for securing the rail into the wall.
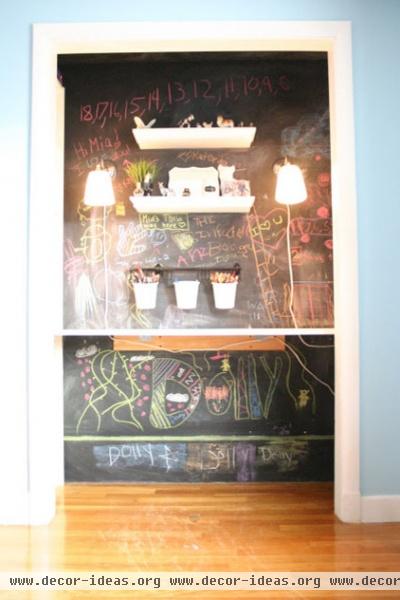
Next came two floating shelves and two of Ikea's Astrid wall-mounted light fixtures. They are plug-in lamps that turn on with a pull switch.
I bought poplar plywood, cut for me by nice gentlemen at Home Depot, to serve as a desktop. After ensuring it fit perfectly, I sanded the edges and gave it one coat of primer and two coats of Benjamin Moore semigloss white paint. I primed the entire piece of wood but painted only the top, bottom and front edge, since these are the only sections of the desktop that would be visible.
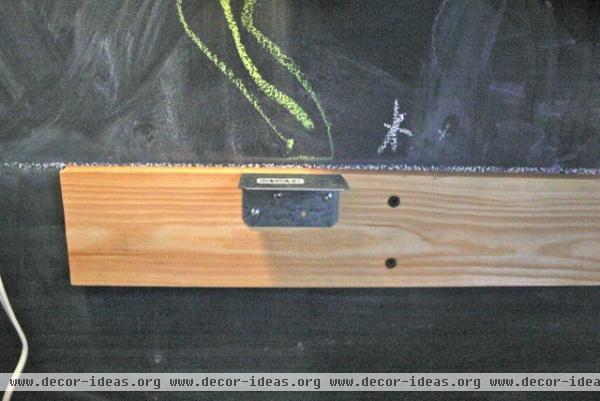
I attached the desktop using four cleats — strips of wood used to strengthen a surface and support things like shelves and desktops. In this case I screwed the cleats into the studs to support the desktop and give it the floating look I was going for. I made sure to leave room between cleats so the wires from the wall-mounted lamps could hang straight down.
I measured so that the top of the desk was 30 inches off the ground. I also made sure it lined up with one of the shelves in the storage unit. I attached the cleats to the studs and added L-brackets for extra support. I then attached the desktop with screws underneath.
(Because the bookcase is on the left side of the desk, the desktop does not reach all the way to the left wall, so I wasn’t able to put a cleat there. I put a small cleat behind the door frame instead. It is not visible from the front of the desk and secures the front-left corner.)
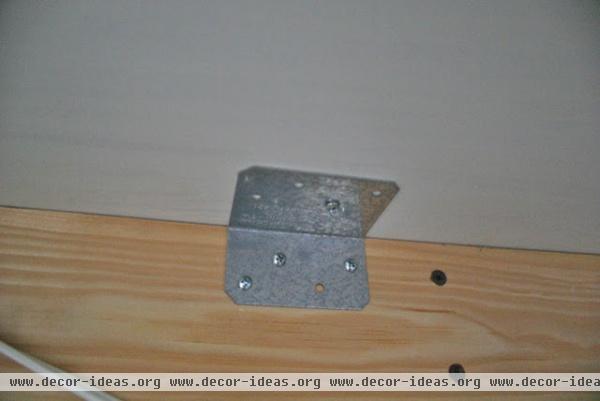
Here's a shot from under the desk, showing how the desktop connects to the cleat.
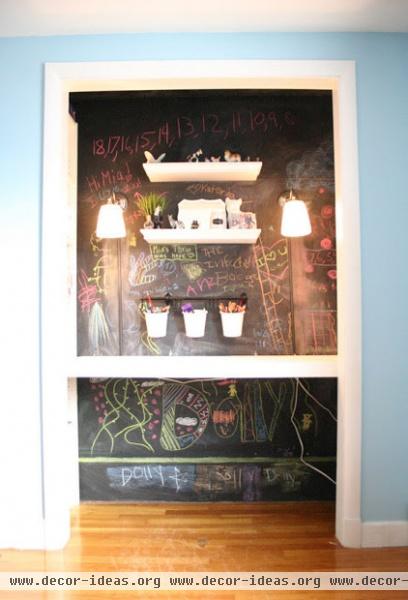
I added a piece of poplar to the front of the desk with brackets as well. It was screwed into the desk from below and helps to keep the middle of the desk from sagging. It fits perfectly between the front of the desk and the door frame, giving the whole desktop a more finished look.
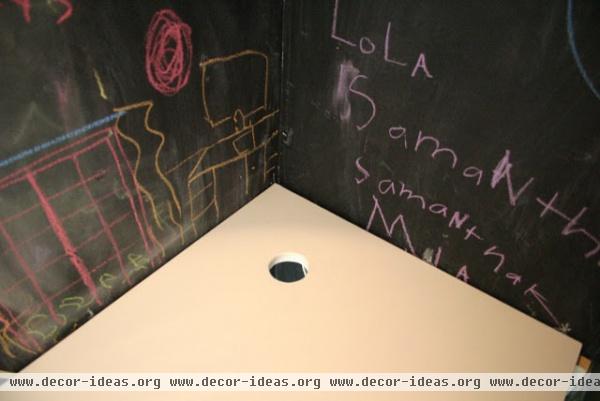
We added a hole for cords to run to a surge protector under the desk. My 10-year-old isn’t using an iPad, cell phone or laptop now, but she will be in the future.
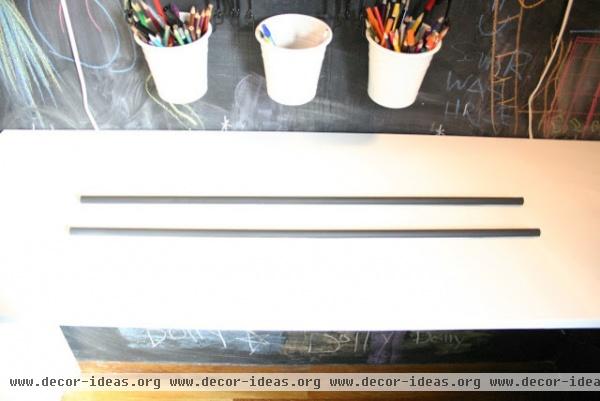
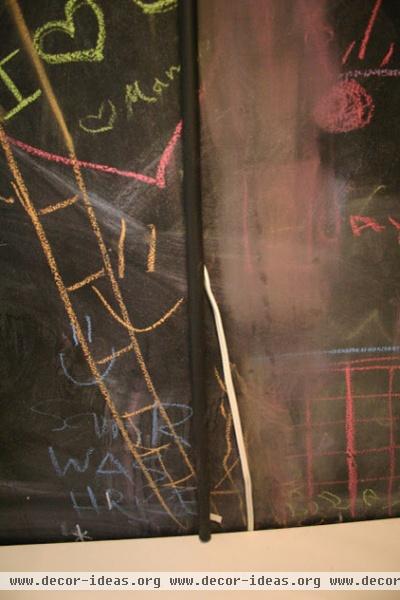
Once the desk was in I was able to address the issue with wall-mounted light fixtures: the telltale cords running down the wall. I needed a way to make them disappear. I purchased a cord hider with an adhesive backing at my hardware store. The plastic D-shaped tube is hollow in the middle with room for one cord. I cut mine to the desired lengths for the two cords and coated it with two layers of chalkboard paint to blend in with the wall. Once the cord covers were dry, I peeled off the backing and stuck them to the wall.
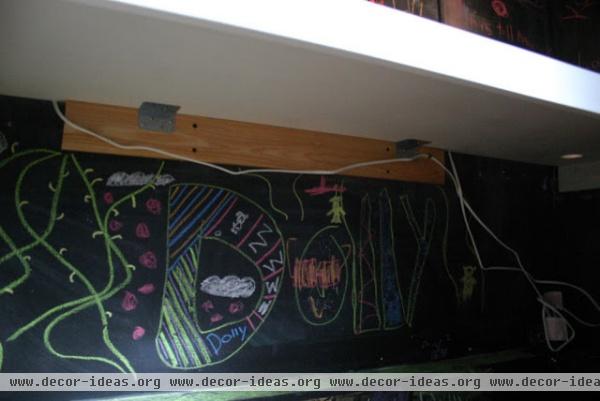
Using cable tacks I then ran the cords under the desktop and attached them to the cleats on the wall. Cable tacks are like large staples with a rounded top to safely hold cords down. They are the perfect way to keep your cords hidden along a baseboard or tacked to a piece of furniture. The two cords from the lamps run under the desk and meet up with the surge protector.
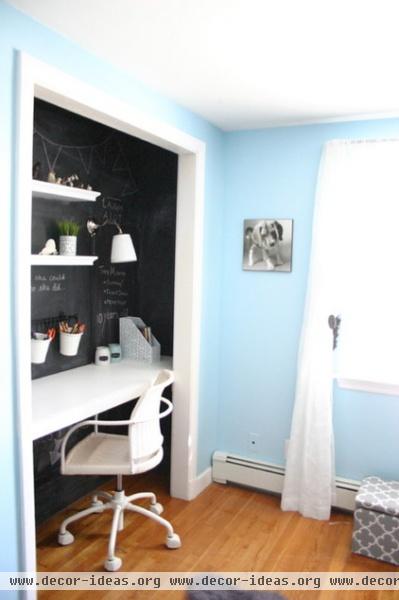
The finished closet! The steps were not too involved but were time consuming. The outcome is a unique and fun space that's is a hit with my 10-year-old and would work for an adult too.
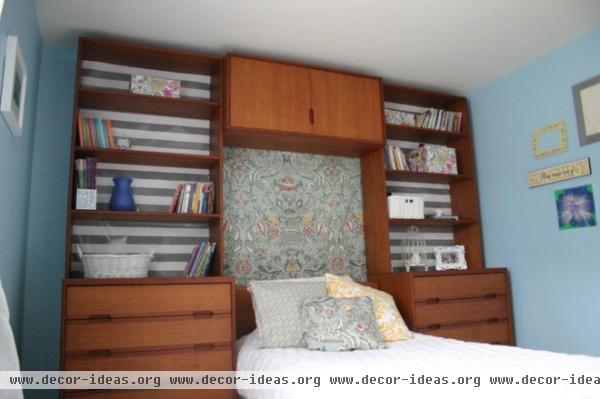
The bedroom is full of drawers and shelving. A large wall unit takes up one whole wall and makes up for the closet loss.
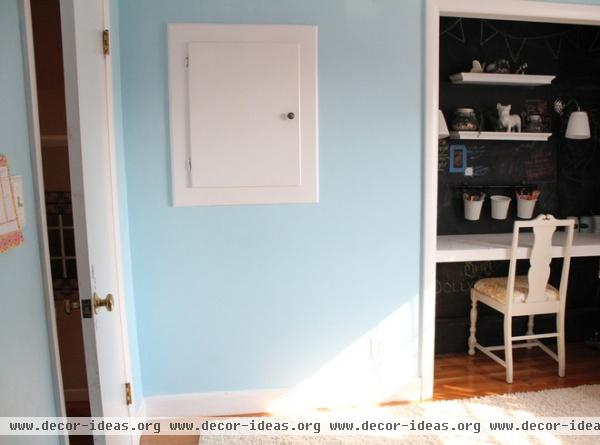
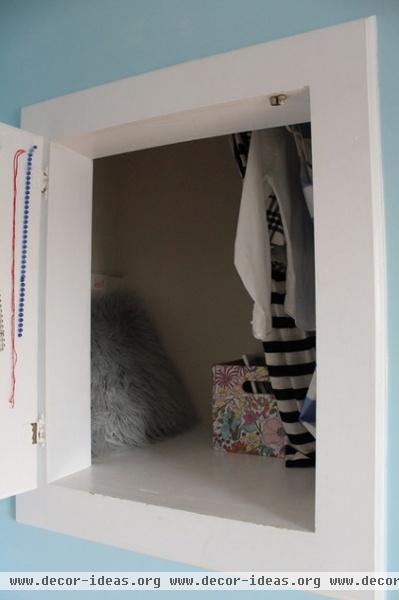
This built-in cabinet fits her few hanging items. (I added the closet rod.) The cabinet looks small from the outside but actually reaches to the ceiling inside.
Your turn: Please show us your creative home office!
More clever closet-sized workspaces


