Have a Blooming Winter: How to Force Amaryllis Bulbs Indoors
http://decor-ideas.org 11/11/2013 08:40 Decor Ideas
The art of tricking a bulb into flowering indoors is called forcing, though with the amaryllis bulb, "coaxing" may be a more fitting term.
Generally with most bulbs, once you force them to flower inside, their energy is spent and it's unlikely that they will ever flower again. But this is not the case with the hardy amaryllis, which can be forced year after year when planted in soil. It even produces better results as it ages. Compared with the narcissus bulb, which is hands down the easiest flower to force, amaryllis comes in second, but it's really the star of the show on account of its dramatic clusters of large blooms that you'll look forward to enjoying every winter.

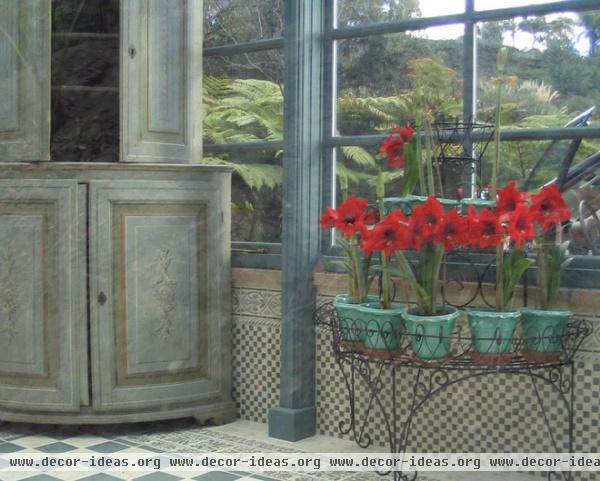
Amaryllis, which can be purchased as bulbs in the fall or as blooming plants in December, has become a popular year-end gift. Prized for its willingness to produce large lily-like trumpet blooms, which generally last indoors for several weeks, amaryllis is a fabulous choice for holiday centerpieces. Meanwhile, potted bulbs, whether in bloom or on their way, make wonderful gifts that are simple to put together.
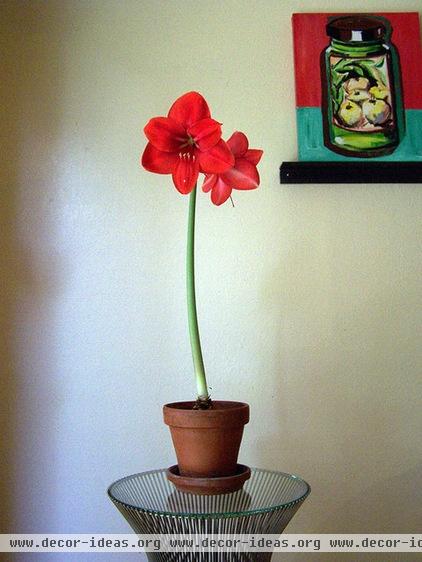
A dramatic blooming amaryllis has four blooms atop each 12- to 24-inch straight stem, usually with a base of leaves, though they're missing here. While bright red is the most popular color, amaryllis flowers range from white to deep red; unique striped varieties are also available.

Because the plant's blooming performance is influenced by both the size and condition of the bulb, careful bulb selection is the first step toward success.
Tips for selecting bulbs:
Select the largest bulbs available, because they will produce more than one stalk (and blooms) the first year. Smaller bulbs will generally produce one stalk the first year. So while the larger, softball-size, bulbs are more costly, they're a worthy investment.The bulbs should be dry and firm, with no indication of rotting, decay or mold. Examine them carefully for signs of injury that could affect their performance.Store newly purchased bulbs in a cool, dry location with good air circulation until they are planted.What you'll need to plant a new amaryllis bulb:
One amaryllis bulb per 6- to 7-inch pot, or group three bulbs together in a 10- to 12-inch container.A pot slightly larger than the bulb (½ inch to 2 inches around the sides of the bulb)Well-draining potting mixA bamboo stalk or support structure

How to Force Blooms
1. Choose a plump bulb that has some roots at the base and a pot that is just large enough for the bulb (or bulbs) — the bulb needs to feel crowded to bloom.
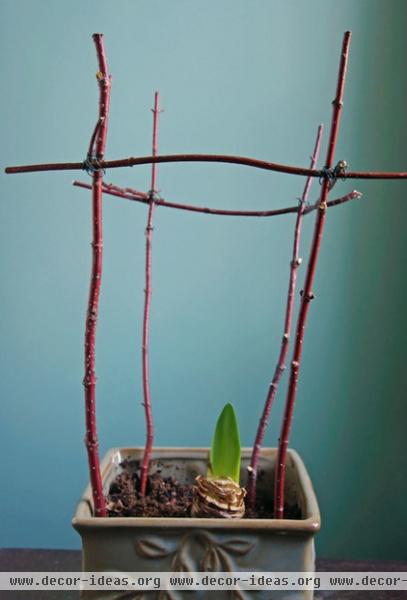
2. Partially fill the pot with potting mix, then position the bulb so that the top third is exposed after you add more potting soil. Insert a bamboo stake or artful structure into the soil next to the bulb. This will help prevent damage to the bulb and roots later when the plant may become top heavy and require support. Water thoroughly and make sure the water drains from the pot.
3. Place the pot in bright, indirect light and keep the soil moist but not wet. Water only when the top inch or two of the potting mix is dry to the touch. Overwatering at the beginning of the growth cycle is the main cause of failure.
Do not fertilize the bulb until it begins to grow. After growth appears, fertilize plants with a half-strength water-soluble fertilizer every two to three weeks.

Keep the plant at room temperature, above 60 degrees Fahrenheit. The warmer the temperature (70 to 80 degrees night and day is ideal), the faster the bulb will sprout and grow. Watering with warm water or providing bottom heat (by setting the pot on a propagation mat or on the top of a refrigerator or warm appliance) may help stimulate growth.
Within two to eight weeks (possibly more), a thick flower stalk should shoot up. Flat leaves will follow as the flower stalk grows. Some varieties of amaryllis take more time to sprout than others, so be patient. Check to make sure that the bulb has remained firm, and do not overwater.
Rotate the pot slightly every few days so that the flower stalk receives consistent exposure on all sides and thus grows straight. Move the plant out of direct sunlight when the flower buds begin to show color.
Ensuring Future Blooms
Unlike most other forced bulbs, amaryllis will bloom year after year, given proper care. The secret to successfully growing amaryllis: Keep the plants actively growing after they have finished blooming, as flourishing leaves provide necessary nourishment to the bulb.
1. Cut individual spent blooms off as they wilt, so the plant doesn't waste energy trying to produce seeds. After the bulb finishes blooming entirely, cut off the flower stalk close to the base but keep the leaves intact. Some experts recommend leaving the long stem intact until it yellows, as it manufactures food that is stored in the bulb. (The long bowed leaves of the amaryllis make it an attractive houseplant even without blooms.) Keep the plant moist and fertilize regularly.
2. In June, or once there's no chance of frost, you can place the amaryllis outdoors for the summer if desired, preferably in its pot to protect it from insects. Acclimate the plant to the outdoors by first placing it in shade or indirect light before gradually moving it to a bright spot or garden bed where it will receive full sun for at least six hours daily.
3. Water regularly so the plant doesn't dry out, and continue to fertilize. Leaf growth may continue, which is a good sign that nutrients from the leaves will feed the recovering and growing bulb.

4. Stop watering and feeding in August or September, and allow the plant to dry out completely in the sun. Bring the plant indoors before the first frost, and remove dead leaves at the top of the bulb's neck, while leaving live leaves intact. Keep the bulb in its pot.
To encourage the bulb to flower again, plants that have been cared for in the above manner should be forced to go dormant by simulating their life cycle. (Alternately, some growers have blooming success with amaryllis plants that are kept indoors and green year-round, though blooming will be less predictable and according to the plant's internal calendar, not yours.)
5. Place the potted amaryllis in a cool (55-degree), dimly lit spot, such as a cellar, for six to eight weeks. (Some specialists recommend eight to 12 weeks.) Do not water the bulb. As the leaves yellow and wither, cut them off from the top of the bulb's neck.
6. End the dormant stage and start the forcing process six to eight weeks before you want blooming to occur. Cut any dead tissue off the bulb's neck, and replace the top ½ inch of soil. At this stage some recommend not removing the bulb from the pot, while some remove the bulb to shake free old soil and split off any bulb divisions (called clones), which should be separated from the mother with some roots.
Care for these small divisions as you would a full-size bulb, and they too can flower within several years. Water the potted bulb thoroughly and place the pot in a spot with a normal indoor temperature.

More tips for successful amaryllis growth:
Amaryllis may be potted in soil or grown in water on a bed of stones, but bulbs grown in water generally cannot be forced in subsequent years.After the amaryllis has finished blooming, place it in the brightest possible location indoors. In summer fertilize with a balanced houseplant fertilizer monthly to help the plant build up nutrients for flower production the next year.Some bulbs may not have the strength to produce flowers each year. Continue to care for the plant so that the leaves will feed the bulb for next year's flowers. If a bulb shows no green growth from forcing, gently squeeze the potted bulb below the dirt surface. If the bulb is not firm, it may be rotten and should be discarded. Rotting can indicate that a bulb received too much watering.
Related Articles Recommended


