DIY: Make a Designer-Look Pillow Sham
http://decor-ideas.org 09/25/2013 00:40 Decor Ideas
I love the look of designer Greek key pillow shams — they can stand alone or mix with other patterns, since the simple border contrasts perfectly with busier fabrics. Unfortunately, they can be pricey. A designer sham can set you back about $50 to $100, which adds up quickly if you're planning to buy several. Luckily, you don't have to empty your pocketbook just to get a few pretty pillows. Pick up a few simple materials, and you can make your own in an hour or two. With a little time and a few dollars, you can completely transform your sofa or bedding set.
Want to give it a try? Here's how to make your own Greek key pillow shams.

What you'll need:
• 1 plain pillow sham. Make your own or buy one. I prefer duck cloth; it's thick, comes in tons of colors and doesn't wrinkle easily.
• Painter's tape, to make a guideline for the twill tape. (I overlapped 1-inch tape to make a 1¼-inch thickness.)
• ⅝-inch twill tape
• No-sew iron-on adhesive. It needs to be smaller than the twill tape, or you can cut the adhesive's width to fit.
• Iron
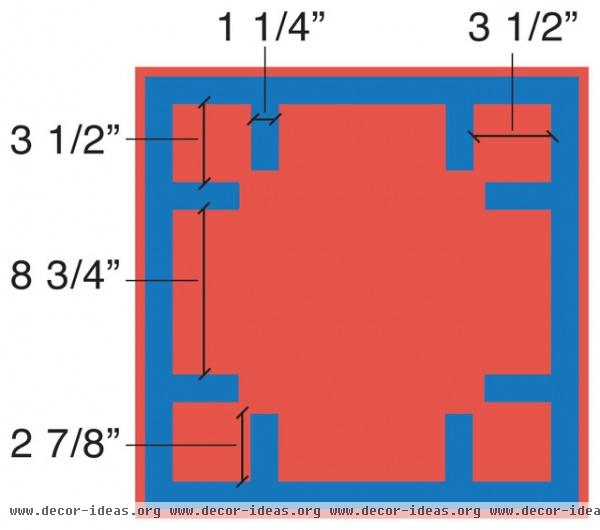
Lay out the painter's tape on your sham as shown. You'll use the painter's tape as a guideline for the twill tape.
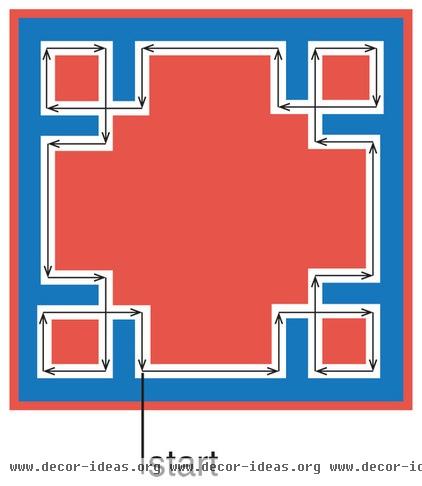
The white in this image illustrates where you'll attach the twill tape. Before adhering the twill tape, test it on a scrap piece of fabric to make sure that the adhesive won't show through the twill tape once you iron.
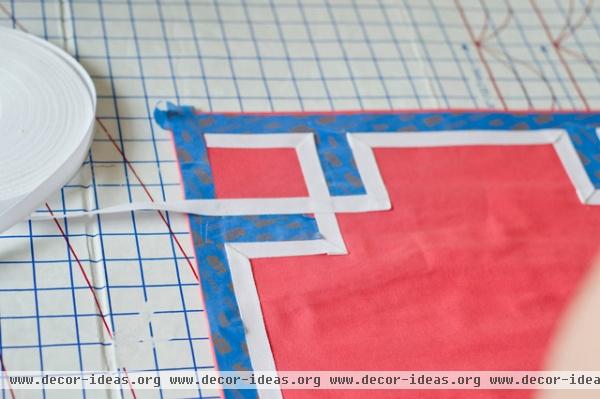
Now it's time to lay out the twill tape.
1. Roll out the twill tape, stopping at the first guideline. Don't cut it.
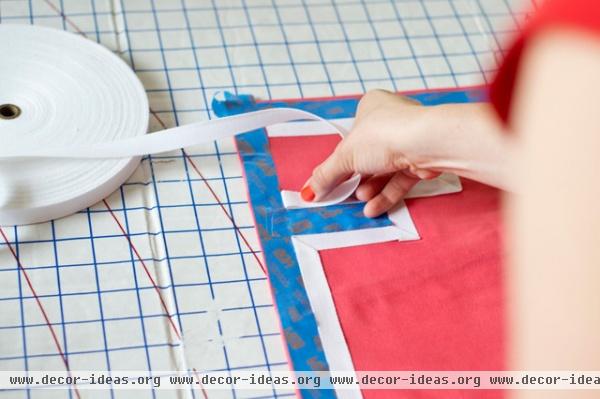
2. Fold the twill tape back on itself. Creasing it with a hot iron will help hold it in place.
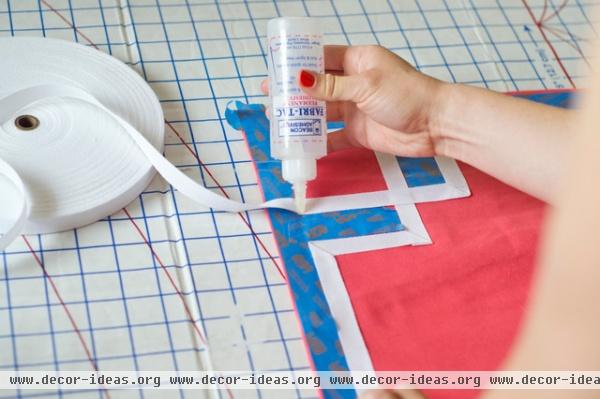
3. Apply a little permanent fabric glue in the crease.
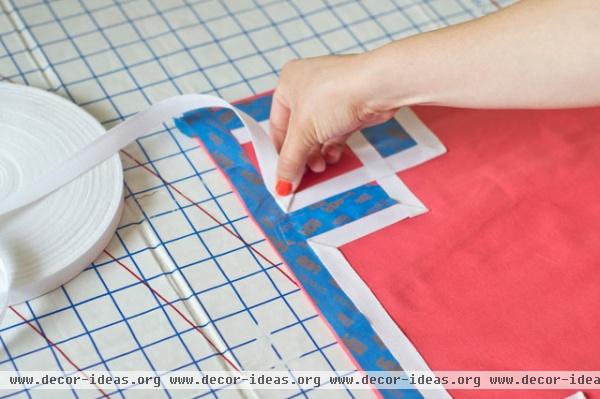
4. Fold the twill tape back on itself and then fold it at a 45-degree angle, bringing the twill tape to the next guideline. Quickly crease it with a hot iron to help hold it in place.
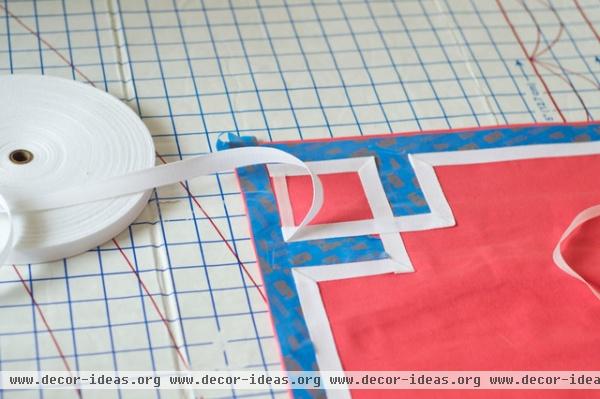
5. Tear off a piece of no-sew adhesive with an angled end so that it fits into the 45-degree angle.
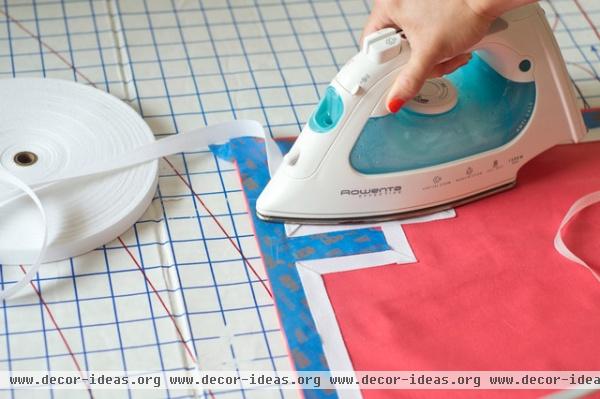
7. With a hot iron, go back and forth over the twill tape until it is just melted. Check often by removing the iron and lifting up the edge. You want to iron enough so that the adhesive melts but doesn't disintegrate. Keep moving through the pattern in this manner, putting adhesive on in sections to attach the twill tape before moving on to the next piece.
Tip: Use a piece of white printer paper between the iron and sham to prevent any adhesive or dirt from getting onto the sham.

Once you've ironed the entire pattern, just remove the painter's tape, and you're done! You've made a designer-looking pillow sham in an hour or two for just a few dollars. And switching up pillow shams is one of the quickest ways to update a room.
Looking for home project ideas? Check out more great DIYs
Related Articles Recommended


