Turn a Shipping Pallet Into a Stylish Ottoman
http://decor-ideas.org 09/19/2013 21:10 Decor Ideas
A low-slung upholstered ottoman is an easy, budget-friendly and high-impact DIY upholstery project. And because you make it yourself, it's completely customizable.
The first thing you'll need for this project is a frame. Retrofitting a shipping pallet works perfectly. Once you're happy with your choice of a pallet, it's time to get to work creating your one-of-a-kind upholstered ottoman. It's easier than it looks — all you need are a few supplies and a very basic knowledge of sewing and woodworking.
Watch out! If your friends find out how you made it, they'll want to buy yours or have you make one for them.
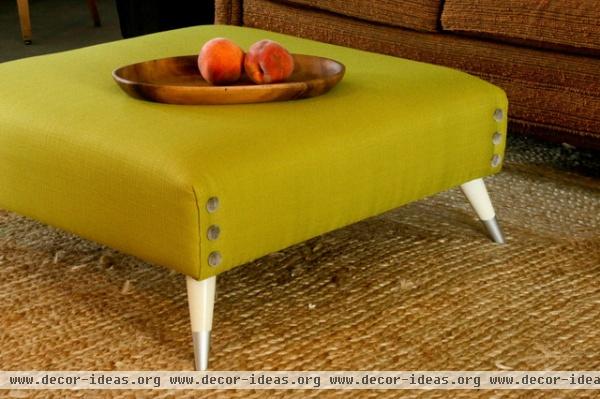
You'd never believe this was once a shipping pallet, right? A combination of textured chartreuse fabric, dressmaker detailed gray velvet buttons and silver-tipped modern legs means this ottoman will take center stage in any home or studio.
Materials needed:
A safe pallet (keep reading for tips on choosing one)Enough 1-by-4 pieces of straight boards to attach to the bottom edges of your palletDrill (bits and Phillips head chuck)1½ -inch wood screwsStaple gun (preferably electric)Electric knife (to cut foam)ScissorsBurlap or scrap fabric2-inch-thick foamDacron batting2 yards of fabricCovered buttonsNeedle and thread (optional)Legs and attaching hardware

First, let's address any concerns you might have about using pallets. Not all pallets are created equally. I'd suggest using non-chemically treated, new, dry, un-weathered pallets for this frame. If you still have worries about using a pallet, you can easily construct the same simple frame from scrap wood.
If you do decide to use a pallet, steer clear of anything with an HT or MB stamp. These indicate heat treatment (possibly with chemicals) or methyl bromide treatment. The pallet I used here has no marks, it looks like new wood and it's a smaller pallet, sometimes called a quarter-pallet. I got mine from a kitchen cabinet distributor next to my shop, but you can find new pallets online for less than $20.
Pallets can have strong threaded nails in them, too. Make sure you're aware of all nails before cutting into a pallet.
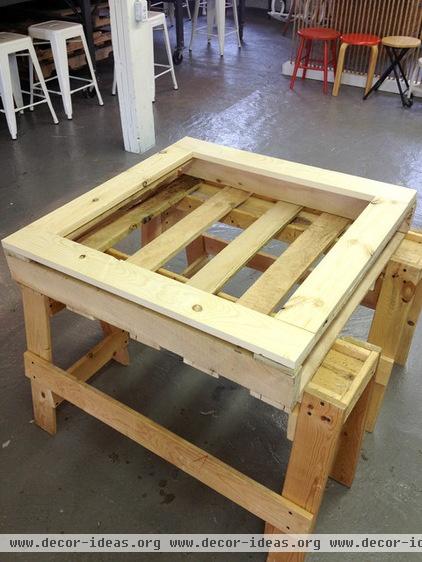
Measure, cut and attach 1-by-4 pieces of wood to the bottom edge of the pallet.
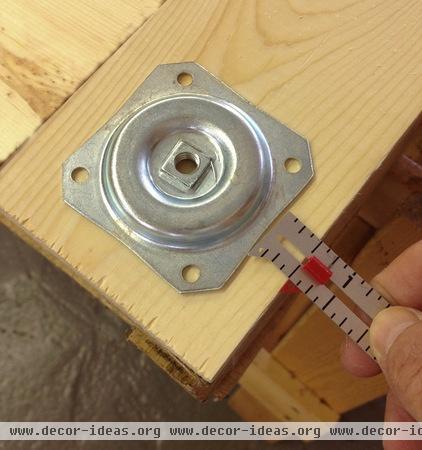
Measure and attach leg hardware. You can add a dust cover to the bottom of the ottoman after it's upholstered; it's easy to find the holes in the leg plates.
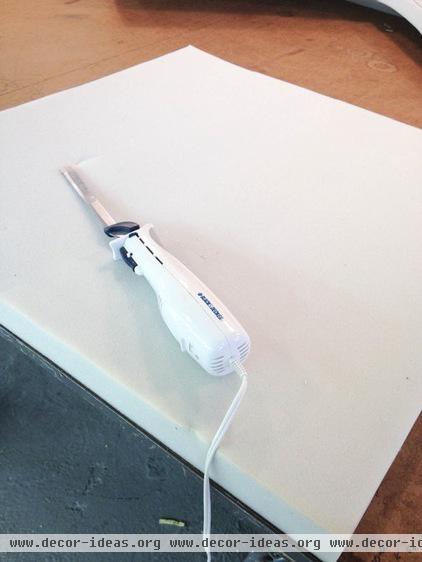
Place the frame on top of a piece of 2-inch-thick foam. Trace around the top edge with a marker and use an electric knife to cut out the piece of foam.
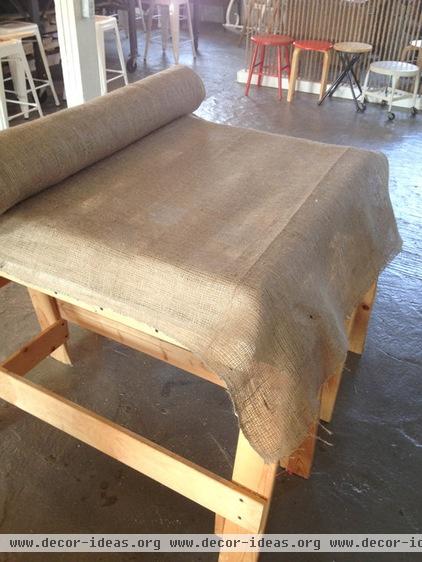
Measure and cut burlap or scrap fabric to close in the frame. Secure with stitches or spray adhesive.
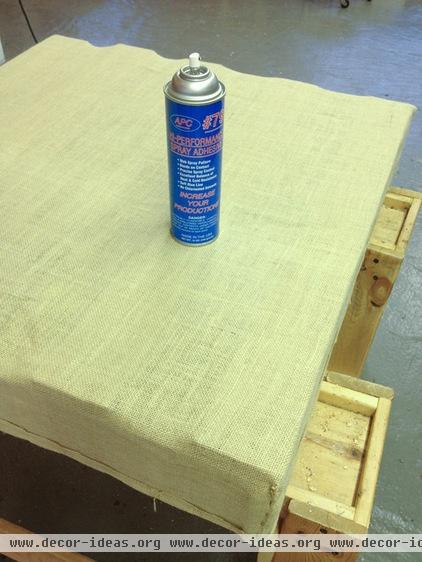
Once the frame is wrapped in burlap, add spray adhesive to secure the centered foam to the top of the frame.
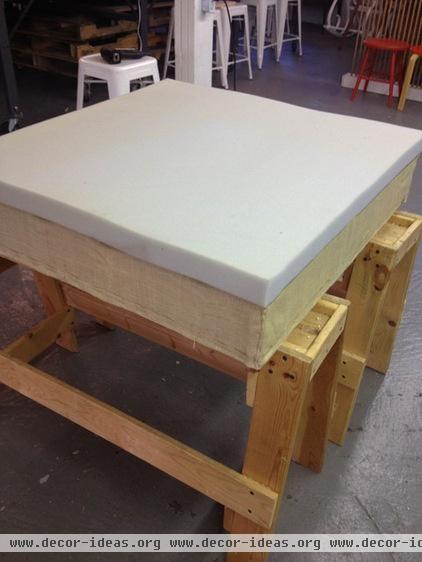
Here's the foam attached to the burlap-covered frame.
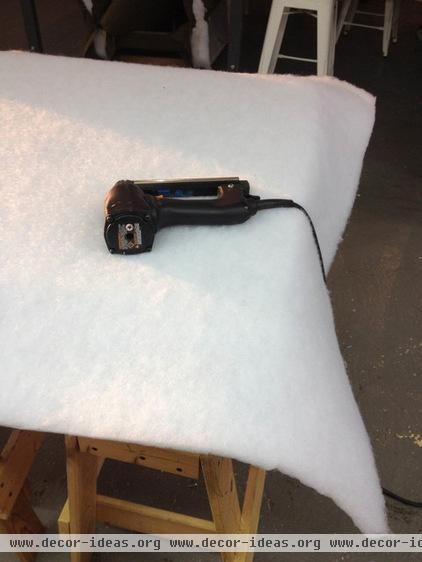
Measure and cut polyester Dacron to cover the top and sides of the ottoman frame. Don't wrap the Dacron under the frame. Use spray adhesive or staples to secure the Dacron in place, but stop at the bottom edge. Again, don't wrap the Dacron under the frame!
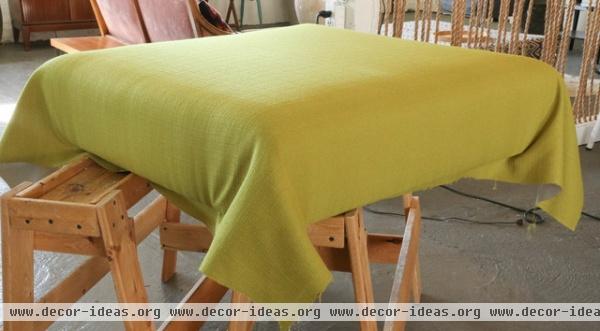
Measure, cut and attach top fabric to the ottoman frame. It's important to keep the fabric grain straight here. Secure one side of the fabric under the frame at the center, then move out toward the corners. Staple a little at a time, then move to the opposite side, pulling firmly and evenly and out toward the corners. (This pulls out lumps and bumps.) Secure each side with a line of staples, moving out toward the corners but stopping at least 6 inches short of each corner.
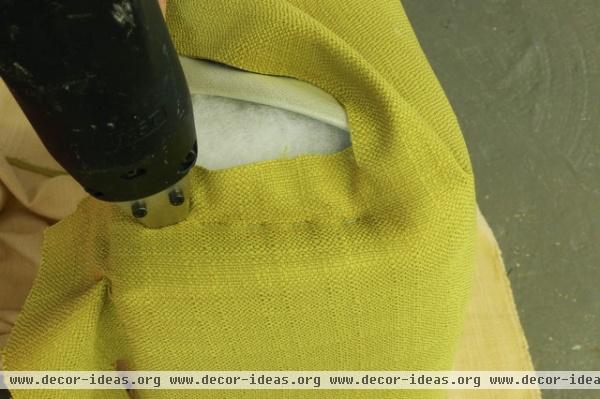
Here's where you need to be kind of handy. The corners are finished like tidy hospital corners, except you can cut and remove some of the bulky fabric under the corner folds. Be careful not to cut out any top fabric. Pull one side over the corner edge, pulling slightly down and on the diagonal. Secure with staples.
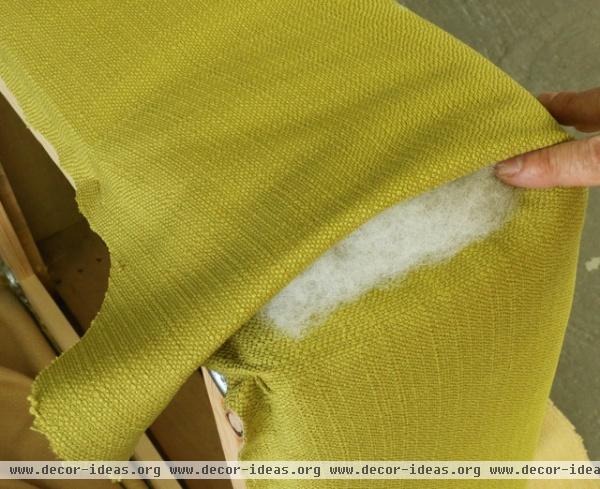
To fill in the staple dimples, place a small bit of poly fill on the staples.
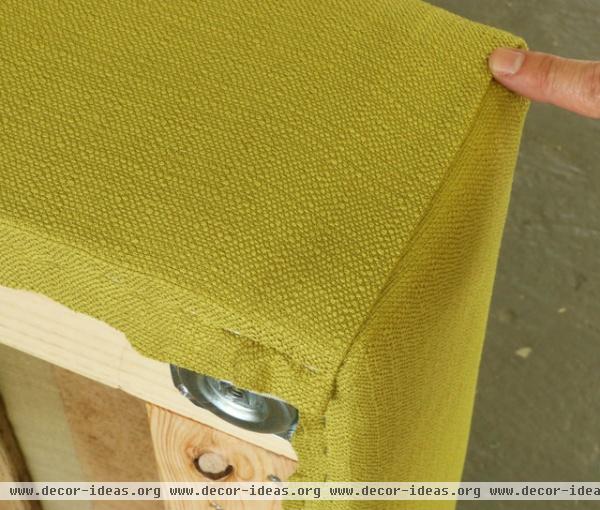
See? A perfectly smooth finish. You can screw the legs into the plates now or wait until the dust cover is on the bottom. I used some of my custom-designed legs, but you can find different styles elsewhere online.
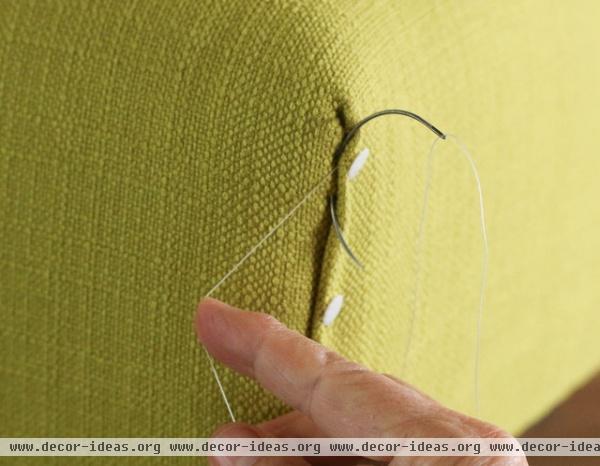
If you want to stitch the corner closed, use an upholsterer's stitch (ladder stitch) or an invisible stitch. Another option is carefully running a small bead of hot glue inside the fold and pressing the fold into place.
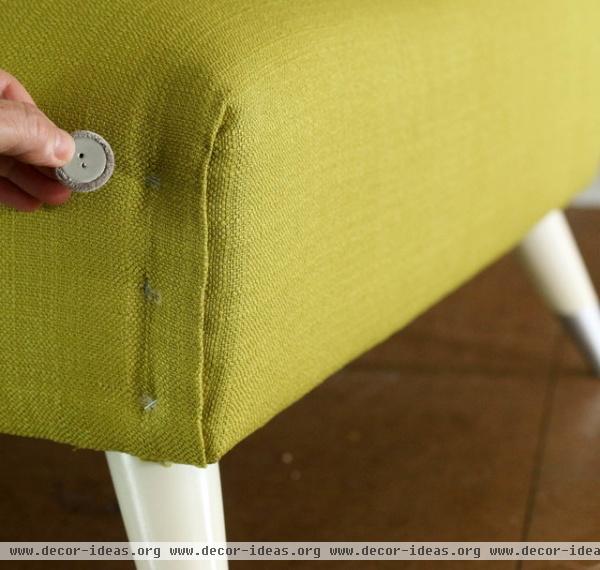
It can be difficult to place buttons evenly, so I cheated. Instead of attaching the buttons with a nail back or hand stitching them into place, I used a template, marked the button placement with chalk and then made an "X" with two staples where the covered buttons will be glued into place.
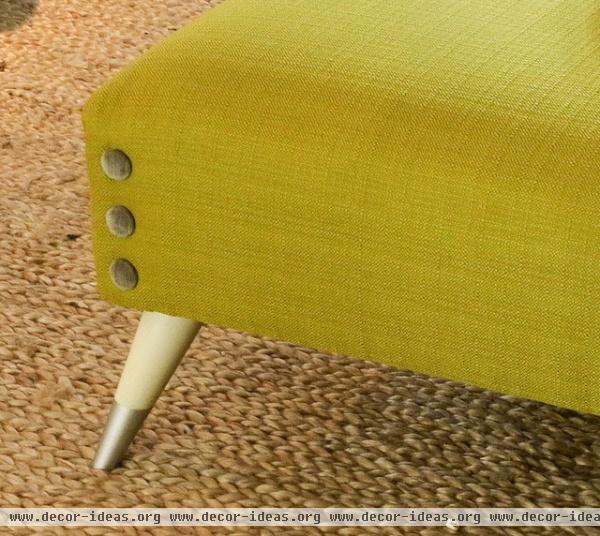
This dressmaker detail on the corners adds a bump of sophistication to this dressed-up wooden pallet.
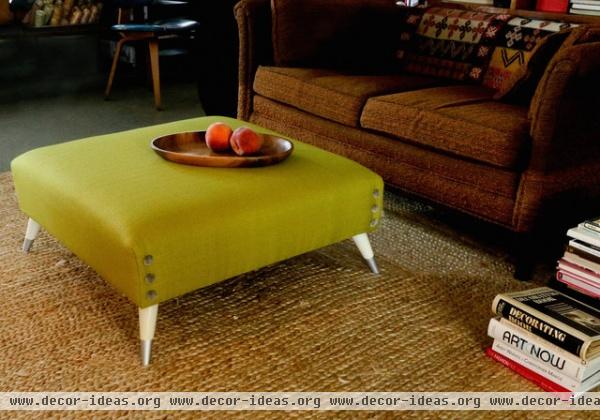
That's it! Isn't she lovely? The finished upholstered ottoman adds softness to an industrial studio space, and can be completed by anyone with a few extra bucks and a basic knowledge of sewing and woodworking (and I mean basic).
More: Build Your Own Wooden Deck Chair From a Pallet for $10
Related Articles Recommended


