7 Pro Lighting Tips for Budding Home Photographers
It's easy to set a camera to auto mode and let it do everything for you these days. Often the photos look pretty good. But the difference between creating average photos and some of the best interior and architectural images comes from being more intentional.
While spontaneous photographs can be whimsical and beautiful, photographing interiors requires more control over the lighting. Selecting the right time of day, fill-in light or Photoshop touches can help create the best photo.
Professional photographers develop a style and look to their lighting, which can be very subjective and change with time. Many interior photographers today go for a more natural, soft feeling to the lighting. The view outside any windows is bright and a little blurry, which helps the viewer focus more on the interior.
Whether you're shooting on the go with your phone or using professional equipment, here are some lighting tips that can take your photos from average to amazing.
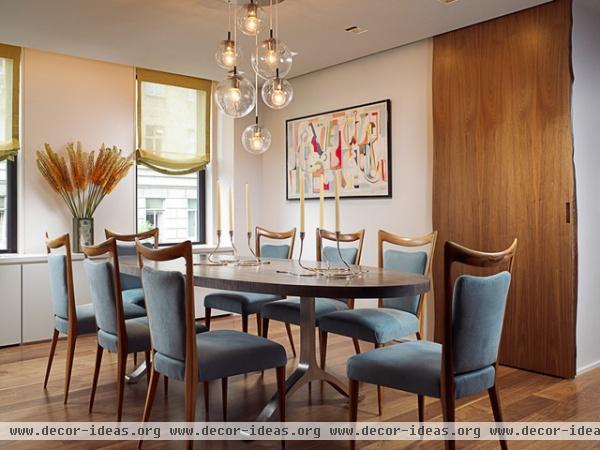
1. Soften the light. Cameras are essentially light recorders, but the range of what you can see and what a camera can see (or record) is different. The tonal range of light areas and dark areas needs to be less extreme, balanced and softer than what we can see for the photograph to be properly exposed with today's cameras.
In this photo the photographer added side lights on the left and right to give dimension to the chairs and balance the lighting levels.
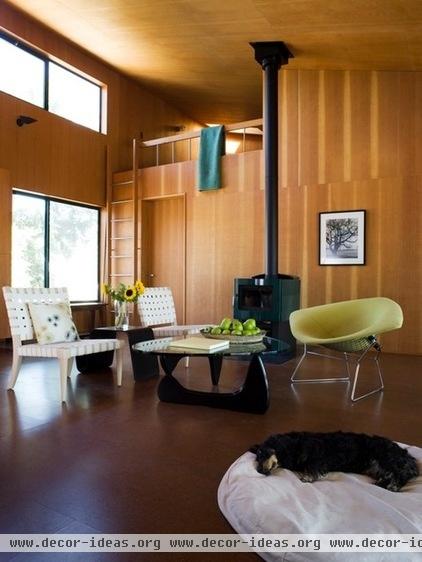
2. Use all natural light. If you're a nonprofessional, try using only natural light first. On-camera flashes often light up things near the camera too much and don't provide enough light in the background.
The north-facing window in this photo provided the most of the light, although I did add some fill light to the foreground.
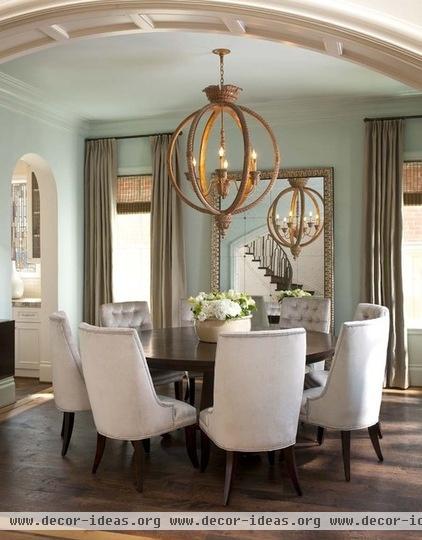
3. Plan your shoot time around daylight. If you can plan your shoot in the early morning or late afternoon, when the tonal range is smaller, the need for other lighting decreases. The sunlight is less direct at these times and will filter in through windows to create natural shadows that add life to a photo.
Avoid shooting right into the sun, too — it's better for the sun or daylight to come from the side. And explore how adjusting the curtains can control the light.
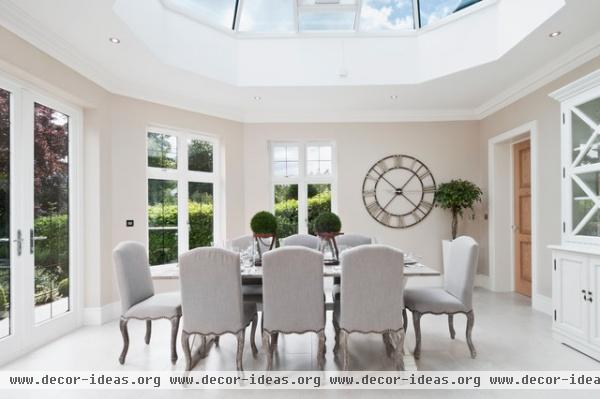
4. Keep the light consistent. Certain spaces also require different types of light to minimize color distortion. Ideally, all the light types in the space should be the same. It is often necessary to use fill lights with a flash that's separate from the camera to diffuse light throughout a room.
This photo has a lot of fill light to match the light level inside with the light level outside.
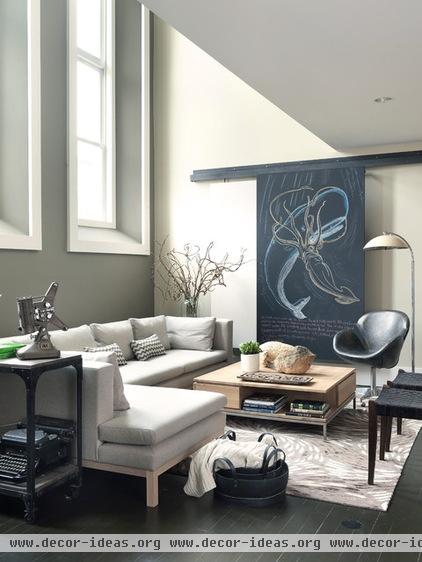
5. Change the light with different bulbs. Artificial fluorescent lights tend to create a cooler feel, giving a room a blue-green cast. When you can, turn these lights off. Tungsten lights create a warmer feel, similar to the light a candle would emit. Today the trend is to turn off tungsten lights and have a brighter feel with natural light.
This photo has all daylight coming in the windows and bouncing back into the room off the wall out of the frame on the right.
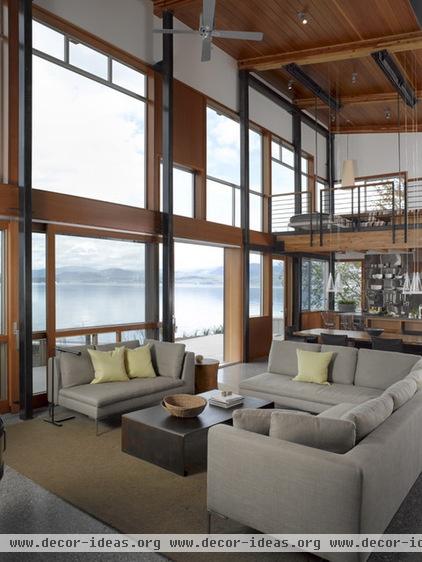
6. Keep the details sharp. Most architects and designers want the details of a space to be in focus. Try to keep your f-stop at f/16 or higher when shooting interiors.
The f-stop lets you know the size of the aperture (opening) the lens is using to take the picture. The f-stop number is somewhat counterintuitive; the smaller the number, the more light can come through the lens. But with a smaller aperture, less area in the photo will be in focus, so you'll need to find the right balance.
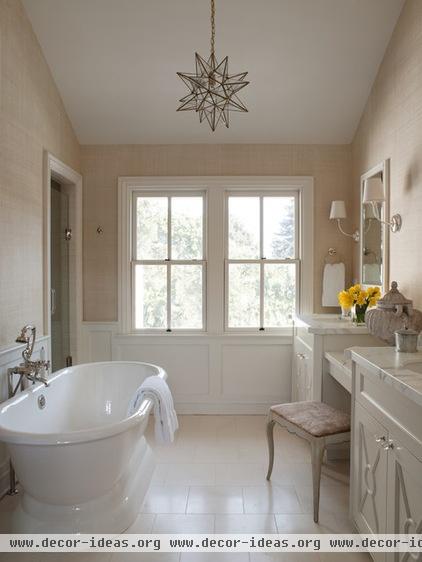
7. Use a tripod. Putting your camera on a tripod can help you use a longer exposure when you are using a small aperture and avoid blurry images. The goal is to avoid deep shadows and minimize blown-out (overexposed) areas where there is too much light.
This photo had an exposure that was four seconds long, and the camera was on a tripod.
Tell us: What lighting tips and tricks have you learned?
Get more guides on how to photograph your house


