How to Read a Nail
http://decor-ideas.org 08/19/2013 12:35 Decor Ideas
Nails have been around forever, but it's only over the past century or so that the mass-produced nail has become an inexpensive and common way to join materials. It's a simple concept: wedge a sharp piece of metal into wood. The nail holds tight as the wood fibers expand back. Here's how to size up a nail and the best way to set it for the job you need done.

A Brief History of Nails
Wrought iron nails. The way a building is put together often gives you clues about its age. From ancient Egypt until a couple hundred years ago, nails were made by hand by blacksmiths; these wrought iron nails were expensive, so it was to a builder's advantage to avoid using them. Timber-framed buildings like the one pictured (a modern timber frame), can be built without any nails. The pieces fit together and stay in place with wedges or wood dowels. I keep an old tapered wood peg I pulled out of a job in my tool bag to remind me how much time and care went into building in the past. In the age of nail guns, it's too common to shoot first and ask questions later.
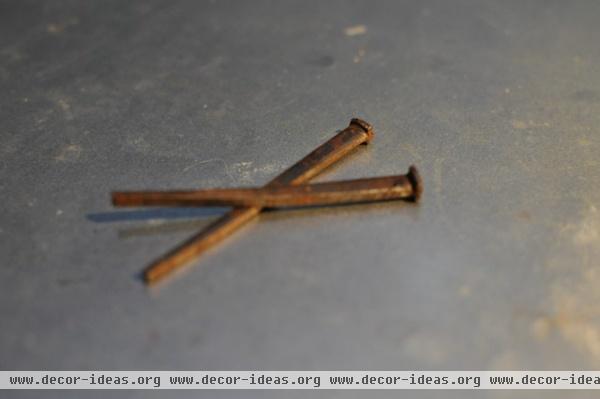
Cut nails. The first mechanized production of nails came with the cut nail. If you pull one of these out of wood, it was probably set before the 1890s. A cut nail is identified by its flat profile. Today these nails are still used to fasten wood to masonry, and if you are face nailing old salvaged wood floors, cut nails can create a true vintage look. Cut nails were inexpensive enough to encourage the growth of balloon framing, but not so cheap that they could just be thrown away if they got bent. One of my dad's jobs as a boy was to straighten bent cut nails for my grandfather to reuse.
Wire nails. Most nails today are wire nails — basically a length of wire with a point at one end and a head at the other. There's some history in wire nails' designations. If you see a nail with the designation 8d, that's an eight-penny nail, the price you would have paid for 100 nails in the 15th century. You won't be so lucky today! Though once you've driven 100 eight-penny nails by hand, the price will be the last thing you're complaining about.
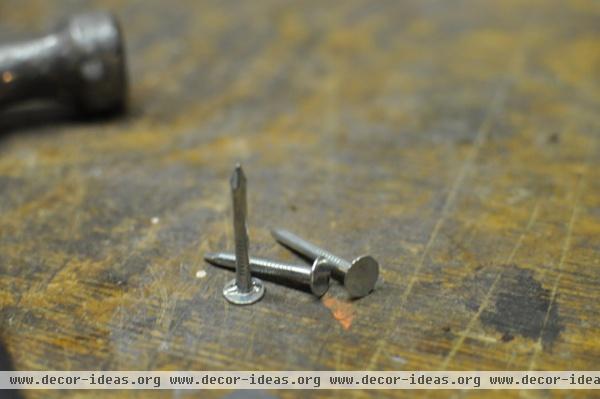
3 Basic Types of Nails and How to Read Them
Rather than try to describe all of the other types of nails available, I'd like to help you learn to read nails. If you can read a nail, you can determine the right use for it. Here are three different nails and how their different characteristics suit their uses.
Roofing nail. The large head is the first thing to notice about the roofing nail. A shingle is not as thick or dense as wood, so a small head might tear a shingle. Roofing nails aren't generally very long, because you are attaching something thin (roofing) to plywood, which is also relatively thin. You want two-thirds of the nail to be driven into the thicker of the two materials you are fastening, so ¾-inch plywood and shingles mean a ¾- to 1-inch nail should do the trick.
When nailing wood to wood, it's rare that a nail that small would be helpful. In fact, when a nail other than a roofing nail is smaller than 1 inch, it's called a brad instead of a nail. The other thing to notice is the dull gray finish. This is a galvanized coating that protects the nail when it is exposed to the elements. This is important for exterior applications like roofing.
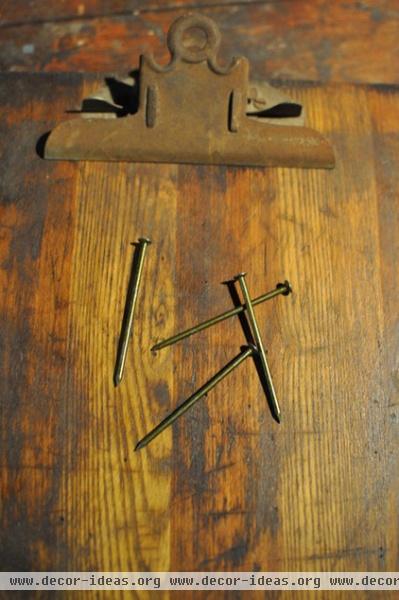
Common nail. A common nail is typically used for framing or joining lumber when the hold — not the look — is critical. The head doesn't need to be as big, because it's hard to pull a head through wood. The wire is thick enough not to bend easily when driven through dense wood.
A common nail is longer than a roofing nail, since you'll usually be fastening 1½-inch wood to more wood. The common nails shown here are 3 inches long.
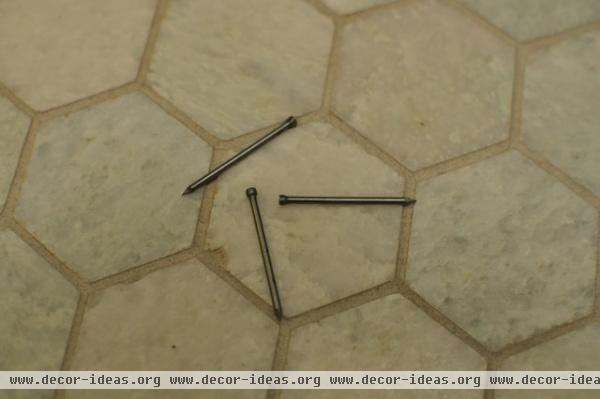
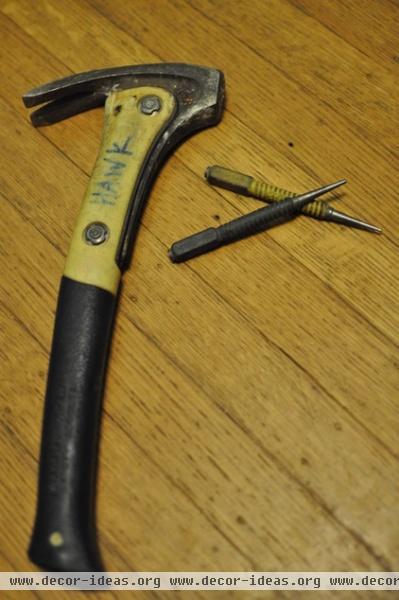
Finish nail. A finish nail has a smaller head, which allows the nail to pull into the wood and leave a small hole behind. The nail will still hold something like baseboard to the wall, but the hole can be filled and painted so the nail disappears. To get the nail to sit below the surface of the wood, you can't just smash away with the large head of your hammer, or your finish work will look like a mess. Use a nailset (a small metal tool that looks like an ice pick) sized to fit in the small dimple in the head of the finish nail.
Ways to Set Nails
Hammer. Using a hammer is the classic way to set a nail. My hammer, pictured here, is a framing hammer designed to put less strain on your wrist. Claw hammers allow you to pull and set nails, and they come in different sizes. Get a hammer that feels good to you and watch where you swing it. A little concentration will save your thumb.
Powder-actuated tool. Powder-actuated tools have a small gunpowder cartridge that's activated by pulling a trigger or hitting a button with a hammer. The gunpowder shoots a nail out of the device. These tools are most commonly used for fastening wood or metal studs to concrete. Use caution; as with a gun, kickback is a concern, so brace your body and keep your face away from the tool. If you're using the type you hit with a hammer, the hammer can also kick back. I learned this the hard way with a claw to the forehead.
Nail gun. A nail gun is actually less gun-like than a powder-actuated tool, in that it uses air to fire the nails instead of gunpowder — but it is still very dangerous. You should use your foot (in a steel-toe boot), not your hand, to brace the wood while you fire. Nail guns are available to shoot roofing nails, finish nails, brads etc. Each nail requires a different gun, though, so if you will be setting a limited amount or are not experienced, stick to setting nails with a hammer.
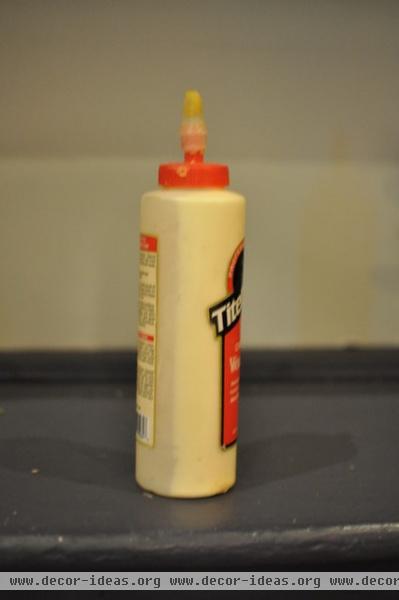
Glue. Why end an ideabook about nails talking about glue? Because a nail can be a way to hold things together until glue dries. Sure, you can use ring shank nails or drive two nails close together to keep the wood from pulling apart, but a nail is no screw, so the best way to keep wood together after many seasons of expansion and contraction is to apply glue to the wood and then nail it.
Construction adhesive is good for framing, and good old wood glue works well for trim work and furniture.
More:
A Contractor's Secrets to Hanging Holiday Decor
Learn about screws
Related Articles Recommended


