Your Mini Guide to Great Garden Edges
http://decor-ideas.org 07/22/2013 11:50 Decor Ideas
Most of our landscapes have an assortment of materials — plants, mulch, gravel, grass — so how do you keep everything neat and orderly? We want grass to stay in the lawn and out of the beds and mulch to stay in the beds and off the pathway. There are many ways to separate, or edge, your different garden and yard areas, from inexpensive and quick to costly and involved. Here's a rundown of some of the more popular edging materials, from less expensive to costlier. Which one is right for your garden?
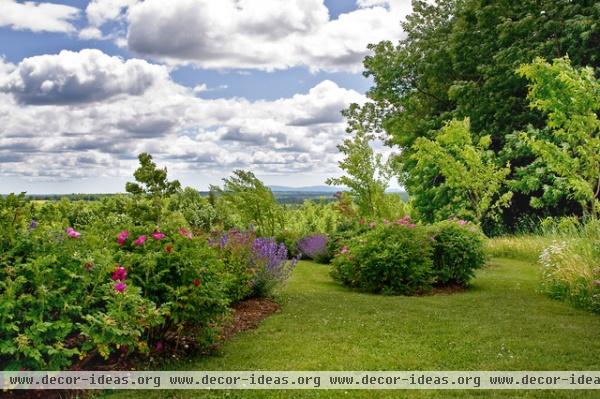
Trench
The basics: Trench edging consists of making a fairly shallow trench between the grass area and your landscape bed, creating a barrier for grass to grow over. It's a much more natural look, good for when you want the bed to look more casual and relaxed. Now some might say this is not a "correct" way to edge a bed — not true. Gardeners have been using this method for many generations with great effectiveness.
Cost: Free, with the exception of the tools necessary to create it (a sharp-shooter shovel or trencher).
Advantages: It's free, easy to create and effective. It's also a very natural edging option for casual or informal gardens.
Disadvantages: Slightly higher maintenance, as you might need to freshen the trench several times a year to keep the line of the bed sharp.
Maintenance: You'll need to use your string trimmer frequently during the growing season to keep the edges neat and tidy.
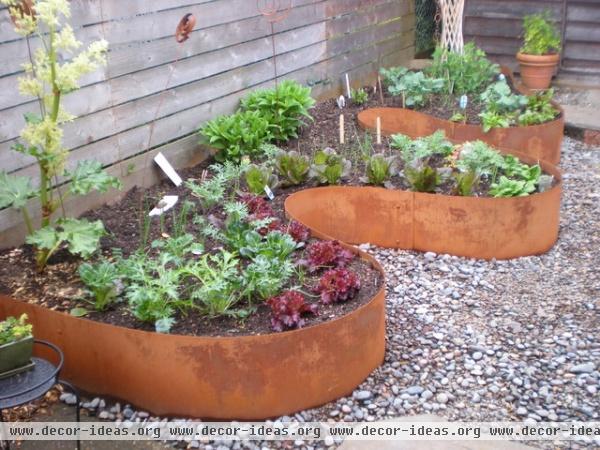
Steel
The basics: Steel edging is a very common landscape option, but depending upon your choice of color, it can make very different statements. Black steel edging looks more formal; green and brown are more traditional; and unpainted (which starts out a gray color and weathers to a rusty patina) lends itself to more modern and contemporary gardens. It also comes in a range of thicknesses, with the thicker material being more expensive (and more durable) than the thinner edging.
Cost: $2.50 to $4.50 per linear foot.
Advantages: Steel is readily available at home improvement stores, landscape supply yards and some nurseries and is relatively inexpensive, depending upon the thickness of the material. It's fairly easy to install, a good DIY homeowner project for those with basic skills and attention to detail.
Disadvantages: The thinner and less expensive material can rust and break down more quickly than the thicker edging, but even so, it's good for about eight to 10 years or more.
Special considerations: Steel edging can be powder coated to have a color like brown, green or black, or left unpainted for a natural steel color. The unpainted steel will develop a rusty patina over time, as will a heavier-duty steel such as Cor-Ten. This rusty color is aesthetic only, but it's important to remember that all steel edging, after a period of years, can begin to rust and decay on the edges.
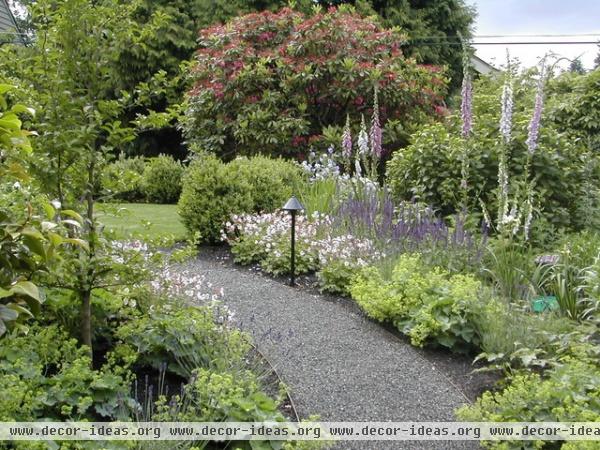
Bender Board
The basics: This is a plastic lumber made from 100 percent recycled polyethylene plastic and is very flexible and durable. It generally comes in 20-foot lengths and often has a wood-like "grain" on the surface. If you want curving beds with a border that almost disappears, bender board could be for you.
Cost: $3.50 to $5.50 per linear foot installed.
Advantages: Bender board is very flexible, making it ideal for creating sweeping curves. It's durable (lasting 12 years or more) and fairly easy to install, perfect for a homeowner's DIY project.
Disadvantages: It can be difficult to find bender board, especially if you live in a rural area. The long length of the boards also makes them difficult to transport for the average homeowner. This material is twice the cost of black plastic edging but infinitely more durable.
Special considerations: There are types of bender board made from thin strips of wood (redwood, for example) for $3 to $4 per 10-foot section, available at home improvement stores and landscape supply companies. Even though the wood is rot resistant, it will not last as long as recycled-plastic bender board. Both types of bender board require the separate purchase of stakes for installation.
Also, if you're using redwood or another type of wooden bender board, it's helpful to soak it in water for several hours or overnight to soften it up and make it more pliable during installation.
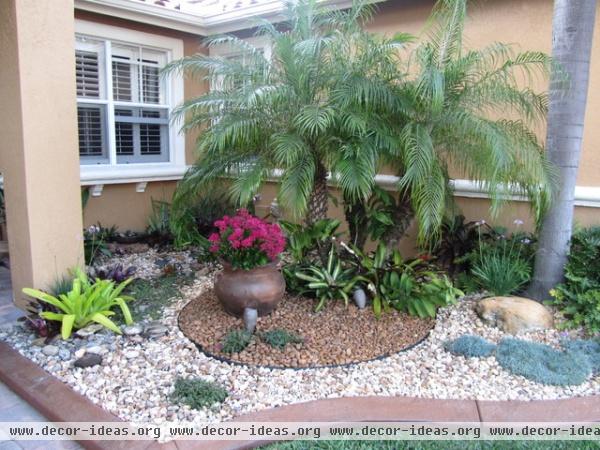
Concrete
The basics: Concrete edging is kind of like a refined curb to define your garden beds. It gives your landscape a very clean, finished look and works well in formal, contemporary or traditional gardens. Because of the materials and skill required to pour the concrete, this is a job best left to the professionals.
Cost: $3.70 to $6.50 per linear foot installed.
Advantages: It is permanent (possibly lasting decades) and very durable, works well in a variety of landscape styles and gives your garden a sophisticated and upscale appeal.
Disadvantages: Depending upon where you live, it could be a more expensive option, and if you are a gardener who likes to change things up every now and then, this permanent edging option may not be for you.
Maintenance: Because the ground beneath any concrete surface can shift, cracks can occur. Some minor surface cracks are to be expected, but be on the lookout for major crevices and unsightly breaks.
Wood
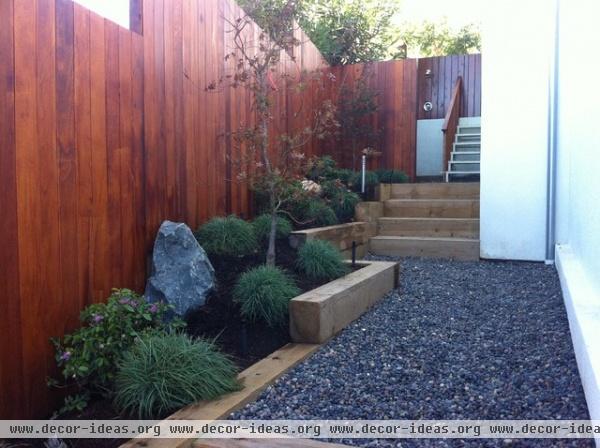
The basics: Using wood to edge a bed instantly adds a casual, organic and rustic feel to the garden. Many types of wood can be used, from treated posts to landscape timbers, and there is also a wide variety in quality of materials. Less-expensive wood edging will last for a few years, while treated durable wood edging will last 10 years or longer.
Cost: $5.25 to $8.50 per linear foot.
Advantages: This type of edging is a relatively affordable option, depending upon the type of wood used.
Disadvantages: Your wood edging will be in straight lines because of the material, so if you like sweeping curves in your garden, this edging may not be the best choice for you. At some point wood will break down and begin to rot, but you can expect treated wood edging to last from three to 10 years and beyond.
Maintenance: You may need to replace some wood pieces after a few years, as they break down and rot. Perform an annual inspection to be sure your wood edging is still in good shape.
Special considerations: If you want to use wood to edge edible gardens, you may want to use untreated, rot-resistant wood to avoid the leaching of chemicals from treated wood into your soil. If you have an organic garden, this is particularly important. And while some research is still being done on the safety of using pressure-treated wood around edible gardens, most experts agree that using wood treated with creosote (typically found in railroad ties) is not advisable.
Stone
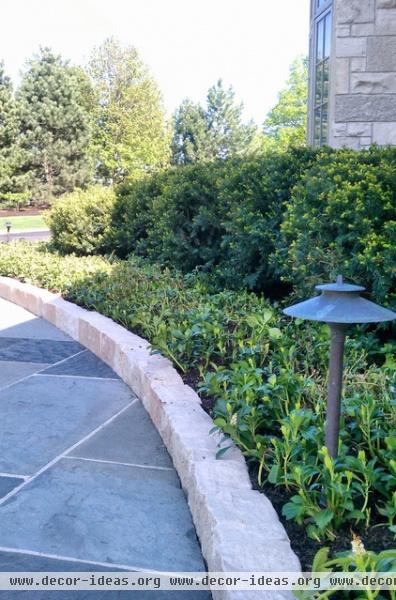
The basics: Mortared stone creates a very organic and rustic appearance, but depending upon the type of stone you use, it can also look very clean and sophisticated. Stone borders work well in nearly any style of garden, from cottage and casual to formal and contemporary. Because mortared stone edging requires a poured concrete footing for stability, this type of edging should be completed by a professional mason.
Cost: Up to $15 per linear foot installed, depending upon the type of rock used.
Advantages: The type of rock used for edging is widely available, can blend into nearly any type of garden and lends a rustic or even contemporary look to the landscape. It's also a fairly permanent option that, when built correctly, will stay in place for decades.
Disadvantages: This is a fairly expensive border to install, because of the labor involved.
Maintenance: Perform periodic inspections to make sure that the mortar used in your rock edging is not cracked or falling apart. Some surface cracks are to be expected as the ground shifts, but major cracks that create crevices mean the edging is either old or in disrepair.
Related Articles Recommended


