3 Key Steps for Grouting That Looks Its Best
If the only thought you've given to grout is what color it should be, you may be in for a nasty surprise down the road. There's a lot to consider: A great grout job can save a poor tile installation, and a poor grout job can ruin a great tile installation.
In order for grout to be installed well, the tile and substrates need to be installed well, too. Make sure that your tile is suitable for showers — I've seen a growing trend of poorly made tiles sold in sheets that are not suitable for a wet environment.
Some sheet tiles use pressed paper as one of the reinforcement materials; others use water-based adhesives — both break down with exposure to water. Everything in your shower should follow the appropriate Tile Council North America (TCNA) or Terrazzo, Tile and Marble Association of Canada (TTMAC) specifications.
It sounds scary, but don't get intimidated — three simple steps can help ensure that your grouting will be successful and that your new shower will perform beautifully.
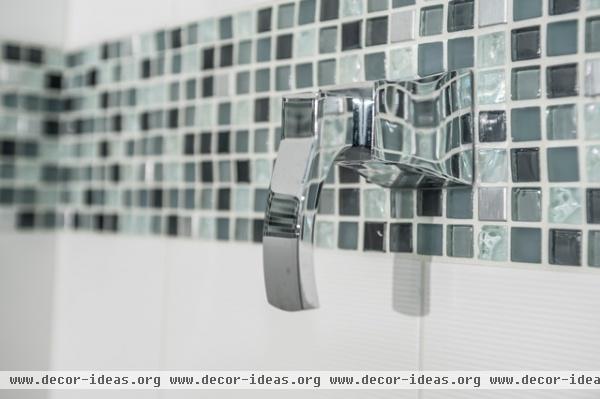
1. Find the Right Type of Grout
Choosing the right grout has a lot to do with your tile's recommendations.
Cement grouts tend to be more affordable and are easier to work with, but many require a sealant. This grout comes in sanded and unsanded versions to work with different grout joint widths.
Calculate how much grout you need exactly and then get a safety net of 25 to 50 percent more. If multiple bags are needed, always blend all the cement together prior to mixing the first batch for an even grout color all throughout your bathroom.
Tip: Be careful when working with tiles like glass. Test grouts on a sample board to make sure you have a grout that won't scratch the tile face.
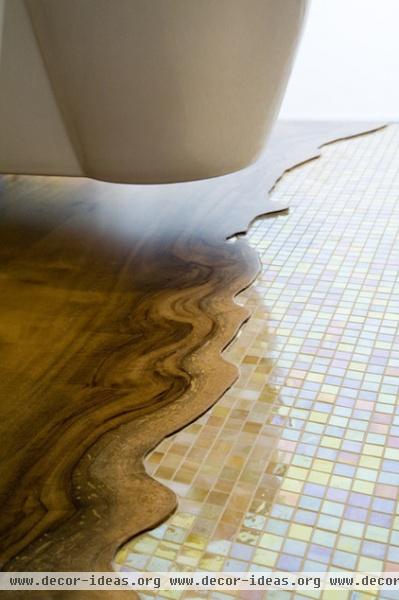
Epoxy grouts are more expensive but extremely durable. Laticrete SpectraLock Pro — a great line of epoxy grout — is stain and chemical resistant and comes in many colors. These grouts also offer greater flexibility for thermal expansion. Your bathroom's structure expands and shifts with changes in temperature and humidity, and a flexible grout helps accommodate these changes.
Tip: Flexibility is a particularly important consideration if the room experiences extreme temperature changes, such as if it has large windows that let in different amounts of light and heat when the seasons change.
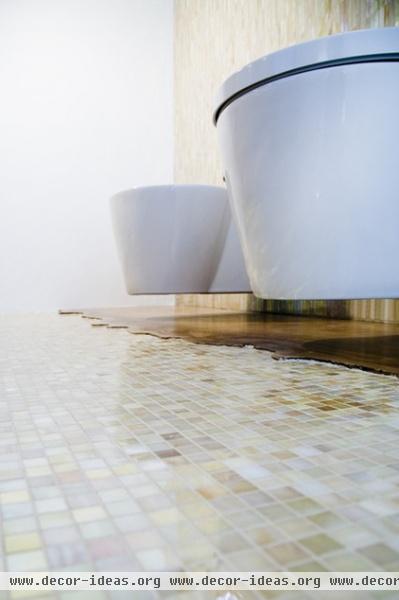
If you're using wood in your bathroom, like in this installation, consider the transition between tile to wood when choosing your grout.
Since both the wood and tile will expand and contract with temperature changes, a slight expansion area is ideal. Many companies have matching caulking (like silicone or Dap) for this. Be careful, since not all of these color-matched caulks are suitable in the shower or another wet zone. I personally like to stick with silicone in the shower and leave color-matched caulks to places that aren't exposed to water.

Many pros advise against making a custom color mix, since it can make future repairs tricky. I think this is debatable, and custom grout colors can be worth the investment when you have a picture of your dream bathroom set in your head.
For whatever reason, it's almost impossible to find plain old-fashioned white grout. It's so hard to find that the sooner you're happy with slightly off-white, the sooner your quest for white grout will end.
My favorite white grout is Mapei's Rapid Setting Ultra Color Plus.
Tip: Epoxy grouts can fade in direct exposure to sunlight. If you have a lot of natural light in your bathroom, a lighter color may discolor with time. A cementious grout may be a better option for these types of installations.

2. Grout Your Sample Board
Mark English, a San Francisco architect, spoke with me about his approach to grouting. Like many professionals, English makes sure to work with sample boards before any installation. The specified grout and tile are prepared on a board and submitted to the client for approval.
Sample boards are vital for safety, durability and aesthetics. If you haven't seen your tile with a grout sample, you won't know if you'll even like the spacing between the tiles when it's grouted — grout joints often look larger when a tile has a beveled or eased edge.
3. Let In the Light
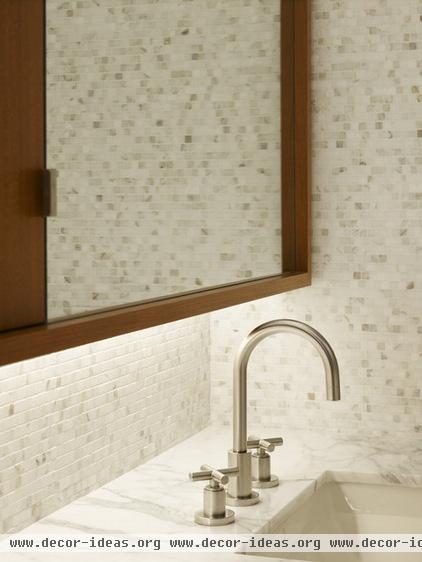
A perfect tile and grouting job deserves great lighting to show it off. Shown here is a beautiful accent light feature — a simple downlight like this could be a perfect bathroom nightlight with a dimmer. But if the tile and grouting were less than perfect, this downlight would only highlight poor tiling skills.
I love layered light in bathrooms. But each light source subjects a finished tile job to different levels and directions of light, potentially highlighting a tile installation flaw or poor grouting job.
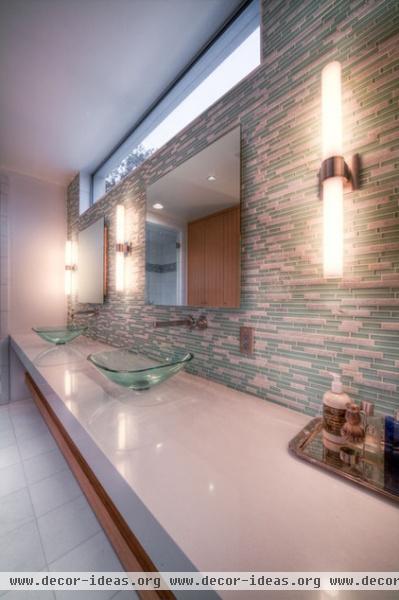
If possible, have all of these light sources worked out prior to grouting, and have all of your windows cleaned with the protective film outside removed. This will help your grouters avoid any mistakes that might be missed in poor light.
Tip: Grouting is one of the last steps in a bathroom renovation. It should not be rushed, since the tile installation needs time to dry before the grouting is done. Pushing your grouting until the end gives your tile installation more time to cure.
If this is not possible, self-curing (rapid-drying) setting materials should be specified.
More: Top 10 Tips for Choosing Shower Tile


