Get Your Home's Recessed Lighting Right
http://decor-ideas.org 07/22/2013 06:35 Decor Ideas
Lighting design is both an art and a science. Our homes thrive when we choose the right mix of lighting, and recessed lighting is a big part of that success. Well-placed recessed lighting (also known as can lights or downlights) can highlight a room's best feature or help us focus on the task at hand. Check out the tips below on how to get just the right amount of recessed lighting into your life.
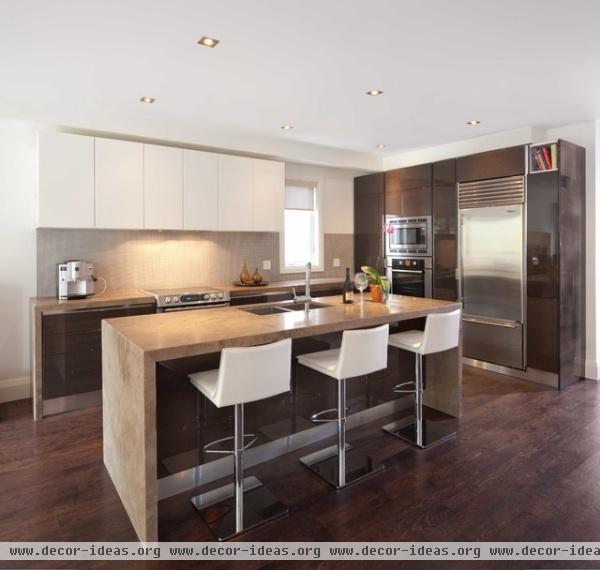
Find your total wattage. Here's a handy formula to figure out how much light your room needs: Multiply the length of the room by the width to find the total area. Multiply the area by 1.5; this is the total wattage you'll need to light the room.
For example: If your room is 17 feet wide and 20 feet long, the total area is 340 square feet. Multiply 340 by 1.5, and you'll get 510, so you'll need 510 watts of total light to efficiently light your room.
Tip: When installing downlights in your kitchen, use a mix of wide-angle downlights for ambient lighting and narrow-beam downlights for task lighting over your stove, sink and counters.
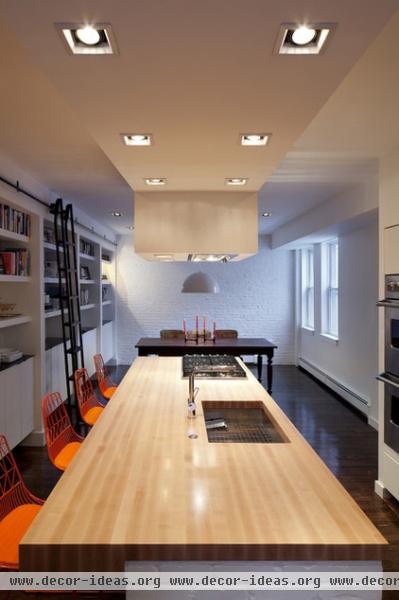
Determine the right number of fixtures. Once you have the total number of watts you'll need, divide it by the wattage of the bulb you'd like to use. This will give you the total number of recessed fixtures you'll need in that space.
For example: If your room needs 510 watts of total light, and you want to use 60-watt bulbs (the average wattage of a can lightbulb), eight or nine bulbs should sufficiently light the space.
Tip: LED downlights are growing in popularity as an alternative to halogen globes. But the wattage can be confusing on LED bulbs. For example, an LED with a wattage of 5 to 8 is equivalent to a halogen wattage of 40 to 60. Comparison details are typically marked on the packaging.

Space your fixtures evenly. You now know your wattage and the number of can lights your room needs, but spacing them evenly is just as important.
Measure at least 2 feet off all your walls onto the ceiling to start. Aim to divide your can lights around the room evenly and leave at least 2 feet between each fixture. Of course these are general guidelines, and you may need to do some tweaking depending on the space. Focus on balance and don't worry if you need to remove or add a can light to get it right.
Tip: If you live below another apartment and your ceilings are concrete, you will not get a registered, reputable electrician to install any new ceiling lighting, as it can compromise the structural integrity of the building.

Use a dimming kit. When installing or upgrading any existing recessed lighting, dimming kits are a must.
Dimmer switches are a flexible and practical way to help control how much light is being used, saving energy and helping bulbs last longer.
Tip: Avoid dimming all your recessed lights with one switch so you can dim lights by zone. Wouldn't it be thoughtful to have separate dimmer switches for each light over your bed?

Create a focal point. Illuminating artwork with gimbal lights can create a focal point in a room. Gimbal fixtures rotate, revolve and swivel, so you can focus the light exactly where you want it.
Tip: Gimbal lights are also perfect for task lighting. When installing a gimbal light above a reading spot, sit in the chair while the electrician positions the light to make sure your head and shoulders don't block the light.
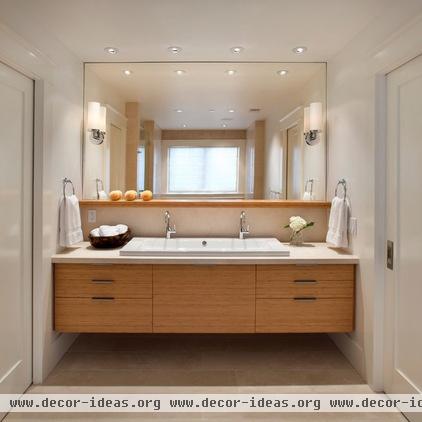
Mix up your lighting in the bathroom. Getting the lighting in bathrooms working effectively can be tricky. Usually a mix of several types of lighting will give the best result. Recessed lighting works well when illuminating the vanity area. Try using at least two gimbal downlights, fitted close to the mirror. Space them so that the light output from one overlaps the other's.
Tip: Lights exposed to moisture need to be rated accordingly. Make sure you're using bulbs that are damp rated.

Use damp-rated fixtures outdoors. Recessed lighting fixtures in eaves or verandas also need damp-location ratings. Any outdoor lighting that will be exposed to rain, water spray or snow requires a wet-location rating to prevent water from damaging the bulb inside the light.
Tip: If you are building a new home or doing a major renovation, take your home plans to a reputable lighting retailer and ask for a lighting plan. A detailed plan will make everything clear for your electrician and save you money in the long run.
Related Articles Recommended


