Get the Hang of Hanging Flower Baskets
http://decor-ideas.org 07/22/2013 04:05 Decor Ideas
Who doesn't love a hanging basket filled with a profusion of flowers or foliage? This type of container gardening is a charming addition to your porch, patio, arbor or deck — and it's easy, provided you know a few tricks of the trade. Here are some tips on planting your hanging baskets and keeping them lush and thriving all season long.
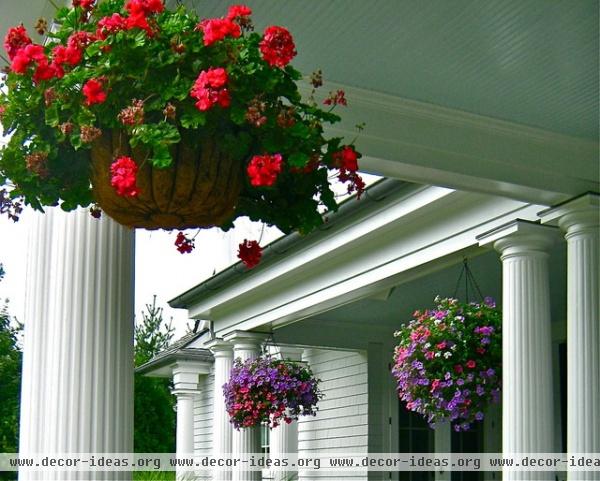
The basics. Hanging baskets can be created using plastic hanging planters, wire baskets lined with cocoa liners, rattan baskets or even glazed pottery containers with attached hooks. There isn't one right material to use — it's mostly about aesthetics and the look you are trying to create. Keep in mind, however, that each type of container may lead to varying watering schedules, as the soil dries will dry out differently in each.
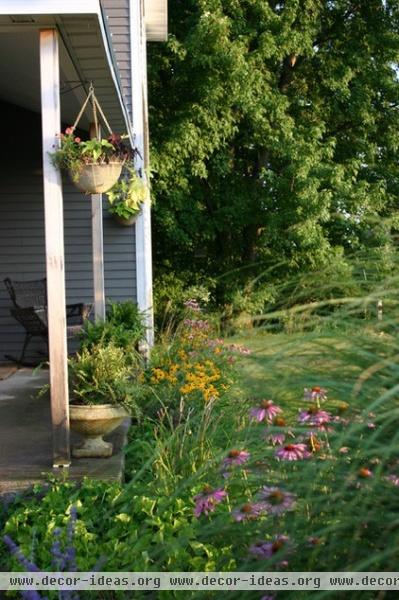
Nearly any type of smaller plant that can be grown in the ground can be used in a hanging basket. The plants that tend to look the best, however, are the ones that have a soft downward trailing or mounding habit rather than a stiff upright growth pattern. Opt for plants like ivies, pothos, ferns, succulents, vines and annuals like petunias, impatiens, geraniums, calibrachoa, lobelia and fuschias.
Avoid plants with an extensive root system, shrubs and trees — even if they are dwarf — as well as plants that are too large, as hanging baskets tend to be 1 foot to 2 feet in diameter. Also avoid those that have very specific or tricky care requirements, like orchids, tillandsias and bromeliads, that would make maintenance an issue.
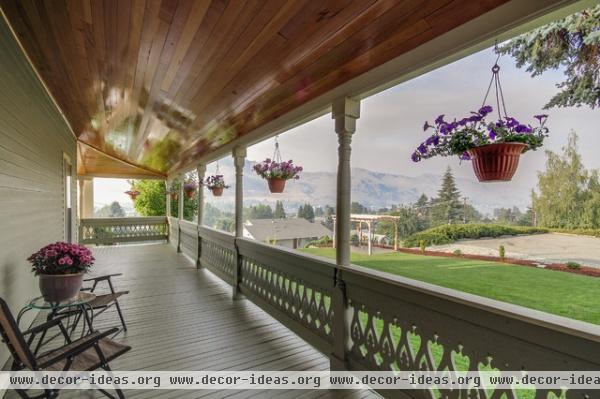
Drainage. Drainage will be very different depending upon what type of hanging basket material you use. Wire containers with cocoa liners will drain almost too freely; hanging pottery can retain too much moisture; and plastic provides a happy drainage medium.
If you're using cocoa liners, consider placing a plastic saucer in the bottom of the basket before adding soil and plants — this will keep some of the water in the soil, where roots can access it before it drains out.
When using pottery, add a layer of gravel to the bottom before adding soil and plants, water sparingly to avoid rotting and choose plants that like a little extra moisture to counteract the lack of drainage holes.
I'm not a big fan of plastic pots, especially in hanging planters where the bottoms of the plastic pots and the plastic hangers are on display. However, there are a few tricks I use to disguise them in the event that they are the best choice. I use long trailing plants like ivy, petunias, calibrachoa and sweet potato vine to cover the plastic pot, and I remove the plastic hangers and replace them with decorative chains. Just a few minor tweaks can turn a pedestrian plastic pot into something more attractive.
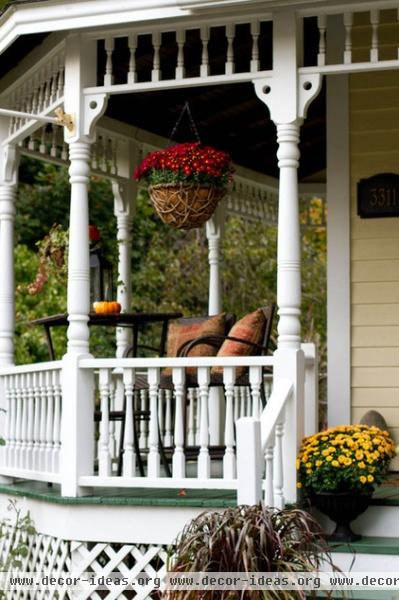
Watering. The soil in hanging containers will dry out much more quickly than soil in your garden, so be prepared to water daily unless you are using very arid plants. Plants that are in more direct sun might even need a twice-daily watering (once in the morning and again in the evening) to keep them well hydrated.
If you inadvertently skip a day or two and find that your soil is bone dry and your plants are wilted, take the basket down and try slowly watering the planter, repeating several times as the soil rehydrates. You may need to cut back your wilted foliage and flowers to reinvigorate plants if they have gotten very dried out.
It's possible to hook up drip irrigation into each hanging basket — this option works best if you have a number of hanging baskets in a row to keep irrigated. Tubing hooks up to your water spigot, and emitters branch off the tubing into each basket, delivering water efficiently. You will have black tubing that is exposed up the side of your porch or patio post, however, so if that kind of look bothers you, this may not be the best option for you.
Fertilizing. Plants that are in any type of container will need regular fertilizing, especially if you're using hungry annuals. Nutrients in the soil leach out much more quickly in containers, so you'll have to supplement your plants' feeding schedule to ensure their health. Avoid overfertilizing, though, as that can actually harm plants and keep them from blooming. Use an all-purpose water-soluble fertilizer or a fertilizer that is formulated for the specific plants you are using. I like to add slow-release fertilizers to the soil at planting time if I'm using heavily feeding annuals; this gives them an extra boost to draw on throughout the growing season.
Fertilizing can be done monthly or, if the solution is mixed at half strength, weekly. This is especially true for flowering annuals, which are heavy feeders. If you are using ferns, succulents or cacti, follow the directions on the package, but in most cases monthly fertilizing will be sufficient.
Planting notes. Be sure to always combine plants that have the same growing requirements for sun and water. You'd never plant thirsty impatiens next to a drought-tolerant cactus, would you? While those plants represent the extremes, every plant has its preference for light and water, so be sure to plan accordingly.
Some experts advise using a good-quality potting soil in your hanging baskets, while others suggest using outdoor planting soil. It's more important to use soil that is formulated for the type of plants you will be using — if you're using cacti or succulents, be sure to use a fast-draining soil mix that is suggested for those types of plants, for example. Never use soil right out of your garden bed, however, as that type of soil will not drain properly in any type of container.
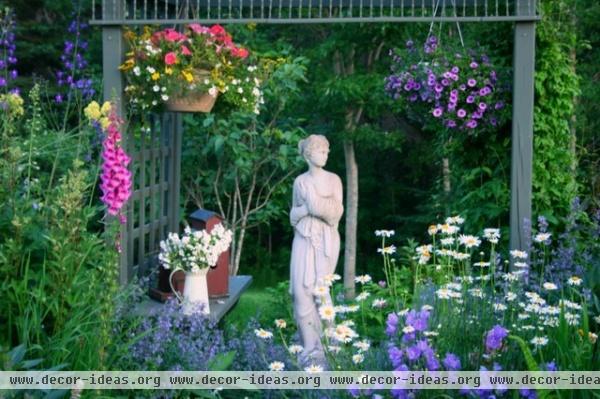
For a casual, cottage-y look, try mixing a variety of flowers and foliage together in one basket, but for a more elegant or contemporary aesthetic, opt for one type and color of plant per container. A row of matching plantings will appear much more cohesive than mixed plantings, but there is no denying the charm of hanging baskets filled to the brim with an exuberant mix of trailing flowers.
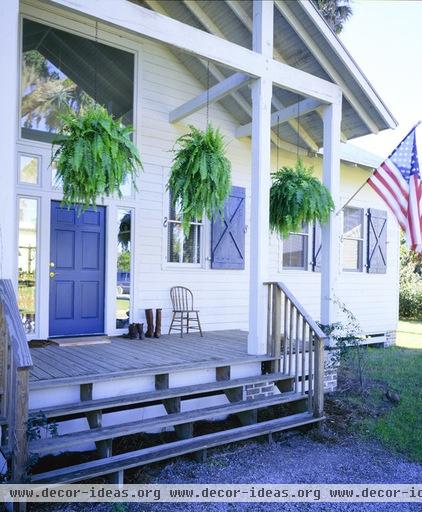
Designing. There are a couple of different ways to mimic a designer when putting together your own hanging baskets. One way is to choose a single plant (purple petunias or asparagus fern, for example) and plant that en masse in each one of your baskets. The block of color and the identical planting scheme pack a punch from a distance and appear more elegant or contemporary than mixed plantings.
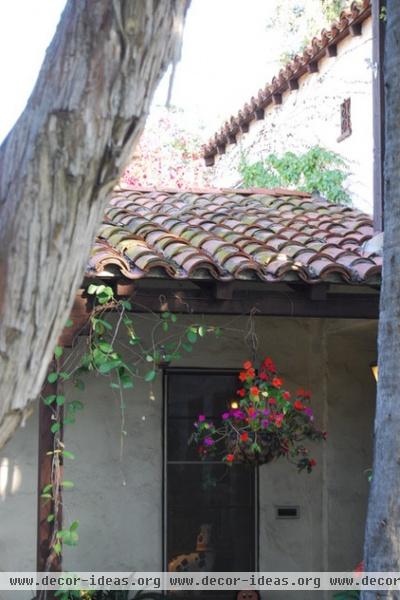
If you prefer to use a variety of plants, however, there is an easy rule of thumb that designers follow. Choose an upright plant that has some flowers and bright color (such as red geraniums), then add some trailing flowers that soften the edge of the basket (such as lobelia) and finish off with some cascading foliage (such as ivy or sweet potato vine). The varying heights, growth patterns and colors create a full "ball" of plants that is charming and arresting.
The Secret Formula for Grouping Plants in a Pot
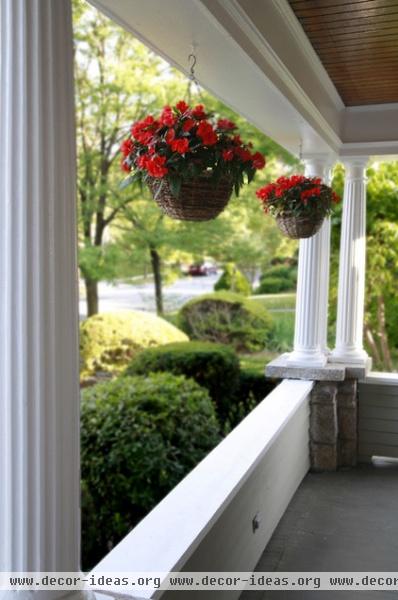
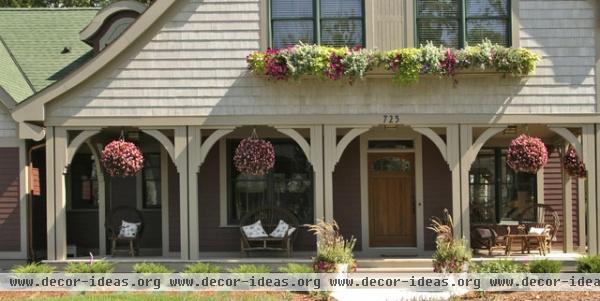
Where to hang a basket. The edges of a porch are a perfect spot, as are fence posts, deck edges and patio covers. Avoid hanging flower baskets where people can walk into them, as in the middle of a ceiling or by entryways to your house or other structures. Always affix hanging baskets onto beams or posts that can handle the weight, as watered-in planters can be quite heavy. For a uniform, tidy appearance that plays off your home's architecture, evenly space out hanging baskets in a porch opening rather than randomly hanging them here and there.
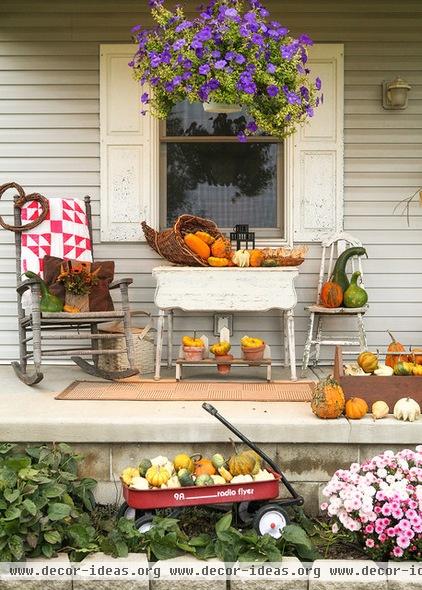
Hanging your basket. Plant hooks and brackets are readily available at hardware stores and home improvement stores — be sure to read the weight limit for each size hook or bracket and purchase according to the anticipated weight of your basket. Most medium-size baskets are not going to weigh more than about 10 pounds, but it's always good to use hardware that can handle a little more weight than your planter. Use hooks for plants that will hang down from an overhead horizontal structure, like the edge of a porch, and brackets for plants that will hang out from a vertical structure, like a fence or a wall.
Using a drill with a bit that is slightly smaller than your hook or bracket screw, drill a pilot hole before installing the screw. This will avoid cracks or splits in the surrounding wood, and ensure a tight fit, which is important for security. Then push the threaded end of the screw into the pilot hole, turning clockwise to tighten it up until the hook is flush against the ceiling. Use the same process with brackets, except use a drill or screwdriver to tighten the screws into place.
So what to plant? See 6 superstar annuals for baskets and pots
Do you have a hanging basket in full glory? Post a photo in the Comments!
Related Articles Recommended


