Make a Cute and Low-Cost Rolling Table
When my indoor or outdoor space needs a quick facelift, I like to create inexpensive, easy and resourceful furnishings. An empty (and free) electrical spool is one of my favorite base pieces to start with. I've been making upholstered ottomans using the spool parts as frames for years. But you don't have to go that far if you're in a time and budget crunch.
The spools can be used pretty much as is if you know what to do. And the slipcover you'll learn how to make below is a basic skill builder for several, more detailed furnishings you may feel inspired to create down the road.
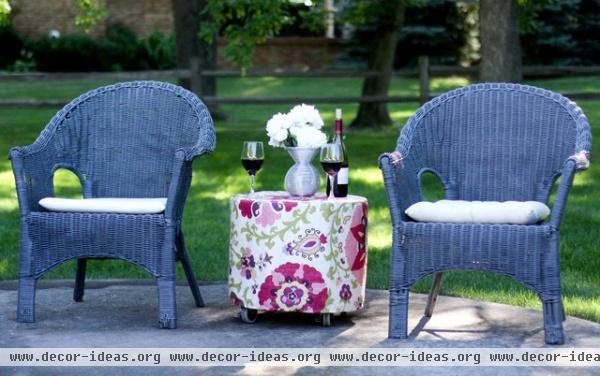
There's a long list of furnishings you can create with these handy salvaged spools. Check out the indoor-outdoor rolling side table I made with the help of my fabulously talented intern; it can add poolside pizzazz or bedside charm.
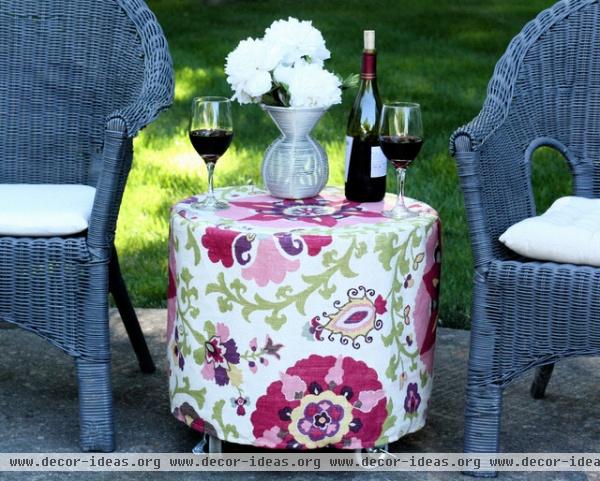
The slipcovered table adds pizzazz to these gray and ivory wicker chairs.
Tools and materials:
Discarded electrical spool (some hardware stores give them away for free)1½ yards of fabric Sewing machineScissorsPinsWheels or feetDrillScrews Iron and ironing board
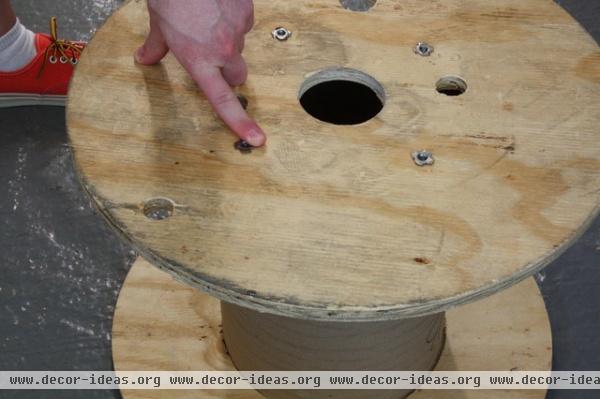
Choose the nonbolt side of the spool (the flatter side) for the tabletop.
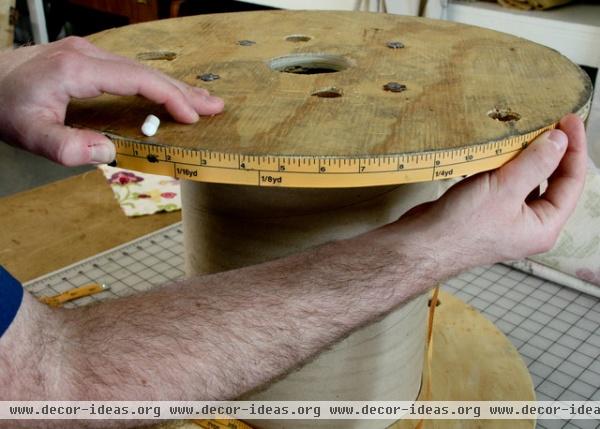
Measure the circumference of the spool top.
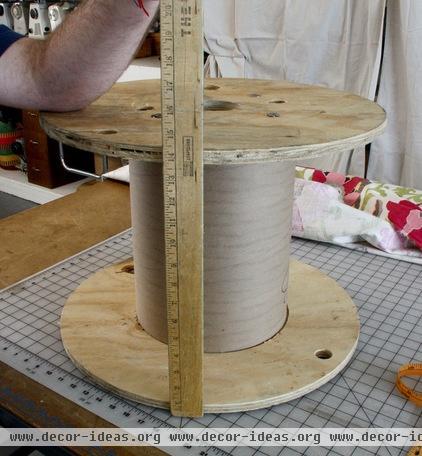
Measure the height of the spool and add a good 5 inches to allow for your seam, hem and wheels or feet.
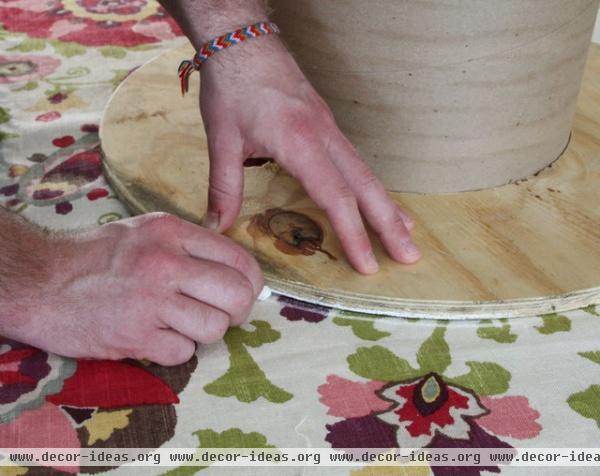
The cover will be made out of two main pieces: a round top and the circular band that hangs around the bottom. Use school chalk to trace around the spool top onto the fabric.
Tip: It's better to trace on the wrong side of the fabric, rather than on the right side as shown. (He's my intern; what can I say?)
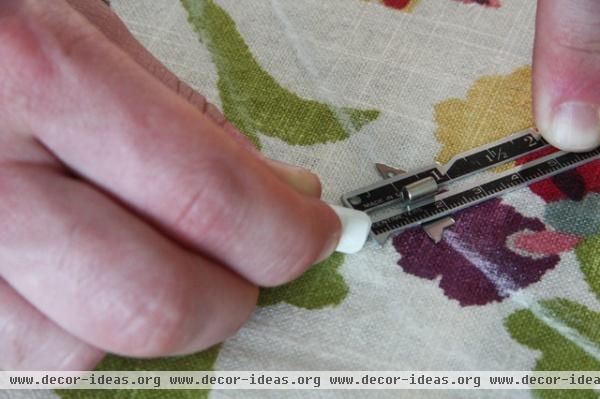
Measure ½ inch beyond the traced line for the seam allowance at the top seam.
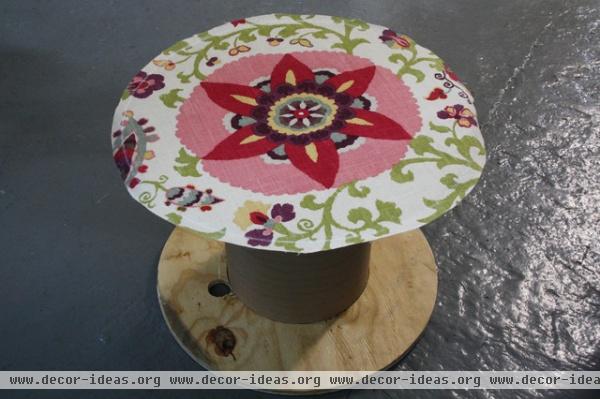
Cut out the top piece of fabric.
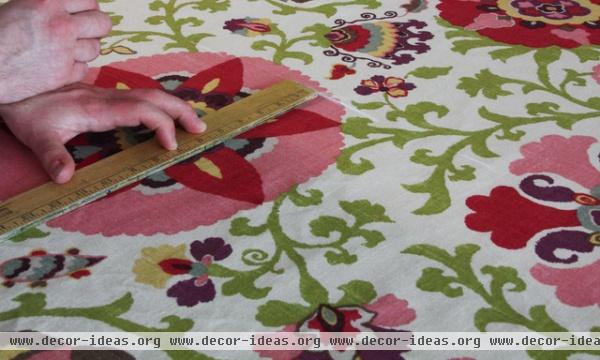
Measure and mark the fabric for the band. Our spool measured 64 inches around, and we added 4 inches extra for the overlapped, finished seam in the back. The spool depth was 14½ inches, and we cut the band at 19 inches.
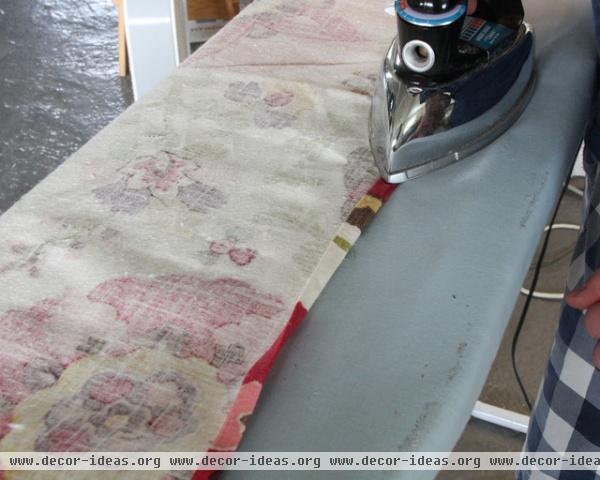
It's easier to hem the band before sewing it to the top piece. Roll the bottom edge of the band over by ½ inch and press it with an iron. Then roll it over another ½ inch and press again.
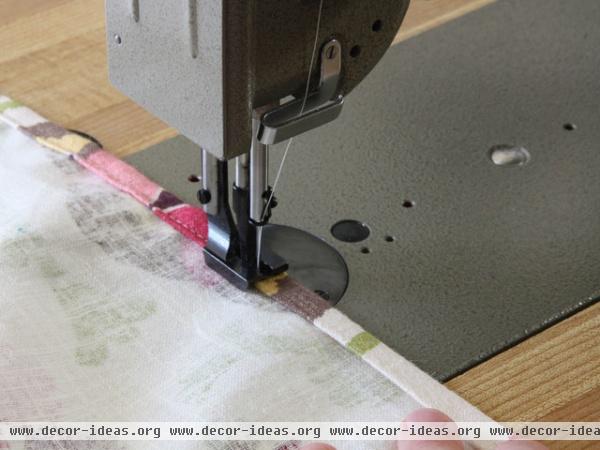
Use the machine's presser foot as a guide and stitch the hem nice and straight. Then press it again.
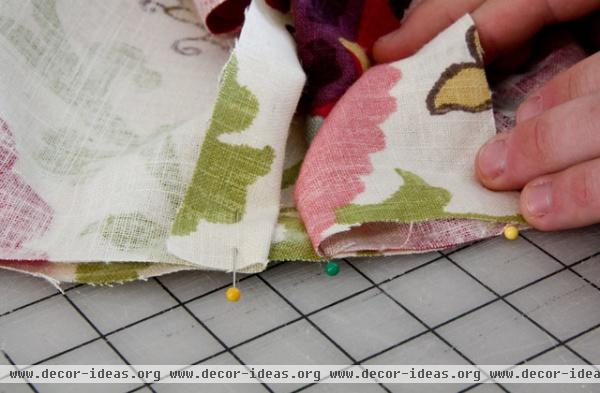
Put the top of the slipcover (the round piece) right side up onto the table. Pin your band cutout onto this top piece. Make sure the cut edges are aligned, the fabric grain is in line and that the cut edges meet in the center back of the cover. How you place your pattern is up to you.
The two ends of the band meet at the back seam as follows: Fold one side of the band back by making a 1-inch fold. Then lap the other side over that folded edge (the right edge in this photo). Pin the band into place.
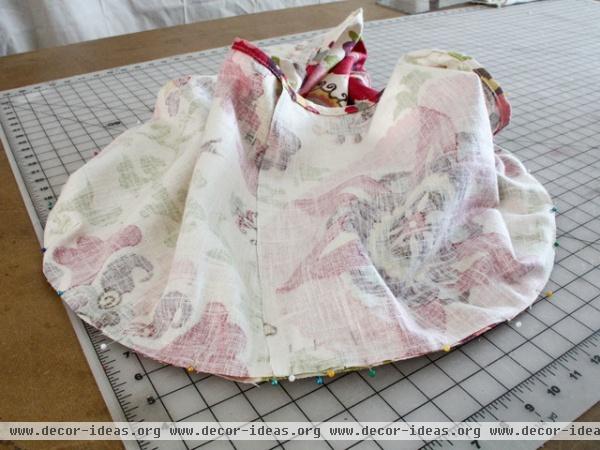
Once the band is completely pinned around the top piece, it's time to stitch.
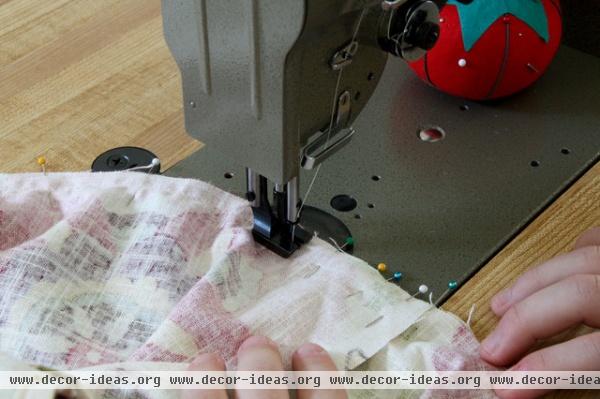
Stitch around the top using a half-inch seam allowance.
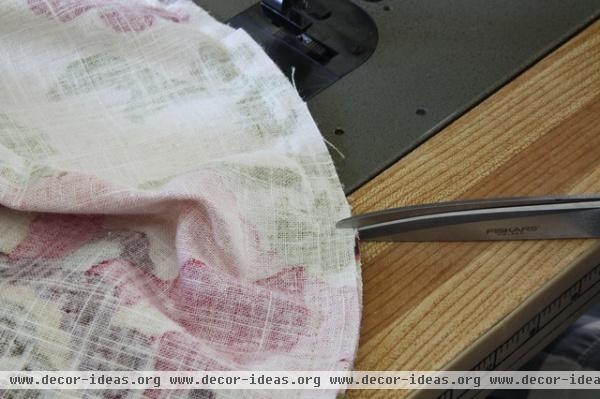
Clip several small cuts outside the curve of the top piece to release the seam allowance.
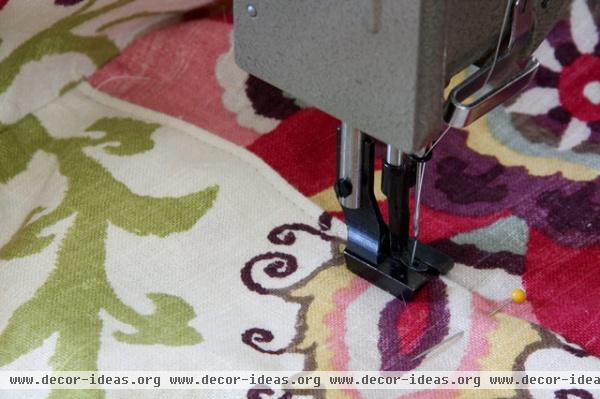
Turn the cover right side out. Carefully line up the 1-inch folded band of the back seam on top of the other side of the band to create the back seam. Topstitch the entire folded seam closed, from the top to the bottom.
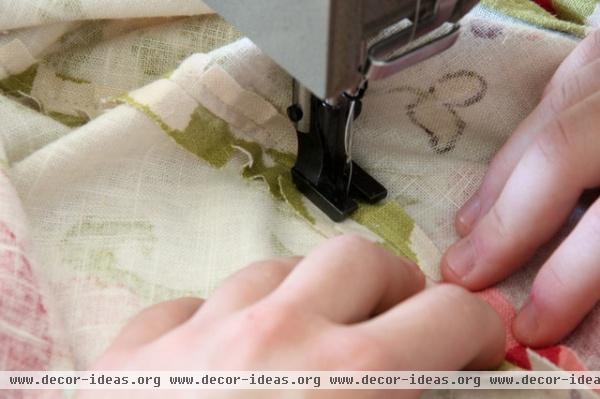
To give the top of the slipcover a nice, professional look, open up the seam allowance around the top of the slipcover and carefully stitch one seam allowance to the top of the slipcover and the other side of the seam allowance to the band. Be sure to keep the stitch distance from the seam exact by using the presser foot as a guide.
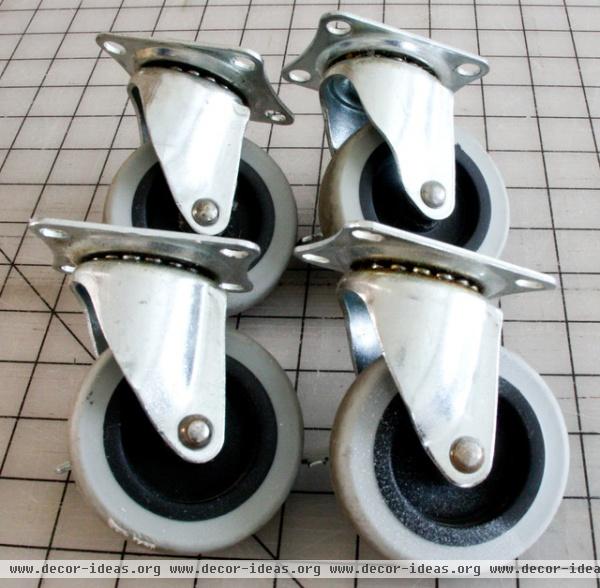
Add wheels for rolling or vintage legs. I opted for wheels to make the table easy to move.
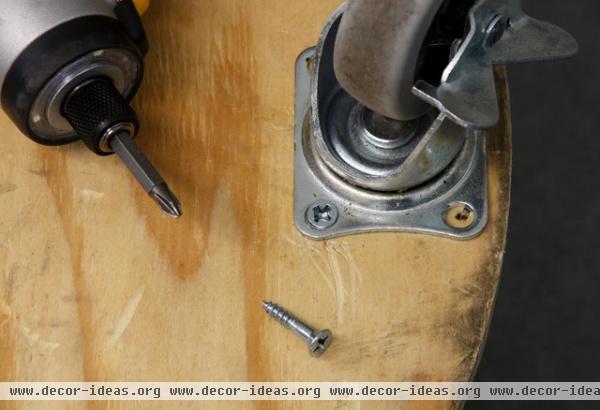
Measure and mark four equally spaced locations on the bottom of the spool for wheel or leg placement. Drill pilot holes and screw the pieces into place per their instructions.
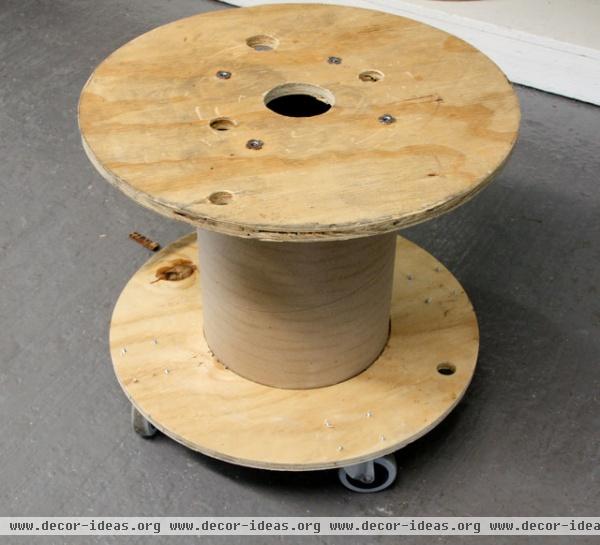
Almost there! Now the rolling spool is ready to get all dressed up.

The topstitched edge of the cover helps keep the edge smooth, flat and professional looking.

This summery suzani fabric makes for a beautiful covering on the poolside table.
More DIY: Make an easy solar-powered outdoor lamp


